Whether you’re looking to grow leads, boost followers, or simply score a few more crying-while-laughing-out-loud emoji faces from your surly Uncle Rick, one thing’s for sure: Facebook video is where it’s at!
But before diving in and inevitably making a string of rookie errors, you might want to check out these best practices first.
Square Videos All The Way
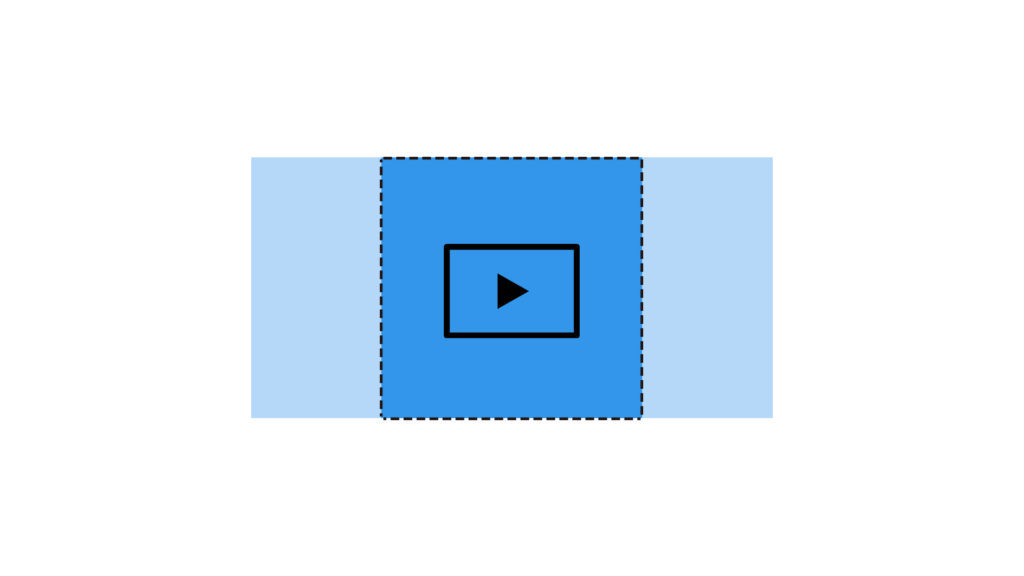
As you’ve no doubt realized, square videos are experiencing something of social media heyday at the moment. And it’s little wonder given that they boost engagement by up to 80% and result in 30-35% more views.
For those of you editing in Premier Pro or FCP, achieving the square video is a sinch. Simply change the aspect ratio from the regular old rectangle (16:9) to a square (1:1) 1080×1080 format, and you’re good to go.
NOTE TO SELF: switching to 1:1 aspect ratio will slice off a decent chunk of content from either side of your frame so whatever you do, make sure you make this change at the beginning of the editing process so you have a clear idea of what it is you’re working with.
Letterbox That Sh*t
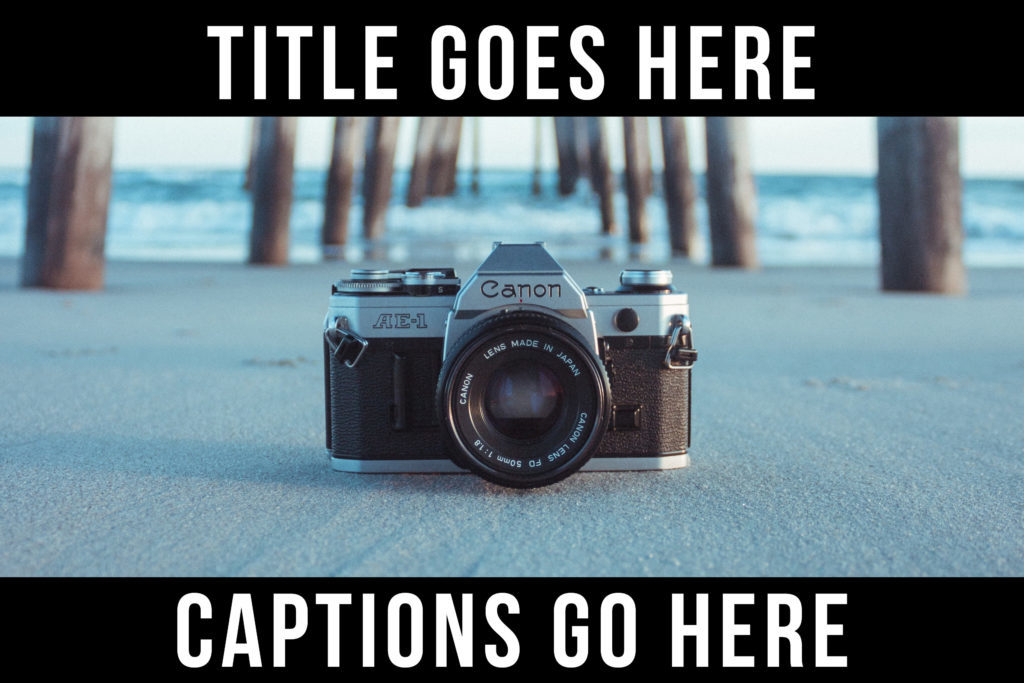
Eighty-five percent of all Facebook videos are watched without sound. This means that all that dialogue you spent painstakingly crafting, has just been demoted to captioned subtitles. And the best way to create subtitles?
Letterboxing!
This is where you have two chunky horizontal bars running along the top and the bottom of the frame. The top bar typically contains the title of the video, the bottom contains the captions.
Overlaying your captions onto a letterboxing bar makes them stand out way more than if you’d simply slapped them over the moving content of your video and generally make for a cleaner, neater look.
For more on letterboxing, here’s a sketch from CollegeHumor.
Grab ‘Em In 3 Seconds

Trust me, I’m not making this up. Facebook did a big fat study on this and identified the first three seconds of a video to be the golden window of opportunity to hook viewers.
After the first three seconds, you lose 35% of viewers. After ten seconds, you lose another 65%.
The best way to avoid this is to bump your best content up top. Make those first few seconds as visually inviting as possible with vivid colors, good lighting, and a solid thumbnail. Also, be sure to communicate the point of your video straight off the bat as you’re likely to lose a lot of eyes shortly thereafter.
Explain Yo’self

Just because you spent hours adding titles and captions to your video, does NOT mean you’re free to go releasing that thing into the wild without any facebook copy. Providing a one or two-sentence video description in your post is key to attracting more viewers, especially all those fussy faces who insist on knowing what it is they’re getting themselves into before pressing play (a.k.a. me!).
If wordsmithing isn’t your forte, simply pull a quote from the video and include that as your description instead.
Upload Natively
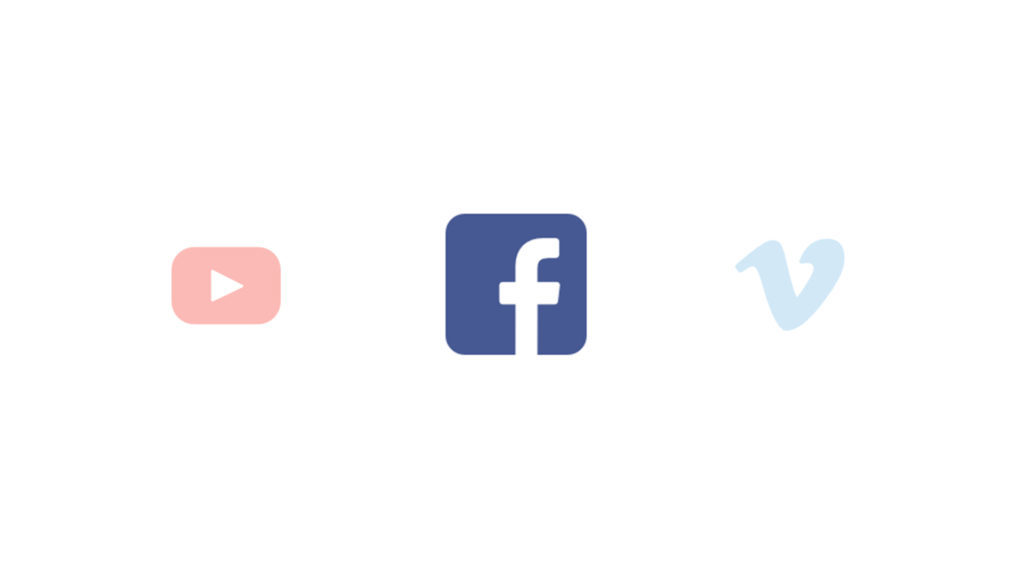
It’s funny how many seasoned social media users don’t realize this but in order to have your video show up in your viewers’ feeds as a thumbnail with a play symbol over the top, you MUST upload that thing natively via Facebook. If you simply slap a YouTube or Vimeo link into your status bar, you’re going to be left with a pretty crummy, uninviting result.
What’s more, videos uploaded natively to Facebook score a 109.67% higher interaction rate than youtube videos and are 10 times more likely to be shared. Long story short: start uploading your videos directly to Facebook.
Facebook videos are just like riding a bike. Once you’ve mastered the basics, you’re good for life!
If you have any other tips on how to improve the quality and shareability of Facebook videos, we’d love for you to share them in the comments section below!