


We know that you would never make a mistake and shoot bad footage. Although, no one is perfect. But even if you are the best shooter in the land, you may take on an editing project and find that you’d been supplied with bad looking footage.
While there is no magic button to fix bad footage and make it beautiful, there are several things you can do to make the footage look better or at least cover up some of the flaws.
Here are a few tips for making bad footage look better.
Vignette
The old vignette is a timeless standby that does wonders in a pinch. First of all, a good vignette can add a little drama to a shot or give it an old feel when you want to.
But it can also do a great job of covering up stuff you don’t want to see. By intentionally darkening part of the frame, you can draw the viewer to one part of the screen and take their eyes away from something that is accidentally out of focus or blown out.
Edge Blur

Edge blur works a little like a vignette to hide something that doesn’t look great around the outside edge of your bad footage.
Whereas a vignette will darken the offending parts of the footage, edge blur will just take them out of focus. This will create a bit more of a dream-like effect. If a vignette adds a little drama, an edge blur can add a little sense of peace.
Scan Lines

The scan line effect is one to not be taken lightly. It’s definitely something that will “affect” your look, but when dealing with bad footage, it may be just the fix you need.
Adding a scan line effect will get the impression that your footage is running through a bad signal or device and therefore not playing back properly.
This can be great if your footage is for something retro or in the bleak future. If can be useful for sci-fi, suspense, horror, or action footage. And it can really cover bad footage since it really just aims to make the footage look worse in it’s own way.
Just make sure you have a good justification for this one before slapping it on any old shot.
Framing
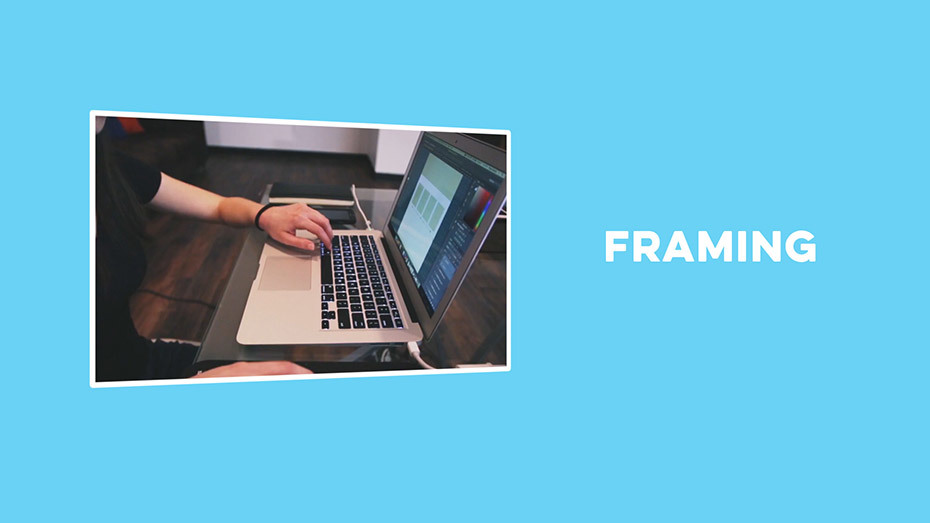
Sometimes you can get away with not so great footage, just by framing it properly. There are a couple of ways to use frames to your advantage.
One is to put your footage in a frame and crop to the best looking portions of the video. If you have junk around the edges, you can eliminate it entirely with this method.
The other option is to frame your footage, then scale the frame down, thus shrinking your footage. This may help just to take some attention away from the bad footage and hide the details.
Of course, if your footage is important, you don’t want to make it too small to see, but a little can go a long way here.
Overlays
There are lots of overlays that you can apply to footage to help make it look better. For instance, a good light leak will cover bad spots while giving your footage the appearance of a natural bright light source. Lens flares have a similar effect.
You can also sometimes use color overlays to treat bad footage and cover the blemishes. This sort of treatment will give you a very stylized result, so again, make sure you use it when it makes sense and not just because your footage isn’t the best.
Denoiser

While the above tips are for covering up bad footage or cutting it out, a good denoiser is a tool that can actually clean up your footage.
When footage is shot without enough light, you are often left with digital artifacts, also known as noise. This noise can make your footage look like it was shot on a cheap camera or isn’t the highest quality.
But a denoiser uses complex algorithms and pixel math magic (made up term) to clean up your footage and make it look like someone didn’t forget to turn on the lights.
Make the denoiser your friend. You’ll probably need it someday.
Color Correction

This may be the most common sense tip in the bunch, but it’s still worth mentioning. No matter how good your footage is, it can almost always benefit from some level of color correction. This can be to pull out certain colors and levels or to create a specific look for your overall video.
Either way, when you have footage that isn’t the best, start with color correction first and foremost. You may just find that the footage was better than you thought, and it just needed a little color love.
If you work with footage for a living as a shooter or editor, you will no doubt find yourself with unusable footage someday. But before you throw in the towel, give these tips a chance to help transform bad footage into good, or at least passable footage.


