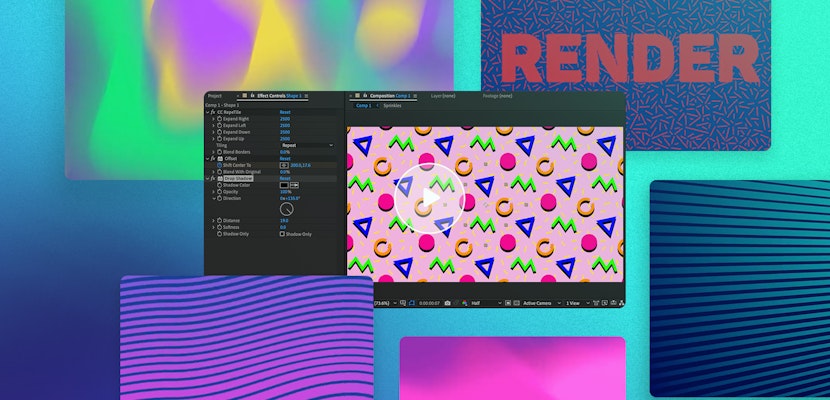
Let’s not kid ourselves. Adobe After Effects is an incredibly complex piece of software. Its learning curve has its challenges, but with practice and dedication, you can get really good and be on your way to an exciting career in motion graphics or VFX. These 5 tips, ranging from basic to advanced, will help you take your projects to the next level. Let’s jump in!
Part 1: 5 Helpful Tips for Using After Effects CC
1. Keyboard Shortcuts
Knowing your keyboard shortcuts can help you save a lot of time in After Effects!
Anchor Point Snap to Center
If you have an object like a circle and the anchor point is not in the center, there is an easy way to set that anchor point. Simply highlight the layer and hold Command while you double-click on the Pan Behind tool. When you do that, the anchor point snaps to the center of the layer. This trick also works with text layers.
Trim a Layer
This next shortcut will help you trim a layer with ease. Let’s say you have a shape layer that lasts the entire duration of the composition. If you simply want it to last from one to two seconds, here’s what you’d do.
Go to one-second mark, and with your layer highlighted, press Alt + [ then go to two-second mark and press Alt + ]. You’ll see that this will trim up the layer to exactly how you want it.
P-R-S-T
Most animations in Adobe After Effects involve modifying a layer’s position, rotation, scale or opacity. Navigating each of these attribute’s keyframes when starting out in After Effects can get a little confusing. Are you sure you are adding a keyframe to the position and not rotation? P,R,S,T are the keyboard shortcuts for each one of these attributes. So having a layer selected and pressing the following keyboard shortcut can get you animating faster:
P= Position
R= Rotation
S= Scale
T= Opacity
2. Linear Spatial Interpolation
When starting in After Effects it happens all the time, you go to set a 3rd position keyframe somewhere and you get this sort of weird boomerang effect. To fix this, make sure you select your position keyframes and go to the “Animation” menu and select “Keyframe Interpolation” then from the “Spatial Interpolation” drop-down menu select “linear”.
3. Locking Panels
For the fifth tip, we want to discuss how locking panels can speed up your workflow.
Let’s say you have a composition with a pre-comp with a photo and a circle mask. You might not be happy with the placement and might want to scale and adjust the image to the center. You could do this by going to the image layer, scaling it up, and guessing where the circle mask is. But a better option is to lock the panel and adjust from there!
You can lock the panel, then double-click on your pre-comp, drag the panel over to the right. Then, open the second comp panel so you can see both compositions at the same time.
Now when you make adjustments in your pre-comp panel, you can see how they’re going to look in your final composition.
4. Parent Cameras To Nulls
This trick is a pretty basic one, but helpful nonetheless.
If you want to use multiple cameras in your composition, when you start to animate the positions you might notice crazy things happening. That’s because to do this effectively, you have to animate the position and the point of interest at the same time. There’s a better way!
Simply to parent your camera to a Null for easier animation. You do this by going to Layer > New > Null to create a new Null Object. Then, make it 3D by clicking the 3D box in the layer control panel. Finally, parent your camera to it by clicking on the roll-up symbol and dragging your cursor to the Null Object line.
This way, you can do all of your animations on this Null. So now you can animate your camera through this scene quickly and easily. And we know what some of you are going to say — After Effects now has a one-node camera that does the exact same thing. While this is true, it wasn’t always available, and by default, the two-node camera is selected in After Effects.
5. Position Anchor Point
Sometimes you want your anchor point to be on the edges of the layer and instead of using a script, but now you can use the Pan Behind tool, while holding the Command or Control key. The anchor will magically snap to the edges of your layer.
But if you’re not already familiar, do yourself a favor and head over to AEscripts.com and take a look at all of the useful scripts that people have written that will definitely speed up your After Effects workflow.
Part 2: BONUS Tips
6. Adjust Multiple Keyframes
Let’s say you have an animation, but you want the entire animation to happen faster. When you were first starting out, you might have adjusted all of the keyframes individually, but there’s a much easier way to adjust them all at once.
Highlight all of your keyframes on your timeline. While holding Alt, you’ll want to click on the last keyframe and simply drag it over, and it will compress all of your keyframes into a shorter amount of time (you can also use this to make the animation take longer as well).
Now you’ve adjusted all of the keyframes without having to make individual changes!
7. Sequencing Layers
Let’s say you have a ton of images you want to reveal one after another. Instead of arranging this manually, you can trim your layers to whatever timeframe you want, such as change each to 5 seconds.
To sequence your layers in After Effects, click on the last one layer, then hold Shift and select the first layer. Now you should have all of the layers selected.
Next, go up to Animation > Keyframe Assistant > Sequence Layers. If you don’t want them to overlap, you can simply click OK. If you do want them to overlap, you need to check the Overlap box, enter a Duration, and choose a Transition before hitting OK.
Once that’s done, you’ll see that all of your layers are perfectly timed out!
8. Easily Crop Compositions
For the third tip, we want to go over how to easily crop compositions. Let’s say you have some text, and you want to crop your composition to be the exact size of the text.
You could go up to Composition > Composition Settings and change the Width and Height until you get it right. Or, for ease, you can click on the Region of Interest button that can be found on the small menu between your viewing screen and your composition workspace. The button looks like a window within a window and can be found close to the middle.
Once you click on the Region of Interest button, you can simply drag a box around the area you would like to crop. Then you go up to Composition > Crop Comp to Region of Interest.
There are tons of tricks that can help you create better projects. These ten are our top After Effects tips to help improve your editing workflows. If you want to get even more done, Motion Array has thousands of After Effects templates and presets that can help you take your projects from good to great!


