


If you’ve tried using the glow effect in Adobe After Effects, you’ve probably been left a little unimpressed. After Effects is a powerful animation platform, and for a trendy neon glow effect, you will need to use several effects. Fortunately, it is a pretty straightforward process, so we’re going to show you 2 top ways to create glow effects for your titles and logos.
Summary
Part 1: Create Neon Glow Effects to Text or Logos in After Effects
Adding glow effects to your logos and titles is a fantastic way of drawing attention to your brand.
Step 1: Start with Base Layer
The first step is to add some initial effects to your logo layer. For this effect to work, you should use either your logo design files, such as a PSD or AI or a PNG. The most important thing is that it is high quality and has a transparent background.
- Place your logo on the timeline and trim to the duration required.
- Right-click on the logo and choose PreCompose, then name the new composition logo.
- With your layer selected, go to Effects > Perspective > Drop Shadow.
- Change the Shadow Color to white, set the Distance to 0, and increase the softness to about 30.
- Select the Drop Shadow effect in the Effects panel and go to Edit > Duplicate.
- For the new Drop Shadow effect, increase the Softness to 120 and increase the Opacity a little.
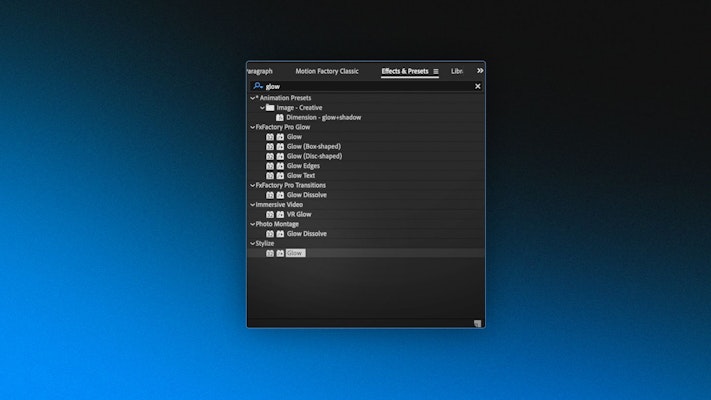
- Add the Flow effect by going to Effects > Stylize > Glow.
- Select the Glow effect in the Effects Control panel, go and find the Glow Colors and change the setting to A&B Colors.
- Then go to Color Looping and change it to Sawtooth B>A.
- Finally, change the Glow effect Colors and Glow Radius settings to suit your logo and brand.
- Right-click on the layer and choose Precompose, then name the new composition Glow1.
Tip: As the logo exists in a composition on its own, you can quickly change the base layer of the effect, and the glow will react to the new layer. Try swapping the logo with text or graphics.
Step 2: Add Blur
In this next step, we’re going to add some blurring to the glow effect. Remember, all of these settings can be adjusted for more or less of a glow effect.
- Duplicate the Glow1 precomp twice, so you have 3 layers.
- For the middle layer, go to Effect > Blur and Sharpen > CC Radial Blur. Decrease the Blur Amount to about 15.
- With the bottom layer selected, go to Effect > Blur & Sharpen > Gaussian Blur. Turn the Blur Amount up to suit your preference.
- Add another Drop Shadow effect to your bottom layer Effect > Perspective > Drop Shadow.
- Change the Shadow color to white, decrease the Opacity to 25, set the Distance to 0, and increase the Softness to 400.
- With your bottom and middle layer selected, press T on your keyboard to open the Layer Opacity controls. Decrease the Opacity of each until you are happy with the look.
- Select all 3 layers and Precompose them. Name the new composition Glow Logo.
Step 3: Add Reflection
The glow effect looks super cool and glowy now, but if you want to make it appear part of a 3D environment, we need to add some reflection. For this step, you’ll need a textured background, which you can create yourself or download online.
We’re using a blue background that you can download here.
- Drag the background to your timeline and enable 3D controls by clicking the cube icon in the Layer panel.
- Change the X Rotation to around 90º and adjust the Scale and Position. The image should sit in the place the floor would be.
- Precompose the floor layer and make it invisible.
- Go to Layer > New > Adjustment Layer.
- Duplicate your Glow Logo layer and position the copy above the adjustment layer.
- Select the bottom of your 2 glow logo layers and go to Layer > Transform > Flip Vertical.
- Reposition the flipped layer to sit below your logo, where the reflection would naturally be.
- With the Reflection layer selected, go to Effect > Blur & Sharpen > Compound Blur.
- Set the Blur layer to the floor layer; play around with the blur settings until you are happy with your reflection.
- If you need to add more texture to your reflection or see your logo more clearly, double click on the floor layer to open the composition.
- Select the image and go to Effect > Color Correction > Curves. Adjust the Curves settings until you are happy with how the main composition looks.
Part 2: Create Scribble Glow Effects to Videos in After Effects
The Scribble animation is a trendy and fun effect to add to your video projects; it’s effortless to create; it just takes a little time. For this effect to work, it is best to have a clip with plenty of actions and easily identifiable shapes.
- Add your clip to the timeline, then trim as needed. Make sure you’ve selected the parts of your clip where you want to add the effect.
- Duplicate your clip so they are stacked on top of one another.
- Go to the Window menu and make sure both the Paint and Brushes panels are viewable.
- Double click on your clip to open it in the viewer, then select your Paint Brush tool.
- In the Paint panel, make sure Single Frame is selected from the dropdown menu. You can also adjust the color.
- In the Brush menu, choose a suitable size for your brush.
- Draw over the element in your clip with the brush, in the Media viewer.
- Go through each frame of your clip, drawing where you want the glow effect to be added. Once you are done, you should have a smooth, hand-drawn style animation over your clip.
- In the Effects Control panel, make sure the Paint options are set to Paint on Transparent. This will allow you to add effect to just the drawing, not the full shot.
- Finally, to add the Neon effect, you need to add Drop Shadow and Glow effects as explained in the first section.
Glow effects are often used in events, music, and gaming videos, but we think they can be used for a lot more. Now you understand the basics to create a glow effect in After Effects, you can apply these skills to future projects and create stunning, glowy compositions.


