


If you are like us, you probably do a lot of rendering out of After Effects, and if you are like us, you probably have some very specific ways you like to set up your renders.
Perhaps there is a common setting you like for previews, one for final HD renders, one for online videos, etc. Although rendering is one of the easiest things to handle in AE, it can be quite time-consuming to constantly set up renders and adjust all of the settings. This is especially true if you have several versions of a project to output.
Luckily, After Effects makes it easy to set up your own custom render presets and save them for use anytime you need. By saving your own render presets, you can get a render going with just a couple of clicks. It may not seem like a lot, but those precious seconds add up.
Today, we’ll show you how to set up render presets in AE, and make your workflow that much more efficient.
Step 1: Add a Comp to The Render Queue
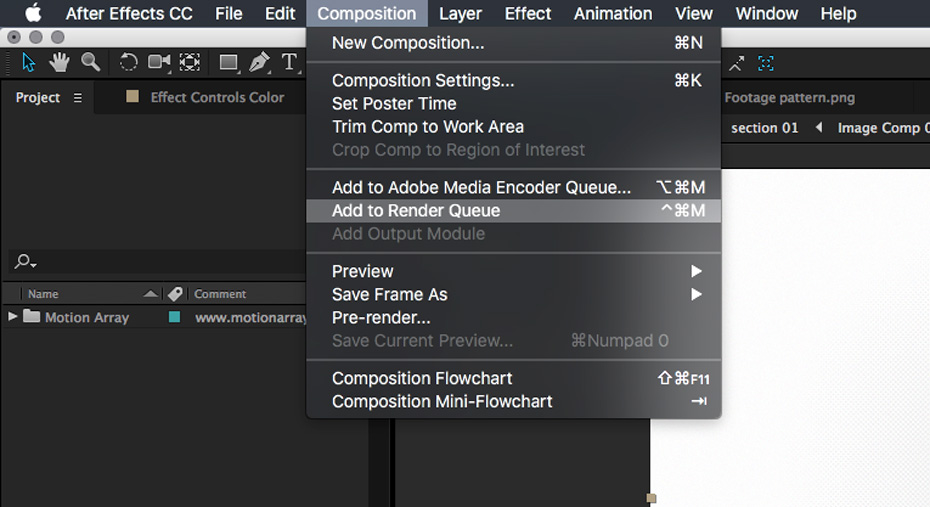
In order to set up a render preset, you need to load a comp into the render queue. If you are new to this, you can add a comp to the render queue by clicking Add To Render Queue from the Composition tab when you have your comp active.
You can do this with any comp. You just have to have something in the render queue to get started with your custom settings.
Step 2: Set Up Render Settings
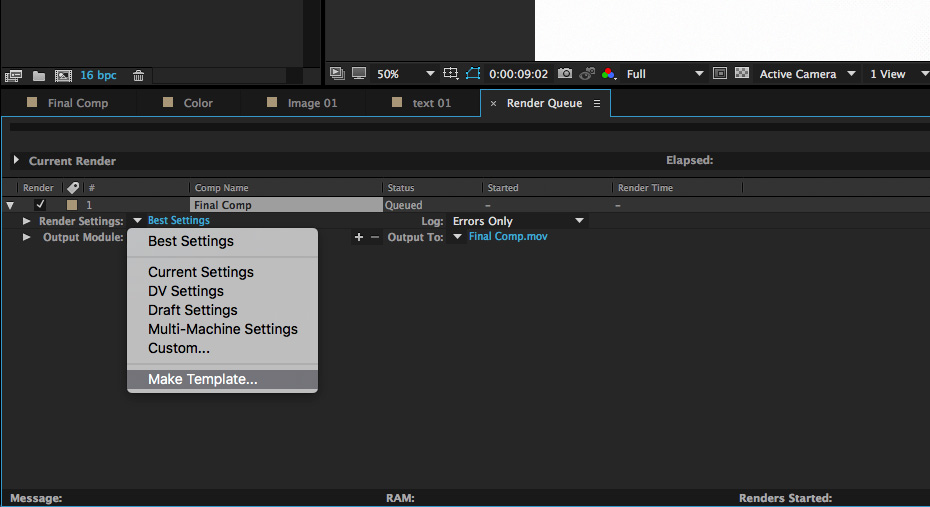
Once you have a comp set up in the render queue, you’ll see options to change Render Settings, Output Module, and an option for changing the file name and render location.
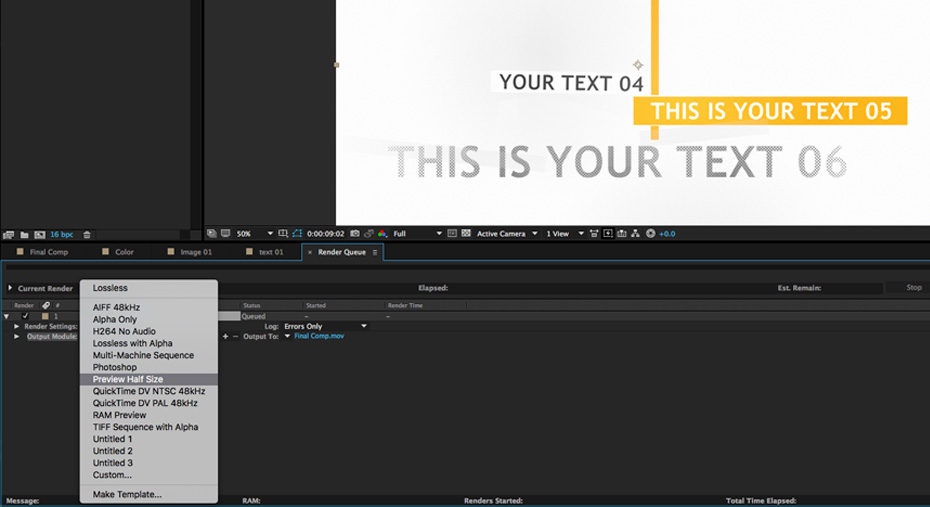
Start by right-clicking on Windows or holding cmd+click on Mac on the downward arrow next to the setting name to see what render presets already exist.
At the bottom of the drop-down, you’ll see Make Template. This is where you’ll start. Clicking Make Template will open a dialogue box with controls for all of your settings.
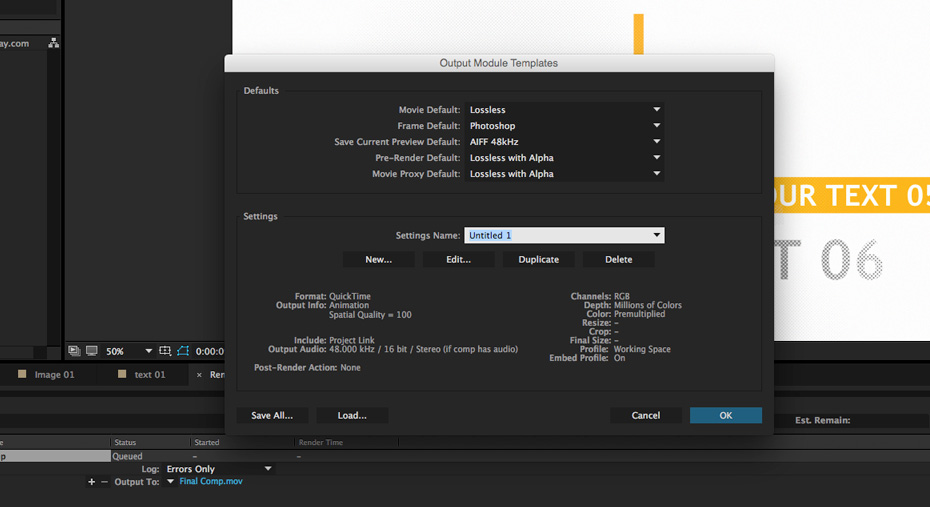
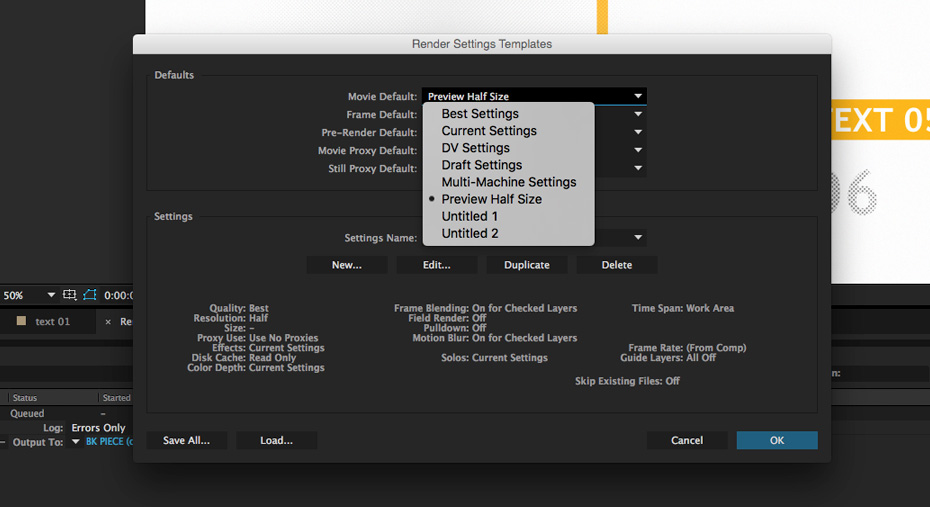
At the top of the box, you’ll see Defaults, and below you’ll see settings. Here, you’ll click new to open another dialogue box for your settings.
We are going to make a preview preset, so we’ll set the resolution to half and we’ll leave the rest of the defaults. You can make any changes you want before hitting Okay.

Give your preset a new name that will be easy for you to understand and hit Okay on the first dialogue box.
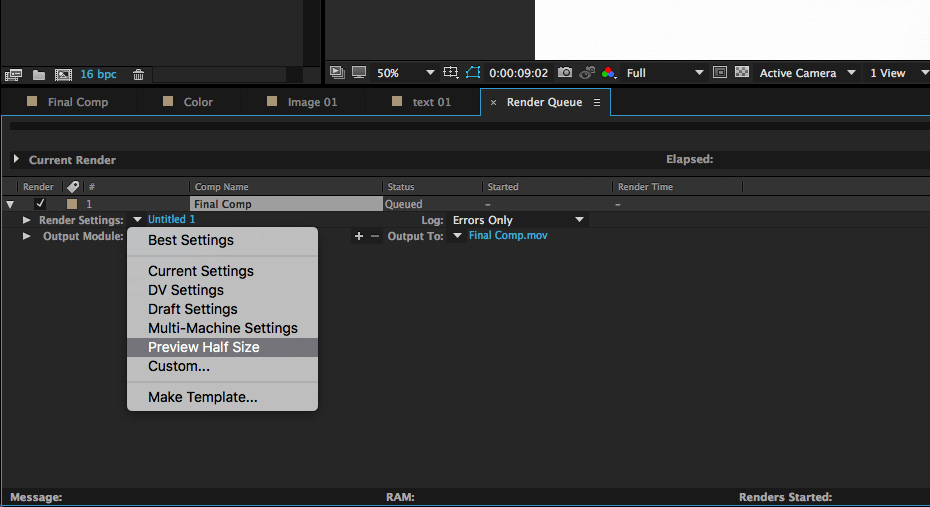
Now if you right-click or cmd+click on the down arrow again, you’ll see your new preset. By simply clicking on the preset, it will be loaded and ready to go.
Step 3: Set Up Output Module
The Output Module presets work exactly like the Render Settings presets. You’ll first either right-click on Windows or hold cmd+click on Mac on the downward-facing arrow next to the Output Module name.
Again, you’ll see the existing presets as well as an option to Make Template. Click the Make Template tab to open a dialogue box for the Output Module settings.
Just like above, click New under the Settings section to adjust to your needs. We’ll set our codec for H.264 in our preview preset. Once you have the settings you need, click Okay to close the dialogue box. Then give your preset a name and click okay on the first dialogue box.
Just like that, your new Output Module preset will be loaded into the drop-down for future use.
Step 4: Set Up Name
You may give all of your renders a custom name, but to save time, you can set up a default naming convention based on specified parameters. The standard default for AE is to name your render after the comp name, but you have a wide range of parameters that you can use.
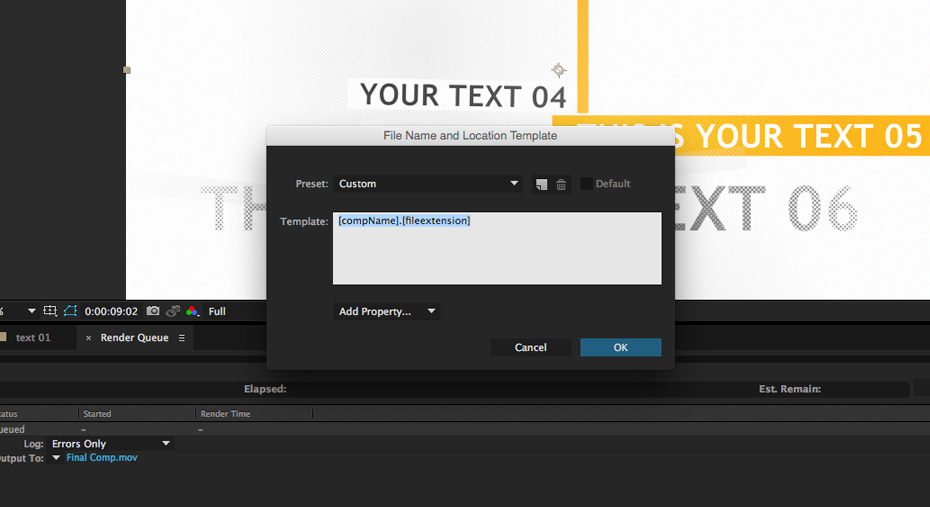
Start by right-clicking or holding cmd+click on the downward-facing arrow next to the output filename. Then click Custom at the bottom of the drop-down to set your parameters.
The dialogue box that pops up has a drop down tab called Add Property. Here you can add various properties like time code, project name, height, width, and a load of others to create a custom name for your outputs.
Once you have the naming convention that you like, click the note icon in the top of the box to give it a custom name, then click Okay on both boxes.
Now your custom naming option will be loaded into the drop-down for when you need it.
Step 5: Bonus (Setting Up Defaults)
Now that you have your render presets in place, you can save even more time by setting up defaults for the presets you use the most. Since we render a lot of previews, we want our preview presets to load by default.
Remember when we opened our dialogue boxes and we saw the Defaults at the top? Now we will go back and set them to our preview presets.
Simply open the Make Template dialogue boxes for Render Settings and Output Module. Then change Movie Default in both to your new preset. You can also do this in the earlier steps if you prefer.
For the file name, you’ll just want to click the Default checkbox when you have the preset selected that you want to use.
Now, when you are rendering your most common setup, all you have to do is load the comp into the Render Queue and hit render.
You may not realize it now, but if you haven’t set up render presets before, try it. You’ll thank us later.


