


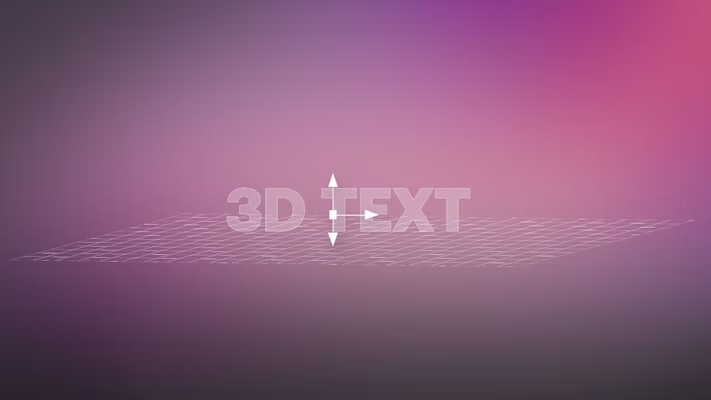
In this tutorial, we will learn how to animate text in a 3D space so it appears to be floating in the video scene. This 3D text effect is popular for movie trailers or opening title sequences but is also a great way to create a professional look to vlogs or social media content.
Motion Array also has a library of DaVinci Resolve macros, including a bunch of 3D floating and flying text effects. Using a template as a jumping-off point can save a lot of time and still yield professional results. See some of our favorite 3D text templates at the end of this tutorial.
Summary
Part 1: Learn How to Create 3D Floating & Fly Through Text
The 3D text effects work best alongside footage where the camera is physically moving through space, such as a dolly shot or drone footage. The best part about floating and fly through 3D text in DaVinci Resolve is that it looks a lot harder than it is!
There are 2 main ways to create the 3D text effects in DaVinci Resolve – using the CameraTracker or the PlanarTracker nodes. In this tutorial, we will show you how to use the PlanarTracker node.
Step 1: Create Your 3D Text
- From the Cut page or Edit page, right-click your clip and choose Open in Fusion Page.
- Press Shift + Spacebar on the keyboard to pull up the Select tool and search for Text 3D. Choose Add to add a Text 3D node.
- With your Text 3D node selected, press 1 to bring up the node in the left viewer (video footage should be in the right viewer).
- Type your text in the text box in the Inspector and make any initial formatting adjustments there as well.
Step 2: Track Camera Movement with the PlanarTracker
- Shift + Spacebar again to find and add a Renderer3D node. Whenever working with a 3D element in DaVinci Resolve, a Renderer3D node is needed.
- Drag the output of the Text 3D node to the Renderer3D node to connect them if they aren’t connected automatically.
- Drag the output of the Renderer3D node to the MediaIn node output to create a Merge node to connect everything together.
- Select the MediaIn node and press Shift + Spacebar to add a Planar Tracker node. It should be connected to your node tree.
- In the Inspector, change the Motion Type to Translation, Rotation, Scale. This option ensures that your text will not only follow the movement in the video but will also adjust in rotation and scale to stay in proportion with the video.
- Draw a rectangle shape on the video in your right viewer as a reference point. Look for a spot with an object or contrast that the tracker can look for.
- Choose Set in the Inspector to set the reference, and then choose Track to end.
Step 3: Connect the Text to the Tracker
- Now that you have your tracking data, you can Shift + drag the PlanarTracker node to disconnect it from your node tree.
- With the PlanarTracker node selected, choose the Create Planar Transform in the Inspector. This creates a new, disconnected PlanarTransform node in the Node Editor, which has the transforms from the PlanarTracker baked in.
- Shift + drag the PlanarTransform node between the Renderer3D node and the Merge node to connect them. Now the text will stick with the tracking point.
- Polish up the look by positioning your text in the 3D space. With the PlanarTransform node selected, add a DVE node. It should be connected between the PlanarTransform node and the Merge node.
- In the Inspector use the Z Move slider to move your text forward, or backward on the Z-axis.
Step 4: Animate Text in a 3D Space
- To animate this movement, set a keyframe for the Z Move at the starting point. Drag the playhead to the animation end and set a 2nd keyframe.
- Drag the Z Move slider until you’re happy with the text placement. Go all the way off screen to fly through the floating text!
- Watch it back and ensure that the perspective doesn’t fly through the solid part of a letter. If it does, position the playhead right before the fly-through and adjust the Pivot X and Y controls until you are ready to go through an opening.
- Open the Spline Editor to refine your animation. Splines allow you to manipulate the interpolation between keyframes, resulting in smoother animation.
- Select the DVE node and use the bezier handles to create a curved shape rather than a straight line. This will create a subtle ramp-up and then slow down in speed as the camera flies through the text.
- For a final touch, add a bit of rotation in the 3D space by adjusting the Y-axis in the Inspector for your DVE node.
- You can keyframe this parameter as well to really create that “floating” look.
Part 2: 6 Amazingly Handy 3D Text Templates for DaVinci Resolve 17
DaVinci Resolve text templates are a perfect way to take your titles to the next level. While creating a basic floating or fly-through 3D text effect is fairly simple, you can definitely get fancy with it! To save some time, start with a 3D text template for DaVinci Resolve. Here are a few to get you started:
1. Titles 3D Projector
This 3D title template is designed to look like a colorful projected image. With control over fonts, color, lights, animation, and more, you can still create a custom look in half the time.
Download Titles 3D Projector Now
2. 3D Trailer Titles
This metallic 3D title template would be perfect for any video in need of a sci-fi or tech look. It has five editable text layers and a smart custom controller for customization.
Download 3D Trailer Titles Now
3. 3D Intro Titles
3D Intro Titles includes animations like the fly-through in this tutorial, floating, spin, and fly by. Light effects add drama and a cinematic look.
4. 3D Title
This template has that classic movie trailer look. A custom controller allows you to change different parameters, including the font, color, size, position, and background colors.
5. Flying Titles
Flying titles is another movie-trailer-style effect with a ton of customization options, including font, color, size, extrude, bevel, background colors, particles, color, size, velocity, and more.
6. Sports Title
This 3D text template uses a metallic look and lighting effects to set the tone for any sports, video game, or action-packed video.
Using DaVinci Resolve to create 3D text effects is a great way to add excitement to your intros and title sequences. Animating text in a 3D space is a perfect way to get creative and make your videos look impressive. If you’re short on time, try starting with a template, and use the concepts outlined above to customize the titles for your needs.


