We all want perfect footage, but sometimes there is something in our clips that we need to remove. It could be a badly placed object such as a microphone, an unwanted person, a spot or mark on our clothes, or another object that you want to remove from the frame.
Thankfully you can easily remove objects in DaVinci Resolve 17! As an added bonus, we will show you how to use this technique to create a disappearing effect.
Summary
Part 1: Remove Simple Objects in DaVinci Resolve
This simple method is great to remove objects that are surrounded by detailed patterns like a sandy beach, grass, or buildings. You will be using the surrounding area to cover up your object, a bit like using the clone tool in Photoshop.
- In the Edit page, duplicate your clip, then place the copy above your original clip on the V2 track.
- Go to the Color page.
- Select the top clip by using the timeline window and add an Alpha Output to the Serial node by right-clicking and selecting it from the pop-up menu.
- Connect the Node Alpha Output to the Alpha Output by dragging the blue dot to the blue dot on the right (a dotted line will show).
- Now mask the object you want to remove by creating a window around the object.
- If your clip has movement, you may need to track this movement now using the Tracker.
- Make sure you are at the start of your clip, go to the tracking window and track the Window.
- Invert the mask by clicking the Invert button in the Window options.
- Now select the bottom clip at the timeline window.
- In the node sizing options under Input Sizing, use Pan and/or Tilt to move the bottom clip and cover the object with a matching area. You can also use the Height and/or Width options.
- You have now removed the object successfully.
Tip: You can use the Feather options for the mask to soften the edges and blend it better.
Part 2: Remove Complex Moving Objects in DaVinci Resolve
There is another method that uses AI to replace your object, very similar to the content aware fill in Photoshop. This method can work well in complex situations. Here are the steps to follow.
- Select your clip in the timeline and go to the Color page and then add a Serial node.
- Now create a window around the object you want to remove. Normally, we would use the Curve setting to match the object’s shape. You want to mask it pretty close to the object.
- If your clip has movement, you will need to track the window using the Tracker. Track only the movement occurring in the frame; e.g., we are only tracking pan, tilt, and zoom since there is no rotation.
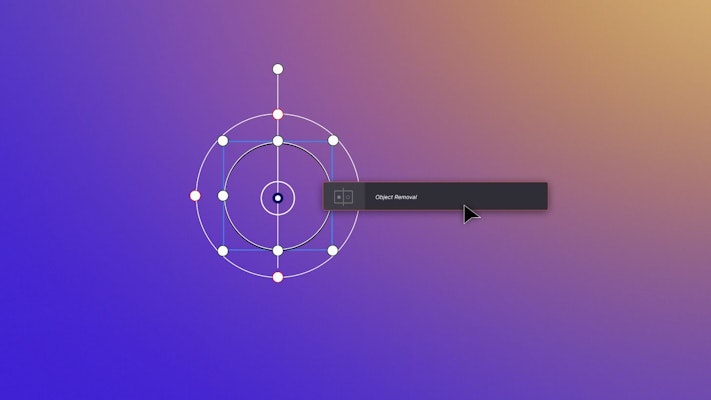
- From the Effects panel, select Object Removal and drag it onto the serial node you just created.
- Now click Scene Analysis in the Object Removal effect and let your computer do the work. This is pretty intensive work, so it may take a while.
- Once the analysis is done, click Build Clean Plate, and your object is gone.
- If you are removing more than one object, use a Parallel node for each object you are removing, and if you have movement in your clip, track the window to the object so the mask moves with it.
This method isn’t always perfect and you may need to adjust the window and/or soften it, then re-analyze and build a new clean plate until you get the result you are looking for. Also, test different settings in the Object Removal effect; e.g. change the range for a wider area to be analyzed or change from internal to external to change where it sources the replacement pixels from.
Part 3: Create a Disappear Effect in DaVinci Resolve
Now let’s have some fun and make an object disappear using either of the techniques we learned before. In order to make an object in your clip disappear you just need a clean plate, which is what we created in the clips above by removing the object. This is how you use it.
- You will need 2 copies of your clip, one in which you removed the object and the original.
- Choose one of the object removal methods that works best to remove the object in your clip. Now make a new Compound Clip from this clip and call it Clean Plate.
- In a new timeline, add your original clip to the timeline and drag the Clean Plate on top of your original clip.
- Now trim the Clean Plate to the point you want your object to disappear. Play it back and you will see the object magically disappear.
- To add a bit more excitement to this we will add a simple effect in the Fusion page.
- Cut your original clip 3-5 frames before your object disappears and again 2-3 frames after the object disappears.
- Select this cut clip and go to the Fusion page.
- Add a Background node, then adjust the color to something bright.
- Lower the alpha to make it transparent and add a mask to create a shape over just the object.
- Now add a Glow effect.
- After the Merge node, add a Vortex effect and animate this effect using keyframes.
- Now when you playback your clip in the Edit tab you will have a cool visual effect as your object disappears.
Object removal in DaVinci Resolve 17 can easily be achieved with a couple different methods including the new AI driven object removal effect. While it is easy to achieve with the right kind of footage it can be challenging to do with complex footage. You can also apply the same method to make an object disappear for a classic visual effect.
If you are looking to learn additional skills and effects in DaVinci Resolve, we have tutorials for how to remove black or color backgrounds, as well as creating the typewriter effect, 3D text and vintage VHS effect.