


The capabilities of digital cameras today make this style of shooting easier than ever because of their high sensitivity. ISO 800 has become a standard rating for most cinema cameras, and some are pushing even further, like the Panasonic Varicam which has dual native ISO’s of 800 and 5000. At 5000 ISO, you can likely get a proper exposure with simple street lamps.
But just because you can get a proper exposure doesn’t make it good lighting. Logistically, using available light can really simplify a shoot. That said, it can make your job as a cinematographer much more difficult because natural lighting in the real world doesn’t typically fall into nice three-point configurations with proper key/fill ratios and soft sources.
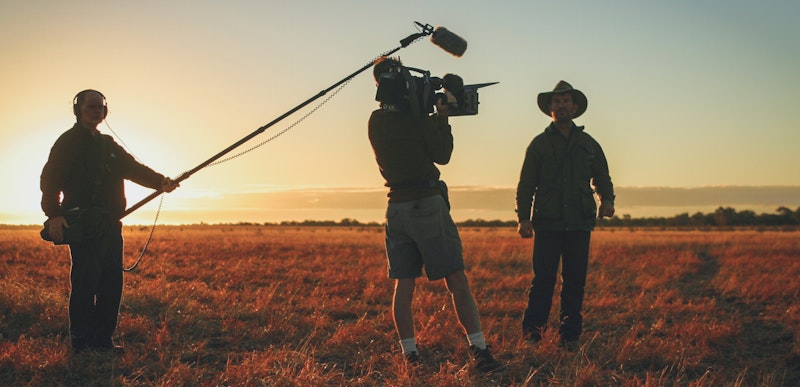
Shooting with available light requires strategy, problem-solving, and knowing exactly what you want. Here are some things to keep in mind as you set up for your next scene using the sun as your primary light source.
Summary
Tips for Shooting With Available Light
1. Maximize the Natural Light with Tools
We should start by saying that shooting with available light doesn’t mean you take what you get. There are lots of tools that can help you harness or shape the light you have. Bounce boards, reflectors, and diffusion frames can all help soften a source or redirect it.
For instance, you may use a large window as a key light, but it’s not a bad idea to bounce that light back into the shadow side of the actor’s face to reduce contrast (unless that’s the look you’re going for).
Another invaluable light modifier is black-wrap or duvytene. In many situations, you need to control the light in a scene by shaping it and making sure your subject stands out from the background. Black wrap and duvytene are often used to “skirt” a ceiling fixture or black spill from a window, ensuring that the eye is not drawn away from the focus of the frame.
Finally, when it comes to practical lights (lights that are part of the set or location), you can cheat by bringing your own bulbs. Lamps and ceiling fixtures often have 60w or even dimmer bulbs. You can exchange these for your own 100w or 250w bulbs if the fixture allows for it. This will help you get a proper exposure, and your bulbs may have a better color balance depending on where you get them.
2. Location, Location, Location
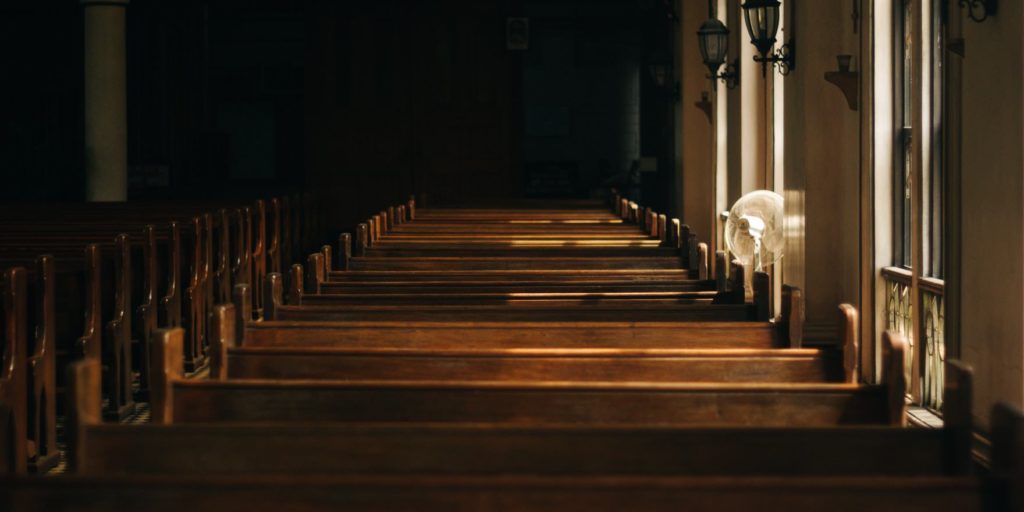
A DP friend of Motion Array’s once said that 90% of his job is a good location. What he means is that an interesting location can make simple, straightforward lighting look amazing, while the most interesting lighting in the world won’t save you from a drab or blasé set. When it comes to natural or available light, you should have three concerns: exposure, depth, and quality.
First, will you even be able to get a proper exposure in the space? As said earlier, this is getting easier and easier as our cameras increase in sensitivity, but it can still be a concern, especially if you’re shooting night interiors. Bring a light meter or DSLR to all of your location scouts to check the light levels and make sure you can work with what’s available.
Second, does the light give depth to the space? Available light can often be flat and unflattering. You want to find a space that is broken up, visually, by light and shadow. At the very least, examine the light sources in the space and determine how you can use modifiers to shape it and create depth in your frame.
Third, are the sources hard or soft? Do they have good color quality? Windows are generally soft, while practical house lights are often relatively hard. Fluorescent fixtures can be great because they provide soft, even lighting over a larger area — on the other hand, their color is typically poor and can muddy skin tones.
Take note of these things and problem-solve to see how you can match what’s available to the look you have planned for the film. If the only light is hard and directional, but your script calls for something soft and smooth, you may want to reconsider the location or make plans for softening the light.
3. Time

Available light is ruled by the time of day. If you’re shooting outdoors, midday can be very difficult; the light is generally softer and more even in the “golden” hour after sunrise or before sunset. On the other hand, shooting indoors with window light can be a lot better in the middle of the day simply because the light coming through the window will be stronger, giving you a better exposure inside.
This all means that shooting with available light is an exercise in patience and scheduling. If you’re trying to shoot a lot of day exteriors, you may end up having to split your shoot over multiple days simply to keep from shooting when the sun is directly overhead.
You must also take into account rapidly changing light. Shooting a lengthy dialogue scene as the sun goes down may give it a romantic look, but cutting between shots will become more and more difficult as the light drastically changes between takes.
4. Use LED Fixtures
Okay, so this one is a bit of a cheat. But thanks to LED technology, it’s getting easier and easier to sneak relatively bright sources into a scene with just a small LED panel/strip and a battery. Even if you can’t set up a “regular” light, it might be a good idea to rig up a couple of battery-powered LED fixtures and use them to accent your available light.
Shooting with available light is rarely easy, but it can be rewarding if you plan and prepare thoroughly. Some of the most beautiful cinematography has been achieved without a single globe.
Just mind that your location is suitable for shooting “au naturel,” and schedule your day around the quality of light that you will have at each location. If you really need to, see if it will be possible to use modifiers or small LED fixtures to help you achieve the look you’re going for. If you’ve covered all those bases, the result should be a beautiful film using natural light (without the need for all that gear)!


