


As a film editor, one of the biggest limitations is the footage you have to work with. Framing and composition are essential concepts to understand if you want to get incredible footage in the first place. In this tutorial, you’ll learn seven rules to ensure that your shot composition and framing look awe-inspiring! Using each of these rules in different situations will not only help the visual appeal of your production but will also help you to convey a clearer message in your video. Let’s dive in!
Summary
How to Improve Your Shot Composition & Framing
When we talk about composition, we’re talking about what your camera sees. By extension, this is also what you’re audience will see. It’s easy just to point your camera in the direction of your subject and let it run without a second thought. However, if you take just a moment to think through your shot first with these tips in mind, it will make a huge impact on your film.
1. The Rule Of Thirds

The rule of thirds is well-known, and chances are you’re already familiar with it. The basic principle is that your shot will look better if you put points of interest on the thirds of your frame. You can visualize these points when imagining lines dividing your screen into nine blocks: three sections vertically, and three sections horizontally.
There are many theories about why the rule of thirds works. One reason is that a shot can have so many competing points of interest, and adding points of interest on the thirds will help eliminate any unnecessary distractions. It also helps position the shot in a way that shows what the character is thinking and feeling. Overall, it provides an intuitive feeling of balance and context that’s helpful for your viewer.
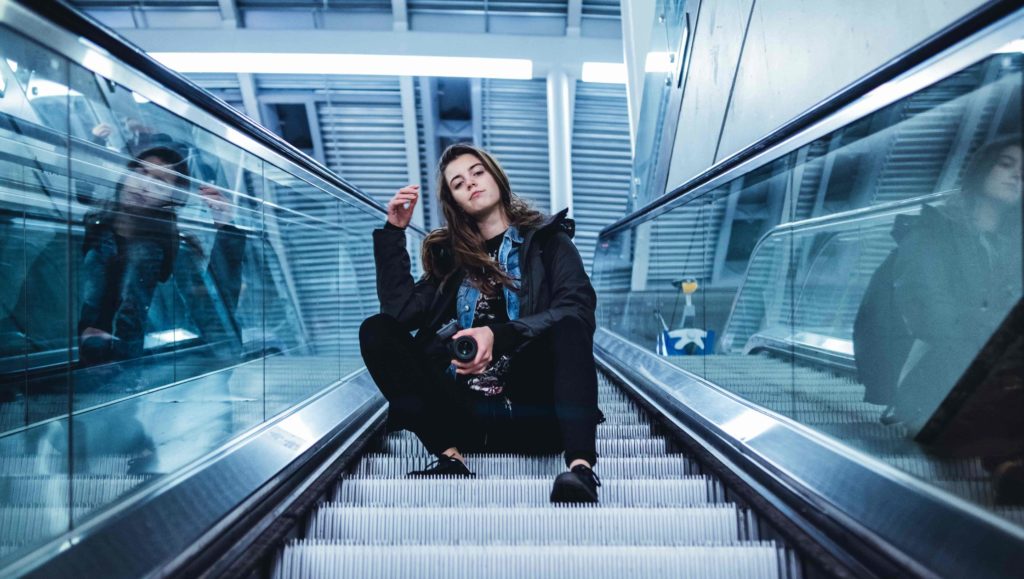
2. Symmetry
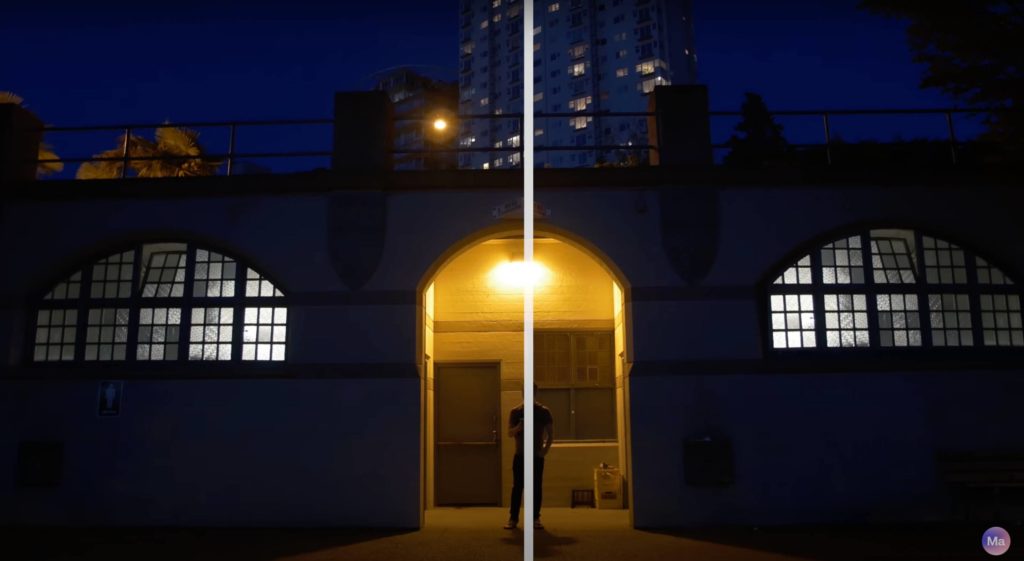
Alternatively from using thirds, the next composition rule is to create symmetry. For some reason, human brains respond well to symmetry. It simply looks and feels good, and once again, creates a sense of harmony and balance.
Using symmetry is a great way to get your point across in these scenarios:
- To convey the beauty of a scene.
- To help your audience focus on your subject.
In fact, symmetry is the one time when breaking the rule of thirds works. If you want your subject to stand out, you can put them dead center in the frame. Symmetry is often used in moments when a character is experiencing a powerful moment. It draws the viewer’s attention to them in a unique way.
But do use it sparingly. It’s definitely best kept for a handful of poignant moments. You run the risk of giving your audience conflicting messages if it’s overused.
3. Leading Lines

Visible lines in your shot will subconsciously tell your viewer where they should be looking. Lines are everywhere: the stair railing, the picket fence, a river running past, roads, railways, and so on. It’s a subtle way of guiding your audience in the direction you want while also adding an element of depth to your footage.
It’s worth scoping out locations where you may be able to use leading lines in your shots, such as in the example above. Once you start looking, you’ll be surprised at how easily you find them!
4. Leading and Head Room
Typically, this rule is used in combination with the rule of thirds. Basically, head room means that you want the top of your character’s head to be in the frame at all times. If your subject’s head is cut off, it creates a feeling of being cramped and uncomfortable, as well as just looking a bit bizarre.
When you want to break this rule, though, is during a close-up and you want to focus on your subject’s eyes. This is impossible to do while still keeping their head entirely in the frame and sticking to your rule of thirds at the same time.
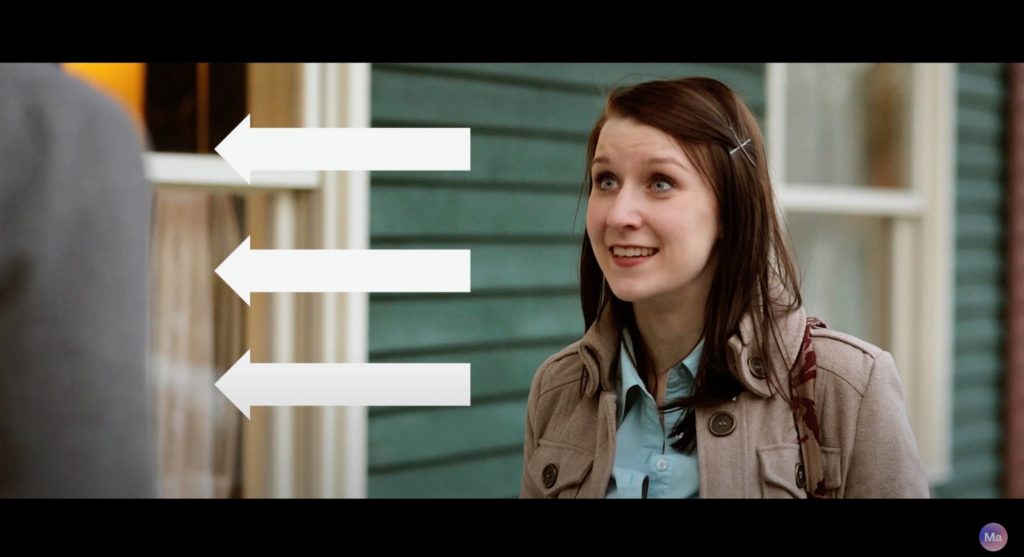
Leading room refers to the amount of space next to your character while they’re looking in a particular direction. If your character is facing the left-hand side of the screen, you’ll want them to be more on the right-hand side, to provide space between them and where they’re looking.
If they’re too close to where they’re looking, it may come across as though they’re looking off the screen, which creates confusion in the minds of your viewers. More space in front of your character also helps the viewer to put the world in context better, and understand where the subject is and what’s happening around them.
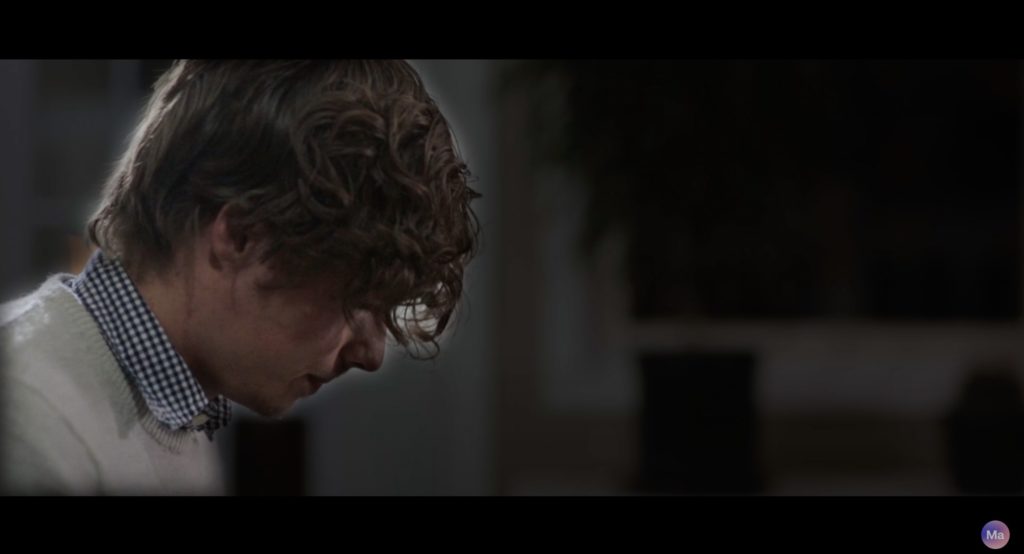
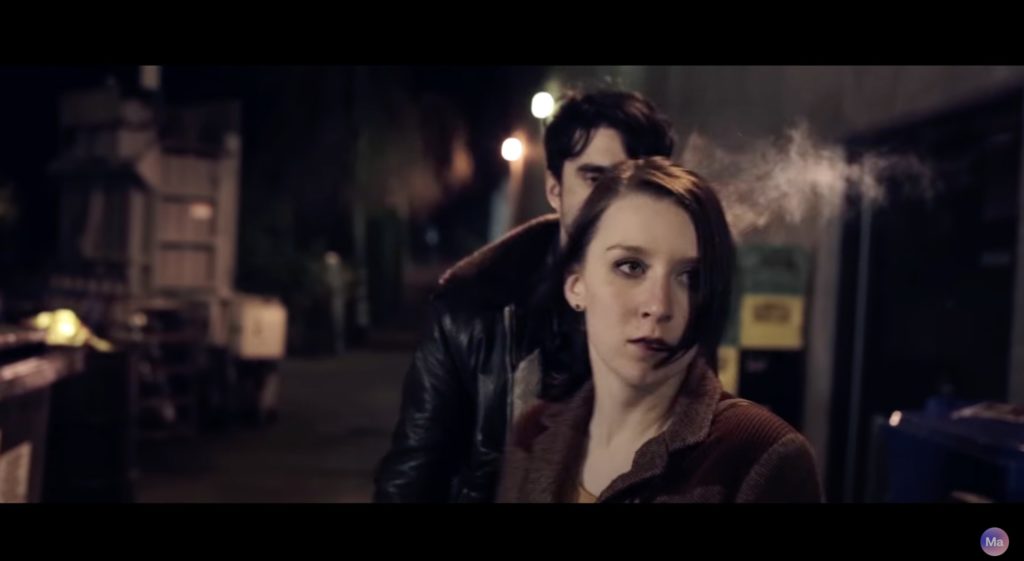
5. Depth

Every shot has a foreground, midground, and background. What you choose to show (or not show) tells a lot about what’s in your shot.
Sometimes, you’ll want nothing at all in the frame except for your character. But most of the time, you’re going to want to establish your character in the world you’ve created. You’ll want to show how your subject relates to this world, including what’s out of focus.
The depth of your scene is affected by:
- Location: where you shoot.
- Lens: what lens you use and it’s capacity to provide depth.
Your lens choice is critical and determines your depth of field. A wide-angle lens will have more space in focus, which will make it more difficult to focus on your subject by blurring out the background. The distance between the subject and the background will also be exaggerated in how far away it looks.
A lens with a longer focal length will make it easier to achieve a shallow depth of field (even if you use the same F-stop). Essentially, it will allow your subject to stand out more from the background. It also makes background objects appear closer than they would with a wide-angle lens.
Your choices here will help your audience determine what they focus on, what they find important in the scene, and how your character relates to the world around them.
6. Size Equals Power
The size equals power rule sounds simple, but it has huge implications for your project. If an object takes up a large amount of the frame, viewers will see it as important. If it only takes up a small amount, then it’s insignificant in the bigger picture.
The rule applies to inanimate objects as well as characters. Framing also comes into play here — for example, if you choose a wide-angle shot of someone standing in an open space, it can give the feeling that they’re somewhat insignificant. The same shot closer up can imply a sense of control.
Camera angles also play a big role. Viewing your subject from below can create a feeling that they are dominant, as the audience (and the characters are literally are looking up to them). The opposite is true, too. A view of the subject from above causes us to feel that they are weaker or smaller subconsciously.
7. Break the Rules
We all love being given permission to break the rules! While these six rules are essential when it comes to composing a pleasing image in your viewfinder, you don’t need to stick to them religiously. Get creative!
Remember, it’s all about getting your message across. If the rule of thirds moves the story forward, then awesome! That said, there may be an instance where doing something completely opposite to the composition rules would be the best course of action to convey your point.
Don’t be afraid to do something different. If you aren’t sure if something would work, try shooting the same scene in a few different ways. Your test shots will give you a better understanding of what works best for your film. And of course, have fun with it!
Additional Tips For Good Composition
The 180 Degree Rule

As a viewer of a film or video, we feel like we are watching the action. In doing so, the camera will sometimes cut to a closeup of one subject matter, then another, like two people talking for instance. It may then cut to a wide shot where we see body language and more surrounding objects. You can imagine a line running across the scene through the subject matter.
This imaginary line represents the 180 degrees that the camera views in the scene. Once it has been established, that the viewer is looking on from one side, it’s poor composition to jump to the other side of the room. Doing so will make the subject matter appear to jump across from each other and be looking in the wrong direction.
The effect of breaking the 180-degree rule can be used if the goal is to be jarring, but in order to maintain a sense of order, it’s best to stay on one side of the action as if the camera was the viewer looking on.
Up/Down Angles
Many times, you want to shoot your subject matter at eye level to give the viewer a sense of being a part of the scene. But you can also achieve dramatic effects by shooting at up and down angles towards your subject matter.
Shooting a down angle from above the subject gives the viewer a sense of power over the subject. It makes the subject appear weaker and smaller in stature. It can also be used in a more positive light to make the subject appear more docile or friendly.
While shooting the subject from a low up angle gives the power to the subject. It makes the subject seem larger or looming. It can be imposing and threatening. It can also be looked at as something to reach for or achieve, like a shot looking up at a mountain peak.
The use of up and down angles can be quite dramatic in frame composition, or it can be subtly used to make a character seem slightly taller or shorter just to enhance your story.
Find ways to incorporate these angles to help subconsciously inform your viewer what to feel about the subject matter.
The more you follow and break these rules, the better a filmmaker you’ll be. You’ll understand how your composition can result in specific outcomes, looks, atmospheres, and feelings.
At the end of the day, people don’t walk away from your video thinking about individual shots. They’ll walk away with thoughts, feelings, and emotions, and you get to lead them along the journey. The seven rules for better shot composition is just the starting point. So, get out there and start experimenting. You’ll quickly see how your productions will improve!


