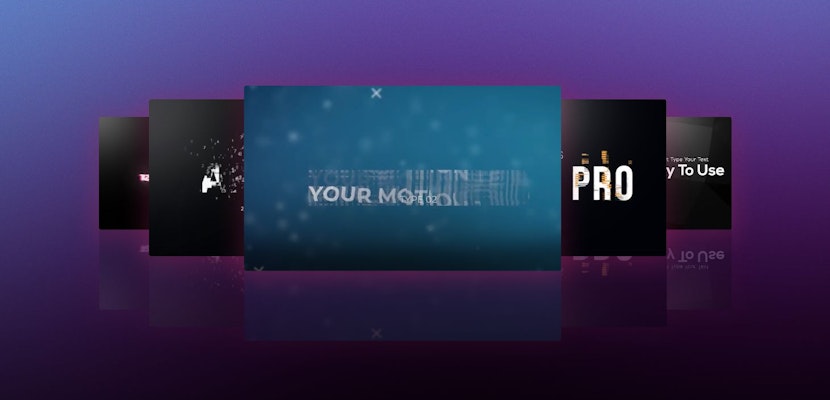
When creating your video, the Font you use for your titles can play a vital role in the theme and look of your project. Unfortunately, the built-in fonts provided on your device can be a little limiting. That’s where downloadable fonts come in, allowing you to build libraries of thousands of Font assets. Today, we will show you how quickly you can install and use fonts in Final Cut Pro.
Summary
Part 1: Install Fonts in Final Cut Pro
You can quickly expand your font assets by either downloading them or creating your own. Websites like 1001freefonts.com, fonts.google.com, and Dafont.com are fantastic libraries of font assets available for you to use.
While we’re showing you how to install and use font files for Final Cut Pro, once added to your Font Book, you’ll be able to use the assets in any program that works with your system fonts, such as Pages, Keynote and Photoshop.
Installing a Single Font
Once you’ve chosen and downloaded the best Font for your project, you will need to install it into the system Font Book.

- Find your downloaded Zip folder and double-click to open it.
- Look for the font file in the downloaded folder, which will either be a .oft or .ttf file.
- Double-click the font file and the Font Book will open along with a font preview window.
- Click the Install Font button for the font to be added to the Font Book.
- Close the Font Book application and relaunch Final Cut Pro (or your chosen program).
- Navigate to your title editor, and find your new font in the list.
Installing Multiple Fonts
If you are trying to install multiple Fonts simultaneously, there is a quick and easy way to do this. First, make sure all your Font files are in the same folder on your computer.
- In the Applications folder, search for and open the Font Book.
- Select User in the left-hand column of the Font Book.
- Click the + button at the top of the window and navigate your font downloads folder.
- Select the top font file, then while holding Shift, select the bottom of the list.
- Hit Open, and all the fonts will be installed at once.
- Remember to restart Final Cut Pro, so they appear in the list.
Organizing Your Fonts
While Final Cut Pro will always display your Fonts in alphabetical order, you can organize your fonts into groups within Font Book, making them easier to find.
- In Font Book, click the + symbol in the bottom left corner.
- Add a name to your Font Collection.
- Search for the fonts you want to add to your collection.
- Drag the Font to the sidebar to drop it in your collection.
Part 2: Find Installed Fonts Inside FCPX
While working with downloaded fonts can be a lot of fun, you can quickly run into problems when sharing projects with team members. If your team doesn’t have the font in their system, the titles will revert to a generic font when the project is opened. A quick solution is to send any fonts used along with the project.
- Open the Font Book application and search for the font you wish to send.
- Right-click on the font and choose Show in Finder, then take the file and send using your preferred method. Don’t worry, this won’t remove it from your device!
- If you can’t find your font in Font Book but know it is being used in Final Cut Pro, you can check the Application folder, then find Final Cut Pro and right-click > Show Package Contents.
- Navigate to Contents/Frameworks/Flexo.frameworks/Versions/A/Resources/Fonts to see all the font files FCPX has access to.
- Copy and paste the font file from the FCPX application folder and send it using your preferred method.
Part 3: 7 Popular Final Cut Pro Title Packs for 2022
1. Typography Titles
Typography Titles is a collection of 9 full-Screen text animations, ideal for social updates and title cards in longer videos. The bright and bold designs offer easy branding through color and font choices.
Download Typography Titles Now
2. Retro Typewriter Titles
The Retro Typewriter Titles pack includes 50 stunning text animations for a range of trendy looks. These titles are ideal for your retro-inspired projects, including realistic type font and funky 80s computer screen effects.
Download Retro Typewriter Titles Now
3. VHS Titles
The VHS Titles pack includes 9 stunning 80’s and 90’s inspired full-screen title designs. These old-school titles are ideal for your period video projects with neon light effects and retro wave patterns.
4. Dynamic Colorful Typography
The Dynamic Colorful Typography pack is ideal for businesses and content creators creating social media visuals. The full-screen titles with bold graphical flourishes offer a set of unique and easy-to-brand digital flyers.
Download Dynamic Colorful Typography Now
5. 1970s Titles
The 1970’s title is a collection of 9 familiar feeling retro title cards with a 70/80′ neon vibe. The full-screen titles and backgrounds are provided in a modular structure, so you can mix and match as required.
6. Cine Credits
The Cine Credits project is a collection of grunge title cards, ideal for horror, thriller, and fantasy projects. The stormy background and snow particles give the stone-like text style a cold and gritty feel.
7. Essential Title Elements
The Essential Title Elements pack contains 30+ elements split across 5 categories, including full-screen and lower third assets. The kit includes background presets to build unique titles for your project.
Creating titles in Final Cut Pro is a lot of fun, and with downloadable title animations and fonts, you can create unique looks quickly. If you’re interested in finding out more about title animations and Final Cut Pro fonts, check out these 20 fantastic text effects.


