


Object tracking can be a time-consuming and challenging task and is usually reserved for After Effects. Final Cut Pro is taking on the challenge with its recent update, which includes an Auto Object and Motion Tracker function that is seriously impressive. In just a couple of quick clicks, you can be tracking your text, graphics, and even effects around your clip; let’s see how.
Summary
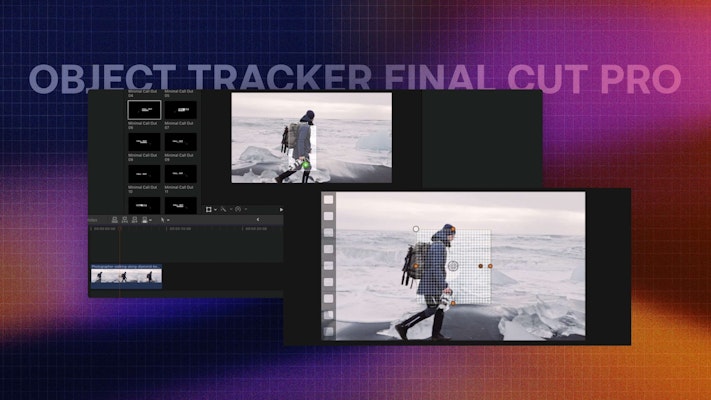
Part 1: Learn How to Use the New Object Tracking in FCPX
The success of any object tracking will depend on several variables, such as camera movement, object movements, framing, lighting, and contrast. It all comes down to the clip and how your footage is shot; you need a clip with good contrast, clear tracking points, and not too much movement for the best results.
As FCPX does the motion tracking, it can take a little time to analyze, depending on the length of your clip. All tracking involved choosing a point in your clip, such as a person’s face, and setting markers for the program to follow. In Final Cut Pro, you can add your elements (text, graphic, or effect) to the clip for tracking, or you can create the tracking and add your element later; we’re going to show you both methods.
Option 1: Adding the Tracking Object First
Adding the tracking object first is a quick and easy way of creating a pre-planned look; if you have your graphics or title elements available, drag and drop for super fast tracking. You can always replace the element later using option 2.
- Add your clip to the timeline and edit as required; make sure your playhead is at the clip’s start.
- Find your graphic or title element in the Project browser and drag it to the Media viewer.
- Move around the Media viewer, hovering to see the Tracker Point option, then drop your element on the chosen point.
- In the Media viewer resize the Tracker Point box to fit the element in the clip you want to track.
- Hit Analyze at the top of the Media viewer and wait for FCPX to track the element.
- Click on the Title or Graphic layer, and in the Inspector, adjust the Position and Scale to your requirements.
- Select the tracked clip and hit Done in the Media viewer.
- Keep scrolling down in the Inspector until you find the Tracker, then double-click to change the name of the tracking element.
- Use the arrows in the Inspector to move through the clip, manually adjusting the Tracking box as needed.
Option 2: Tracking your Object
If you have a particularly long clip or want to try out multiple elements on your tracking points, it is best to set up your tracking before adding the element. You can also use these steps to swap any graphics attached to tracking points.
- Edit your trackable clip in the timeline and select it.
- Scroll to the bottom of the Inspector, then hit the + symbol under the Tracker section.
- Move the Track box around the screen to the point you want to track.
- Hit Analyze and wait for the tracking to complete.
- If you are happy with the movement, hit Done at the top of the Media viewer.
- Drag your text or graphic to the timeline and position it on the track above your clip.
- With the playhead at the beginning of the clip, resize and position your graphic/title as required.
- Highlight your graphic/title in the timeline and hit the Transform box at the bottom of the Media viewer.
- Select the Tracker from the dropdown menu at the top of the Media viewer to attach your element.
Part 2: 4 Ways to Use Object Tracking in Final Cut Pro
The fantastic thing about the Final Cut Pro tracking tools is that you can track a range of title, graphic, and effects elements. Let’s have a look at some ways you can use the auto object and motion track tool in your project.
Cool Intro Sequences
Many TV shows, films, and commercials replicate movement in the scene with the credits and title cards. By mixing various wipe transitions with the tracking tools, you can create some incredible title reveals for your projects.
Call Outs
Call-outs are a fantastic way to label products, locations, and prices in your videos. The auto object and motion tracker functions make the process super simple. You can add as many tracking points as you need to a single clip, allowing you to add labels to whatever you’d like.
Blur Faces
Blurring faces for reality and documentary programs are always a headache at the end of an edit. With the FCPX tracking tool, you can add a gaussian blur effect to your face tracker, for instance, face coverage.
Replacing Posters, Signs, and Screens
Whether you’re using a green screen computer stock clip or want to replace signage around your filming locations, you’ll need a good motion tracking tool. The simplicity of the FCPX object and motion tracker makes adding your finishing touches a lot easier.
Motion tracking doesn’t need to be a headache with Final Cut Pro’s amazing object and motion tracking tool. Now that you know how to create a tracker and add your elements to it, you can apply the skills creatively to whatever your project needs. If you want to find more ways to motion track in FCPX, check out this handy plugins guide.


