


Final Cut Pro is one of the best and most user-friendly editing suites available for editors. One issue that editors will run into is shooting videos that just come out too grainy or pixelated. In the past, noise reduction tools were overly expensive and limited to the top professionals in the film business. But following these simple steps, you will be able to reduce video noise simply and quickly in Final Cut Pro.
Summary
Part 1: How to Reduce Video Noise & Grain in Final Cut Pro
Video grain and pixelation are not a stranger to any experienced or inexperienced videographer or editor. You can curb these issues in your editing suite thanks to conveniences made that were not available before. Reducing video noise and grain is a hallmark of professionalism and is necessary to produce a worthwhile image, whether it’s a personal project or a piece of work for a client. Before applying the noise reduction tool, you can take other measures to improve your video and also enhance the noise reduction.
Step 1: Prepare Your Clip
- Adjust your White Balance by selecting your footage and clicking Option + Command + B.
- Go to your Inspector, and change the Balance Color setting from Automatic to White Balance
- Click Command + 6 and use the Color Board to adjust the Exposure mid-tones; also add additional blue or red to your footage highlights.
Step 2: Apply the Noise Reduction filter
- Click Command + 5 and go to the Effects. Under the Basics, you will find the Noise Reduction filter. Adjust the Amount to High and Sharpness to Medium. Note: Medium Sharpness is recommended for most footage.
- As the Noise Reduction effect is graphics processing-intensive, we recommend that you rearrange the order of processing by dragging the Noise Reduction effect to the top of the list.
- To actually preview the effect, wait for Final Cut Pro analyzes the clip for noise. Once the analysis is complete, you can see the actual results on your clip.
- If you have 360 Drone footage or Go Pro video clips, Final Cut Pro also offers the 360 Noise Reduction filter.
Optional: Use the Free Denoise Effect
You can also download DeathByVlog’s free resource for a Denoise effect for Final Cut Pro. Apply the Denoiser to your footage and adjust the setting appropriately. Note: This free resource will work with 1080p video footage.

Step 1: Open your version of Final Cut Pro.
Step 2: Load your Final Cut Pro project, or alternatively create a new project and drag your videos in need of denoising into the timeline.

Step 3: Select the ‘Custom’ tab in Effects, or the corresponding folder, to select the installed Noise Reduction Tool in your editing suite.
Step 4: Click the Denoise effect and drag it to the specific clip in your timeline.

Step 5: You will be able to adjust the Denoise effect accordingly in the Effects module; including target color, adjusting the contrast, brightness, shadows, and gamma.
Step 6: Increase or decrease the amount of Detail Recovery to match your footage without excessively blurring.
Taking the time to grade your footage and adjust the balances will not only lessen the pixelation or grain that shows up in your video but will give you a sleeker image. That is the single most important thing in being able to captivate your viewers. It may not give you the completely perfect image you’re after, but being able to cancel out the visual issues is a necessary step in having your work being viewed as professional.
Part 2: How to Avoid Grainy Video?
Now that we have gotten into how you can use the video noise reduction tool, it’s important to go over why you might have a grain or pixelation issue, to begin with. It’s not an uncommon issue, even with the most experienced videographers and video editors. If you can gain an understanding of this issue and do your best to avoid it in shooting with your camera, your overall results going forward will be better.
From there, your noise-reduced video will look cleaner, more natural, and have a less technically instructed sharpness to your footage. Here are 4 handy tips to help you avoid grainy video clips!
Bring External Lighting

Sometimes when you’re on a shoot you just need to run and gun it, but if you have the option – bring your own lighting. Bringing a mini light or packing lighting set up will allow you to have more control over your image, its natural white balance, and overall digital quality.
The fact is that if you shoot at night or in low light situations, regardless of the caliber of your equipment, you are likely to run into an issue where there will be an overcompensation of artificial light dealt at the expense of your image.
Correctly Tabulate Your Settings

You must make sure that your settings are properly tabulated for the environment you are in. You likely won’t want to go into a shoot abiding by the total factory settings of the camera and you will need to adjust your controls to meet the environment and technical quality of what you’re recording in and with.
Try to Avoid High Level of ISO

ISO increases the brightness of the image and anything set after a certain degree will begin to degrade the footage. Sometimes you will have to have an unusually high level of ISO to capture an image, and that is where reducing noise and grain will come in handy.
Keep Your Aperture Open
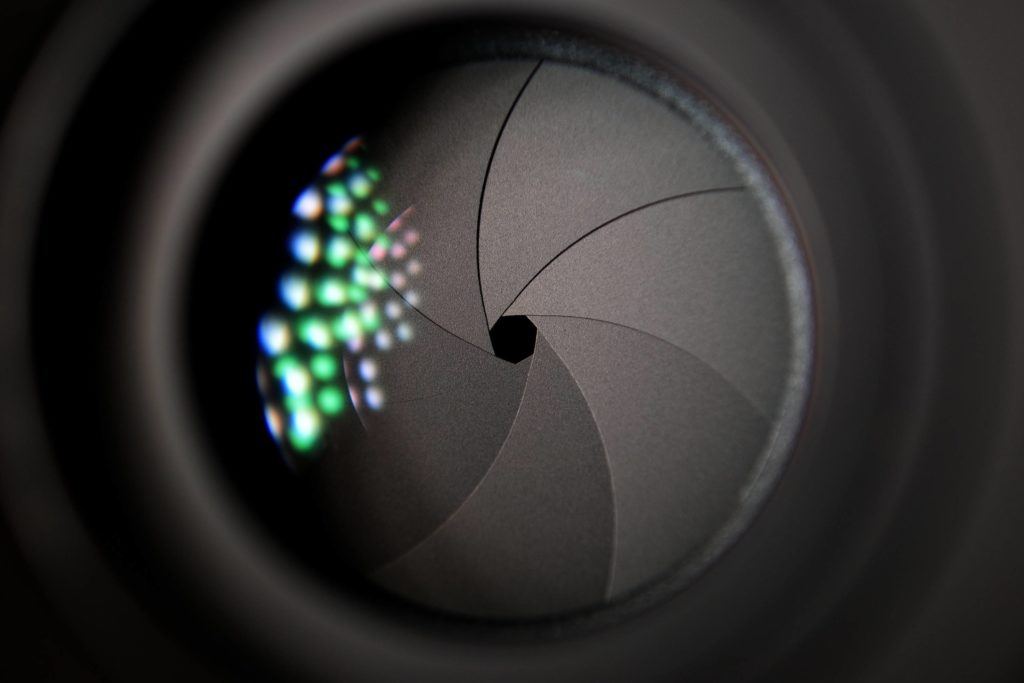
Aperture is natural light being let into your lens. It is necessary to keep your aperture open appropriately in order to capture a great, worthwhile image. If you want to lighten your video up and obtain more details in the pixels, letting your aperture open up is the first step in doing so.
These steps can resolve any issue long in advance of such a problem making itself known on video. You will also be able to pick up a lot of knowledge about videography and cinematography in the process, which can only aid you in perfecting the images you want to capture on film.
There are many measures you can take to improve the video quality of your image and avoid unnecessary grain and pixelation, but it is mainly best dealt with using preparation for any video shoot. When all else fails, using the opportunity to reduce video noise in Final Cut Pro is one of the best solutions you can apply. Reducing video noise in Final Cut Pro is only half the battle, but it can be a life-saving solution for your video project.


