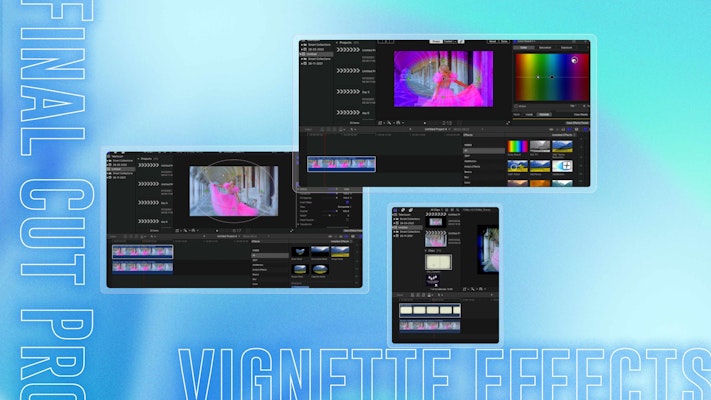
Vignettes are effects you can add to your footage to create a border around a focal point. Most commonly, vignettes will be used to create a darker edge to your image, but you can use vignetting with many more effects, such as blur, color effects, and distortion. Let’s jump into how you can create an excellent vignette effect in Final Cut Pro X.
Summary
Part 1: Custom Color Vignette Effect in Final Cut Pro
To create a custom color vignette, you’ll need to use the Color Board. The simple color mask allows you to add various exposure, saturation, and color effects.
- Edit your clip in the timeline.
- In the Effects panel, search for Color Board, then drag it to your clip.
- Click on the Color Board Mask icon in the Inspector and choose Add Shape Mask.
- Stretch the mask in the media viewer so that the focal point of your image is in the center.
- Go to the Color Board controls, and at the bottom, click Outside.
- Adjust the Color, Exposure, and Saturation settings as required.
- Adjust the mask in the media viewer by dragging the edges or the handles to create square corners, softer blending, or a larger vignette.
Part 2: Create a Custom Effect Vignette in FCPX
Creating a custom color vignette is super easy; the color board already includes a mask option. Don’t worry; you can still use other FCPX native effects to create vignettes; we will show you how with a Gaussian Blur, but you can do this with any visual FCP effect.
- Edit your footage in the timeline.
- Hold Alt on your keyboard and drag the clip upwards to create a duplicate above the original.
- In the Effects panel, search for Gaussian Blur and add it to the top clip.
- In the Inspector, adjust the Gaussian Blur effect to your liking.
- This time in the Effects panel, search for Shape Mask and add it to the top layer.
- Drop down the Shape Mask options in the Inspector and select the Invert Mask checkbox.
- Adjust the Mask Size, Shape, Falloff, and Feather to get the look you want.
Part 3: Make a Cool Vignette Effect with Overlays in FCPX
Another fantastic way to create a mask is with overlay effects, like this fantastic Old Vintage Vignette. The look you produce will depend on the style of overlay you choose, but there are many other fabulous designs available at Motion Array.
- With your footage edited in the timeline, add your overlay to the track above the clips.
- Select the overlay, and in the Inspector, cycle through the Blend Modes until you find one that suits the overlay.
- In the Effects Control panel, search for Draw Mask and add it to the overlay.
- Click on the media viewer to create 4 handles in a circular shape, then adjust the mask points and handles to create the shape you want.
- Select the Invert Mask option under the Draw Mask settings in the Inspector.
- Adjust the Feather and Falloff to blur the edge of the mask.
- Finally, play around with the Fill Opacity settings to add or remove as much of the overlay from the mask area.
In this tutorial, we’ve covered 3 different ways to create vignettes in Final Cut Pro. Masking solutions make creating vignettes from color boards and effects a piece of cake. With a massive range of overlay styles available to download at Motion Array, you can have fun and get creative with your vignette looks.


