If you find yourself being weighed down in post-production, we’ve developed the perfect solution for you. No longer do you need to constantly switch between Adobe apps and web browsers to find the right assets for your projects.
That’s right! Ditch the days when you needed to search for templates or stock footage, pay, download, import, then test. You can now download and use assets directly from Motion Array’s Extension for Adobe!
The extension is a way of bringing the entire Motion Array library of templates, royalty-free music, stock video, and all other useful creative assets directly into your Adobe projects. Whether you use After Effects or Premiere Pro, if you want to speed up your editing workflow by doing everything within the application, then definitely check out this extension.
In this tutorial, you’ll learn how to get the extension set up so you can start using it in your video projects right away. Let’s get started!
Summary
Part 1: How to Install Motion Array’s Extension for Adobe
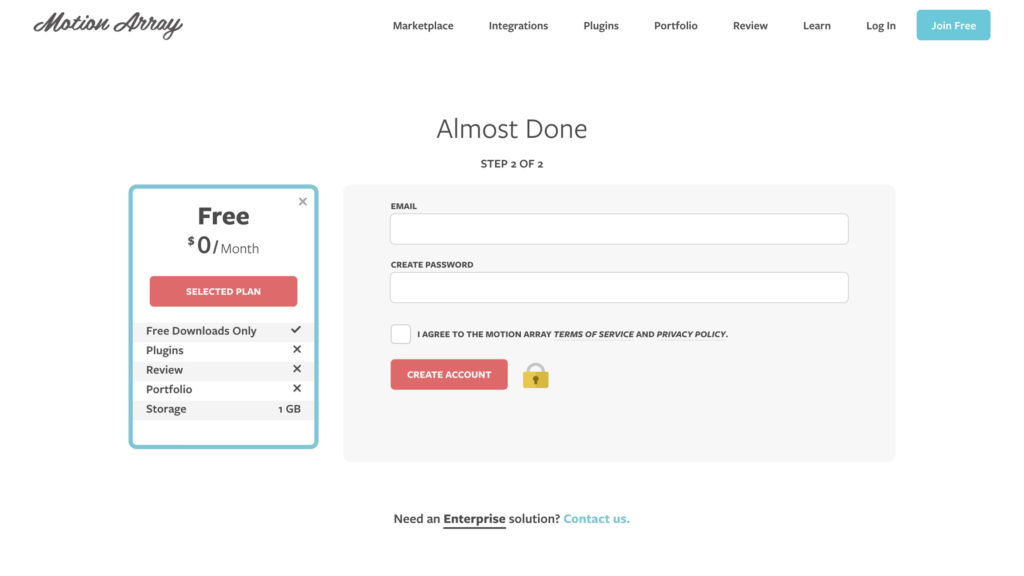
Step 1: Create a Motion Array Account
The first thing to mention is that the extension panel doesn’t cost a dime. It’s totally free to download and install into your Adobe software. You can even browse the Motion Array library to preview the assets and find your favorites.
First, you’ll need to create a Motion Array account and a paid subscription will give you access to the full marketplace. Once you’re logged in, it’s time to explore the Adobe extension.
Step 2: Download and Install the Extension for Adobe
To get the extension, head over to motionarray.com/integrations/adobe.
- Hit “Download” and you’ll be taken to the Adobe Exchange.
- From the Motion Array extension page on the Adobe Exchange, simply click the button labeled “Free” in the upper right for an automatic install.
- If the install doesn’t work, try using ZXP installer. Follow the instructions on the Adobe page to use this.
- Once the extension is installed, you should see the “Extension Acquired” message.
- If Premiere Pro or After Effects are open, you’ll need to close the applications and open them again before the extension appears.

Step 3: Configure the Extension
You won’t see the panel straight away when you open your Adobe program. You’ll need to do some refining in the settings to open it up and get it into a position you’re comfortable with.
- Go to Window > Extensions > Motion Array.
- Click on it to open the panel.
- Grab the panel and dock it to any place you’d like it to be. Whatever works for you.

Part 2: How to Browse & Use Products from the Extension
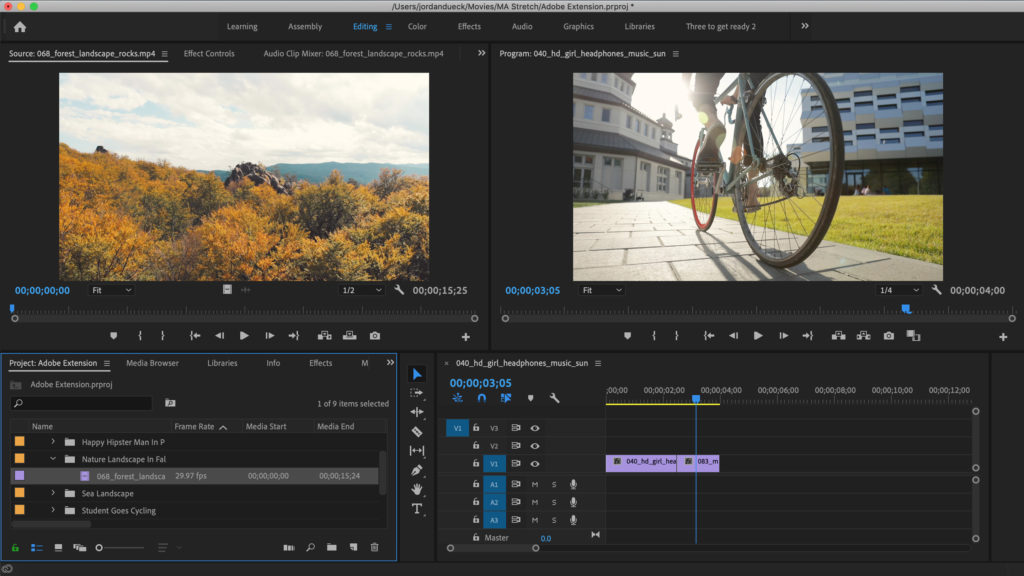
Accessing the Motion Array Library via the Extension
You should see some assets displaying in the window already. It should be set to display everything relating to the program that you’re in and will show the newest items first. For example, if you’re in Premiere Pro, you’ll only see downloads that will work in Premiere Pro.
To filter and search:
- Click on the Everything tab.
- Select a parameter, such as Stock Video.
- In the Search Bar, type in a keyword to what you’re looking for, such as Landscape.
- Scroll down to explore the results and find a clip you like.

Downloading and Importing Assets
Once you’ve found the asset you’d like to incorporate into your project, downloading and importing is super easy.
- Click the Download icon on the asset you want to use in your project.
- Log in to your Motion Array account from the profile icon. You’ll only need to do this once until you log out again.
- Your downloaded assets will now be available in the Project Manager in a Motion Array folder. Within that Motion Array folder, you’ll also see subfolders categorizing each media.
You can see by default that the video will go to your Downloads folder. But that isn’t great for file management. You’ll want to keep everything in the project in the same place.
- Click Change to choose a new download location.
- Select the project folder you’re currently working in.
- Create a new folder for the downloaded assets.
Now anything you download will go straight to the folder you selected. You can change this any time you start a new project.
- Drag the video into your Project Manager to organize it.
- Or, drag the video straight onto the Timeline to drop it into an edit.
Exploring Your Account Details
You’ll see a dropdown in the top right-hand corner to see your account details.
- Click Details or Collections to be taken to that part of your Motion Array account on the Motion Array website.
- Click Downloads to see everything you’ve downloaded recently and easily re-download something.

And that’s it! The Extension makes working across the Motion Array library and your Adobe applications completely seamless. You won’t be constantly interrupted by login screens, and you won’t have to make a payment every time you need a specific asset. With your unlimited membership, you’ll get full access to everything Motion Array has to offer.