You’ve probably seen those epic photos on Instagram, right? The ones that look like the model is floating in the air? Maybe unsurprisingly, there’s no actual levitation involved. It’s just some clever camera trickery and a bit of Photoshop magic. So how do you make people and objects float in photos? Here are a few methods to check out. See which one works for you.
Summary
Part 1: Learn How to Take Floating Photos of Yourself
This method is perfect if you want to make it look like you are floating.
- Take a photo of the background you want in your scene, without any objects. Usually, this can be back alleys or even trails at the park.
- Using the same background in as close a position to the original photo as possible, take a remotely triggered photo of yourself (or ask a friend to help) jumping in the air. Make sure to do relaxed jumps with your arms and legs slightly apart in a loose pose to get the best results. Try not to move too stiff or limit your movement like in a box.
- If you want an even more impressive image, use a stool to support yourself in the position of your choice. Jump off it, or lay on it in a ‘levitating’ position. Remember to take a blank photo of the background whatever you choose to do.
- When you’re happy with your setups, import your images into Photoshop.
- Copy (Cmd+C or Ctrl+C) the photo of you floating and paste it (Cmd+V or Ctrl+V) onto your background photo.
- Change the Opacity of the float photo to 50% and line the two photos up as close as possible.
- Create a Layer Mask on the float photo and select the Pen tool.
- Click along the outline of the stool to create a mask around it. Take your time on this. The more time you spend on this step, the better the result.
- Right-click and hit Make Selection, set the Feather to 0, then hit OK.
- Select the Brush tool (B) and set the foreground color to black. With the layer mask selected, paint away the selected area and the stool will vanish, leaving the background image behind it.
- To fix gaps in shadows and walls that might be left behind, select the Patch tool, highlight the area and drag the image to the left or right.
- Once you have the finalised composited floating photo, color correct it to finish any visual tweaks you might want, with bokeh or lens flare – and you’re done.
Part 2: Make Your Objects Float in Photos without Equipment
Now, what if you want a photo of an object to appear like it’s floating? You could use string and mask it out, but it might hold the object in a strange way. You could throw it and take a photo of it in motion, but what if it’s an expensive object like a camera lens? Here’s how to use some trickery to make an image look like it’s floating safely.
The process will involve taking two separate photos, where you hold the object differently in each photo and combine them.
Here are some tips before you begin:
- Use grids on your camera to frame it the same in both photos
- There’s probably going to be a bit of camera shake so use a high shutter speed to make sure there’s no blur.
- Use manual focus to make sure the two photos are identical.
You are now ready to take the 2 photos. One will be with you holding the object in your left hand, and the other where you are holding the object in your right hand.

Make sure that you are very precise as you get the 2 photos in as identical a position as possible. Once you are happy with the several takes, bring the photos into the same Photoshop composition.
- Turn down the opacity of one of the layers so you can see both in the same document.
- Move the layers to match them as close as possible.
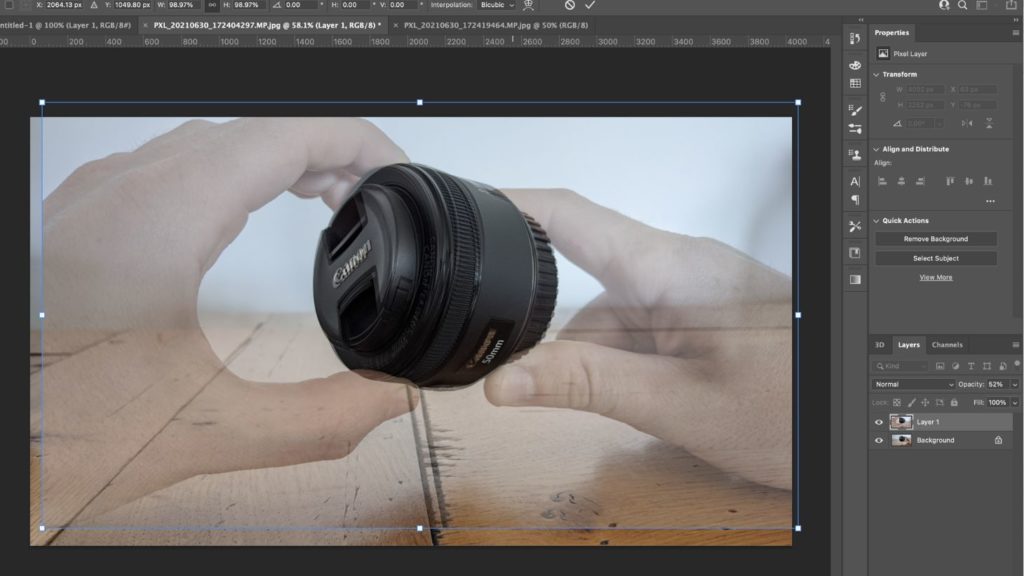
- Create a Layer Mask on the top image, and make sure it’s white.
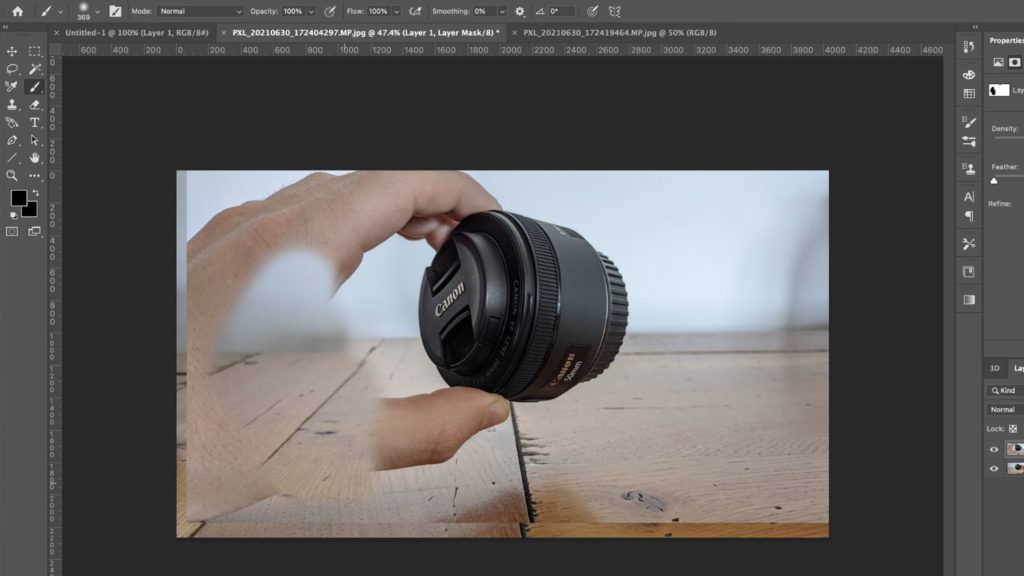
- Use the Brush tool (B), set it to black with 0% hardness, and paint over the hand you want to remove.
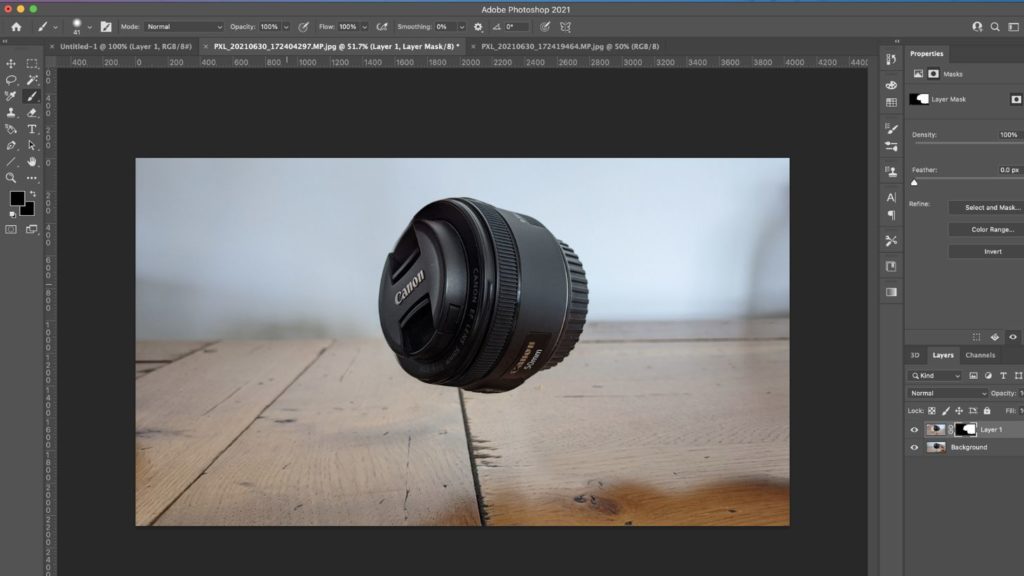
- To finish, crop the image for use on social media like Instagram. The main sizes are:
- Square Photo – 1080 x 1080px
- Landscape Photo – 1080 x 608px
- Portrait Photo – 1080 x 1350px
- Instagram Stories – 1080 x 1920px
Part 3: Top 4 Creative Floating Poses for Levitation Photography
If you want to try out this process for yourself, but don’t have time to take a photo of yourself, we have put together a couple of stock photos for you to learn and master this new skill.
1. Man Leaping On White
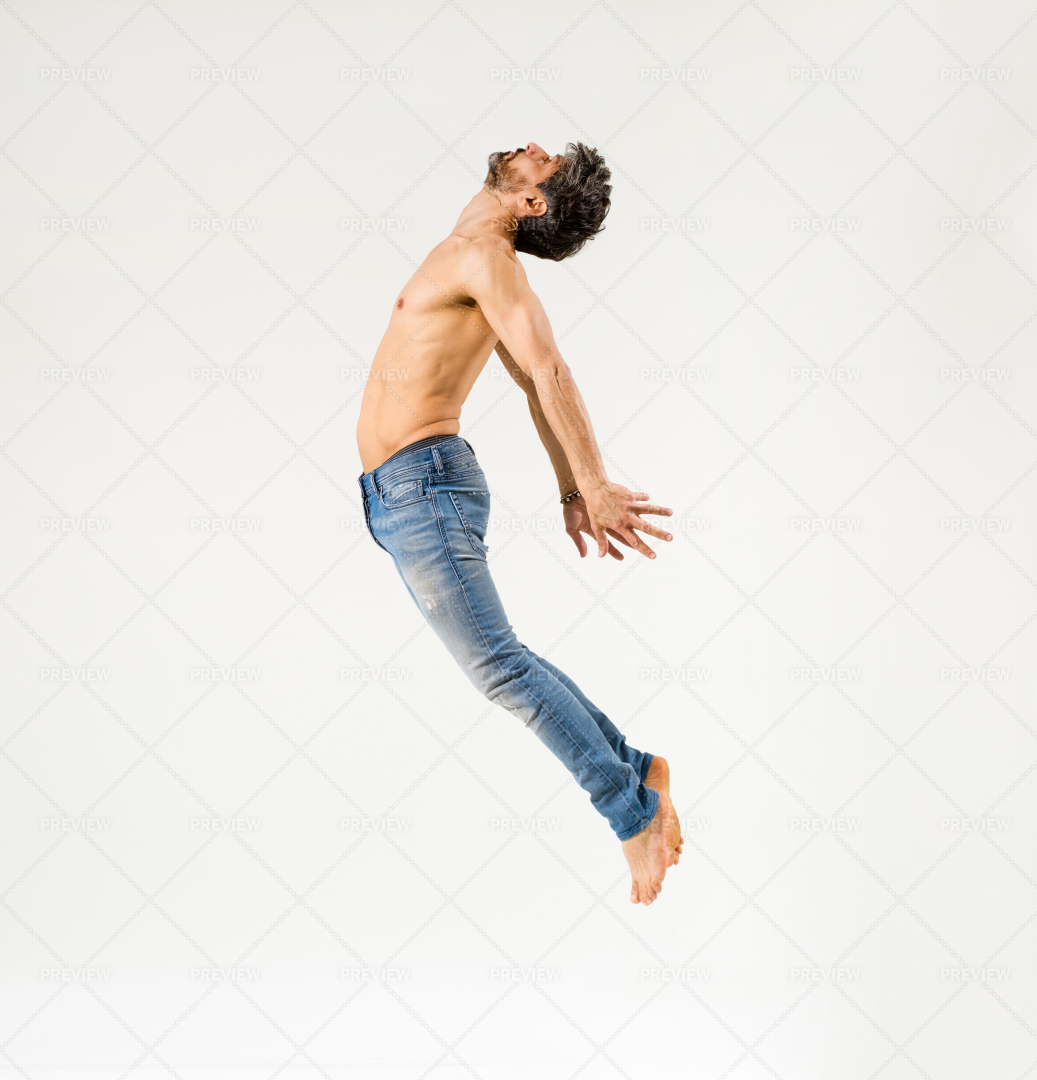
This image of a bare-chested man leaping can be easily cut out as it is taken against a plain white background. You can then paste it fairly easily onto a new background of your choice using Photoshop.
Download Man Leaping On White Now
2. Butterfly Jump
A woman leaps into the air in a butterfly jump position. This dramatic pose would be great to replicate against other backgrounds. Use Adobe Photoshop to replace the background.
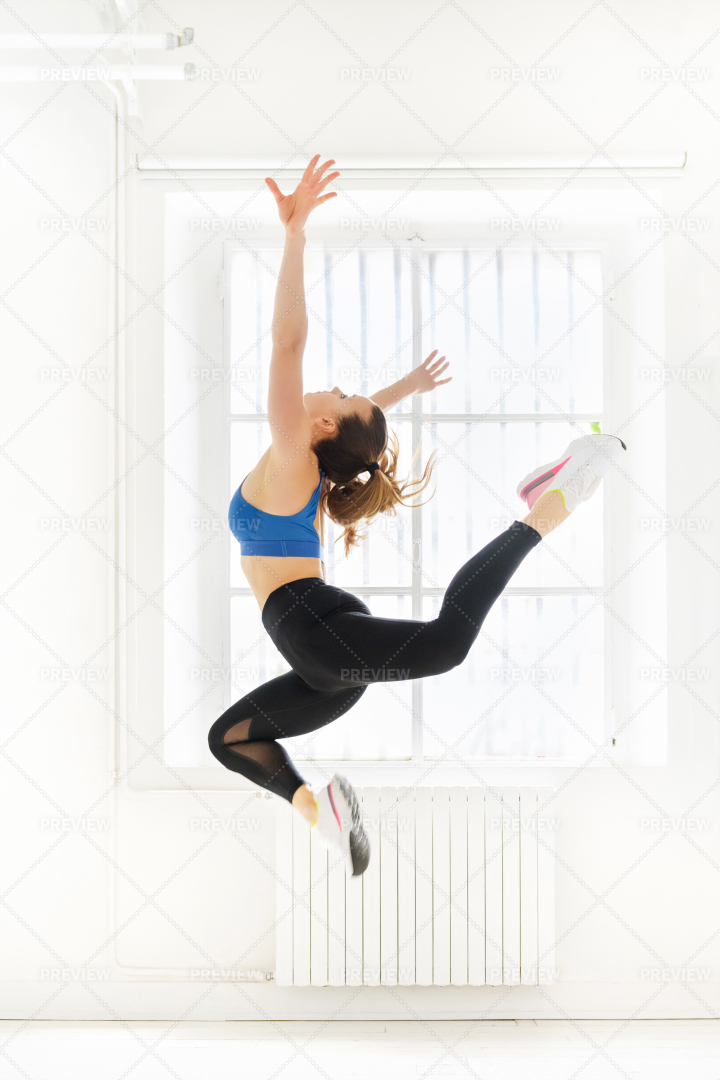
3. Woman Performing Enjambé
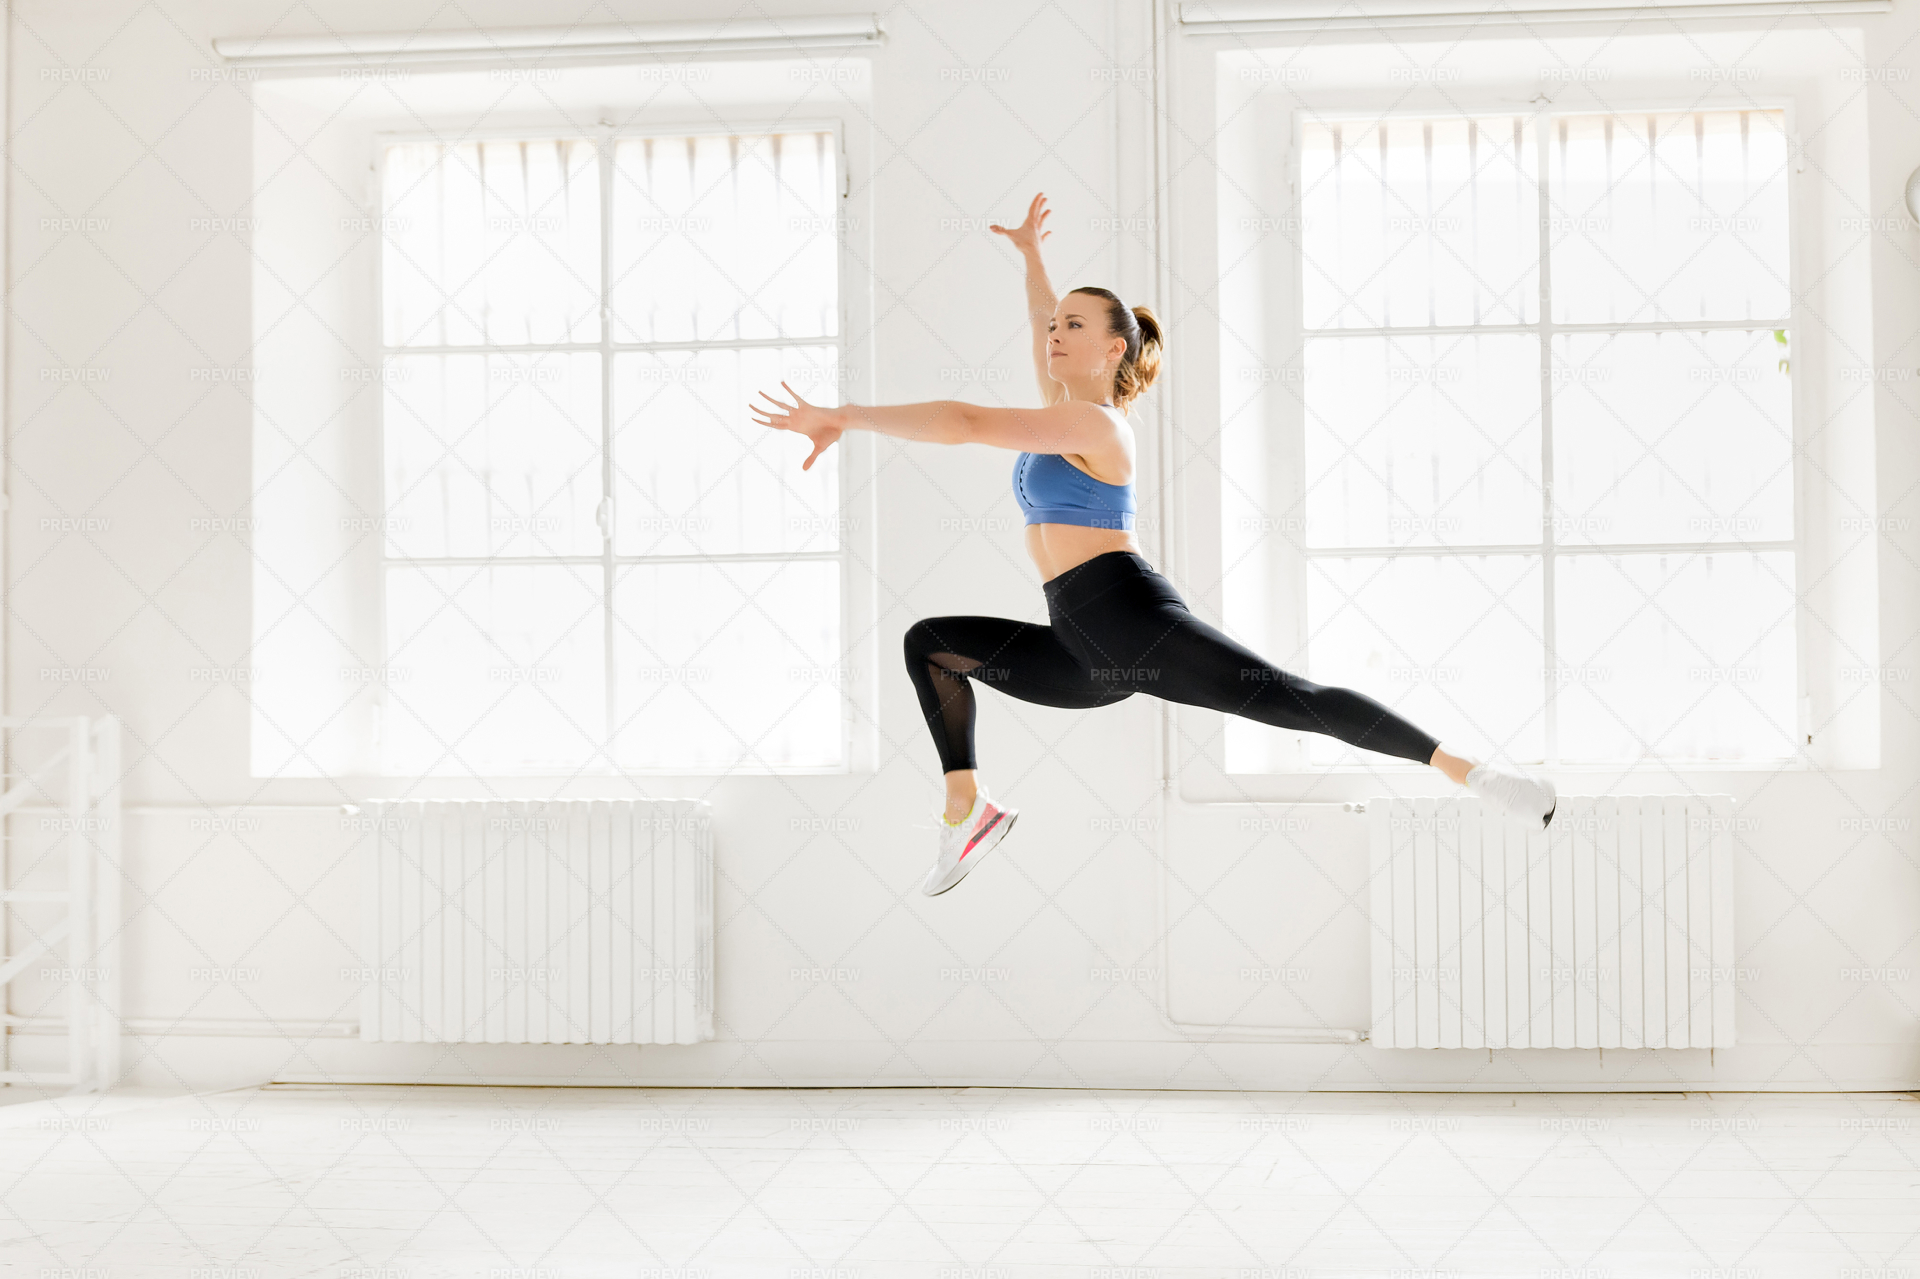
A woman leaps and floats gracefully through the air performing a gymnastic movement. If you’d like to superimpose her onto a different background, use a Layer Mask in Photoshop to replace it.
Download Woman Performing Enjambé Now
4. Woman Doing Yoga Pose
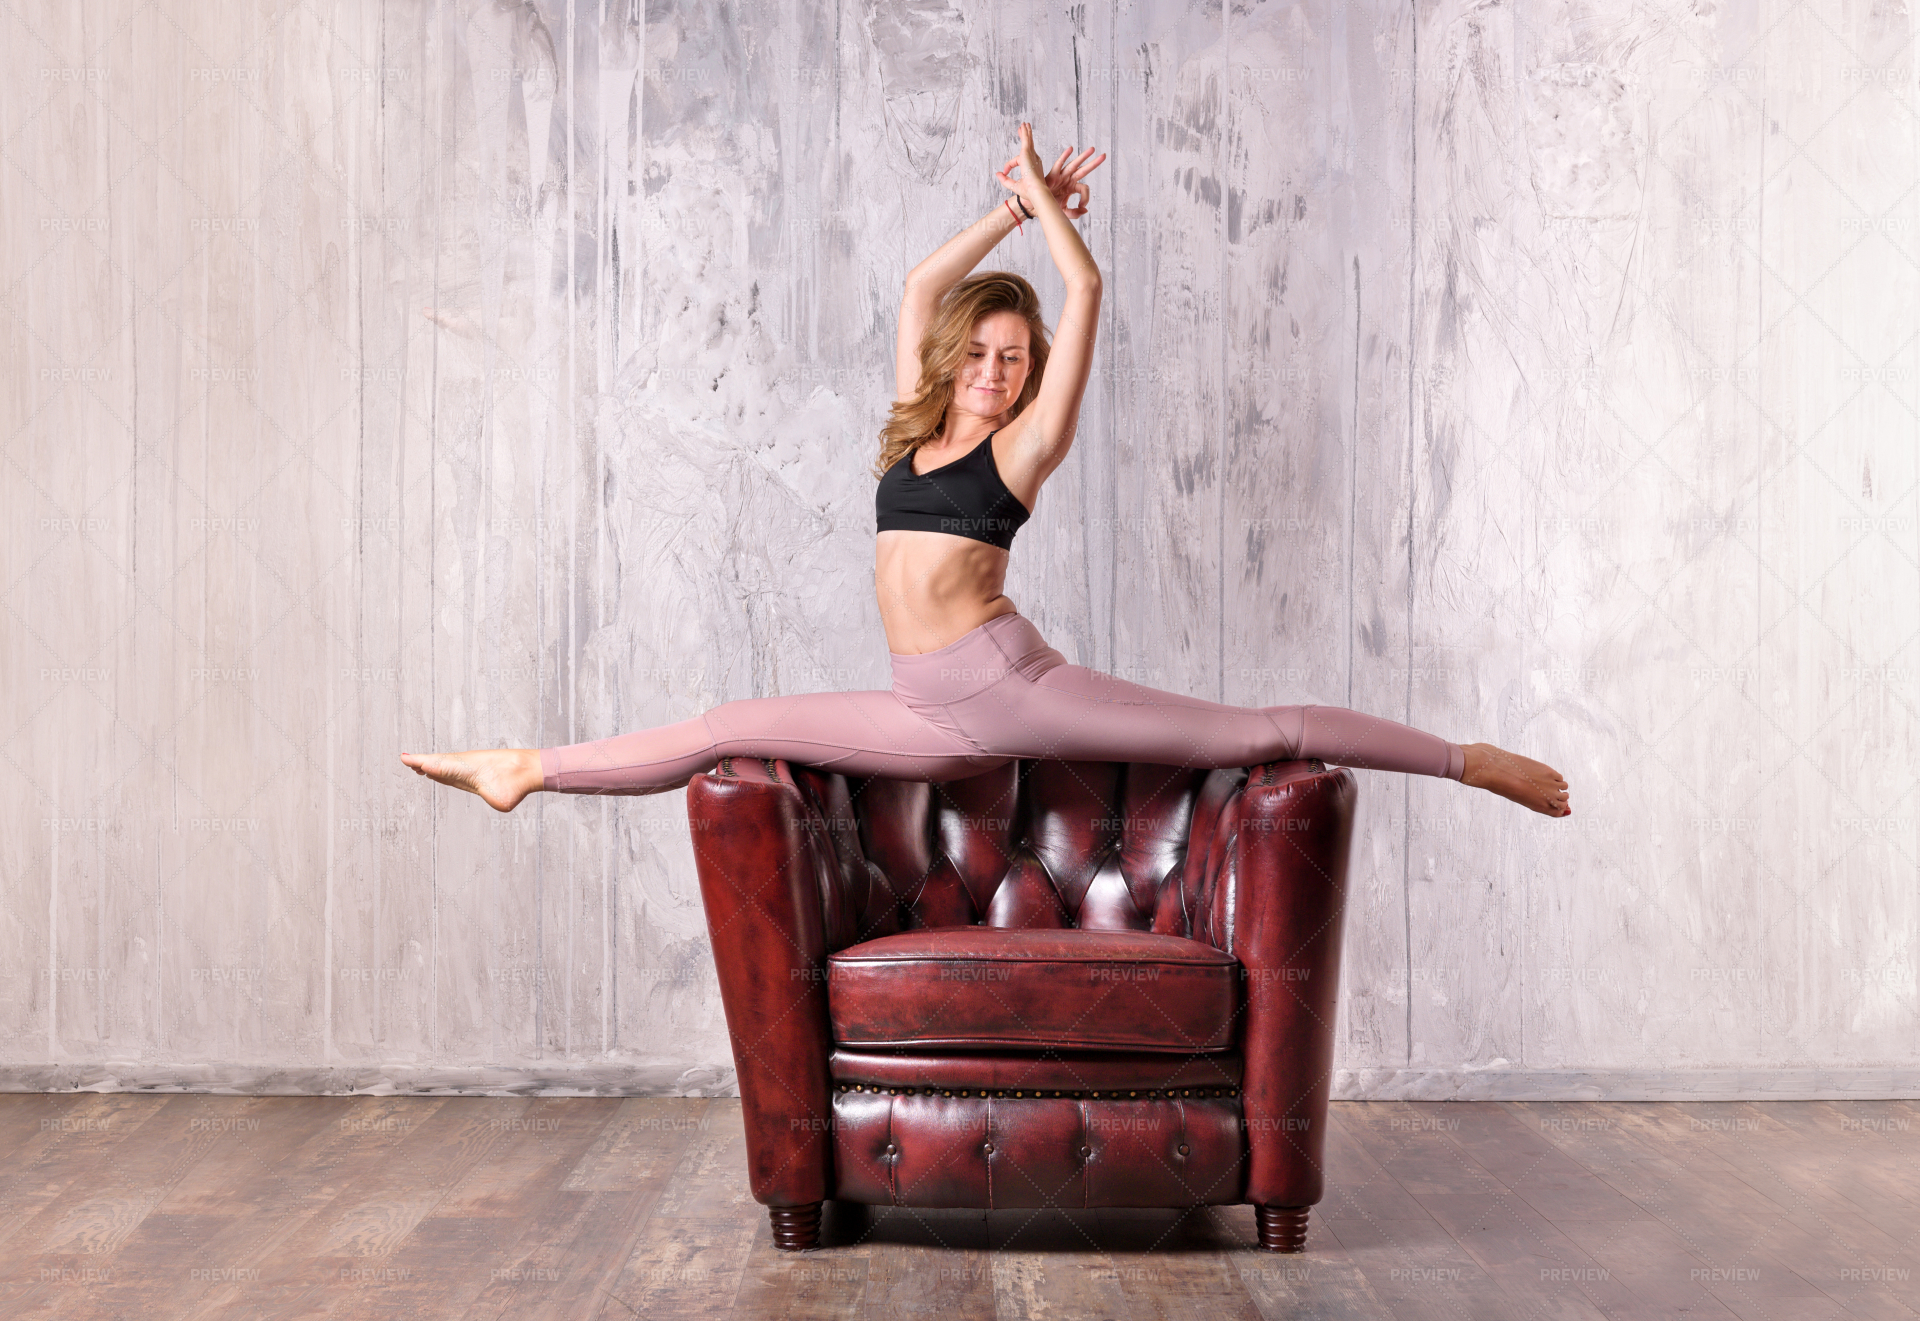
A woman performs yoga on a leather chair against a textured background. Import the image into Photoshop and use a combination of Layer Masks and the Patch tool to remove the background and create the impression she is floating.
Download Woman Doing Yoga Pose Now
Part 4: Top 8 Useful Bokeh Overlay Resources
Once you have created a composition you are happy with using a combination of the Photoshop tools above, try adding some effects and overlays to give it some texture and life. Read on to pick from 8 of our favorite bokeh overlay resources.
1. Bokeh On Dark (Free)

This free image shows colored circles against a black space. Overlay this on your photos to create a seamless transition from the background to the subject, creating a consistent look.
2. Blue And Green Bokeh Lights
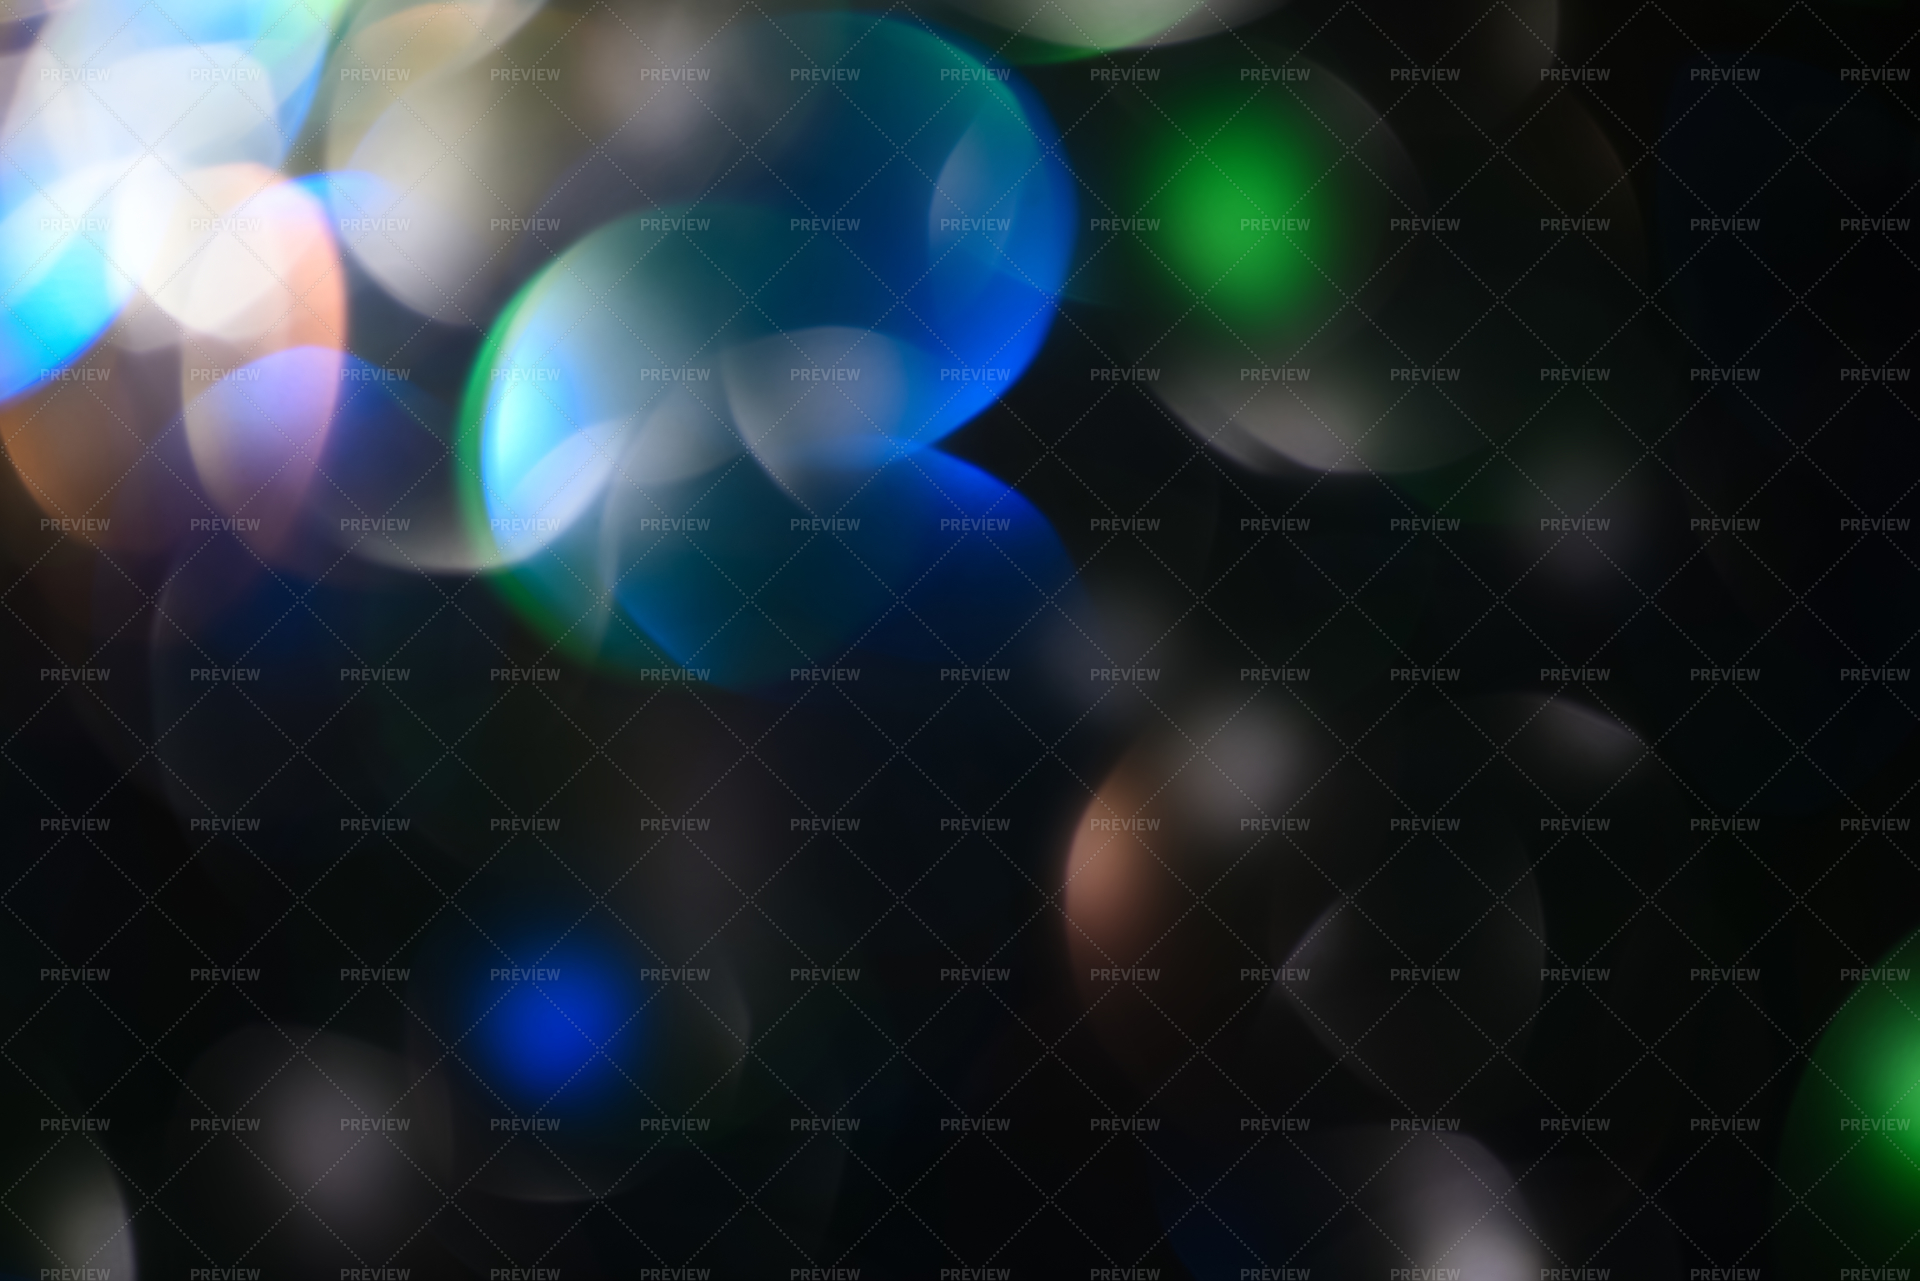
These beautiful blue and green bokeh lights are subtle but stunning, and ideal if you are creating a Holiday-themed image. Simply download and overlay them as a new layer in your Photoshop document, and adjust the blending mode to your liking.
Download Blue And Green Bokeh Lights Now
3. Brown Bokeh
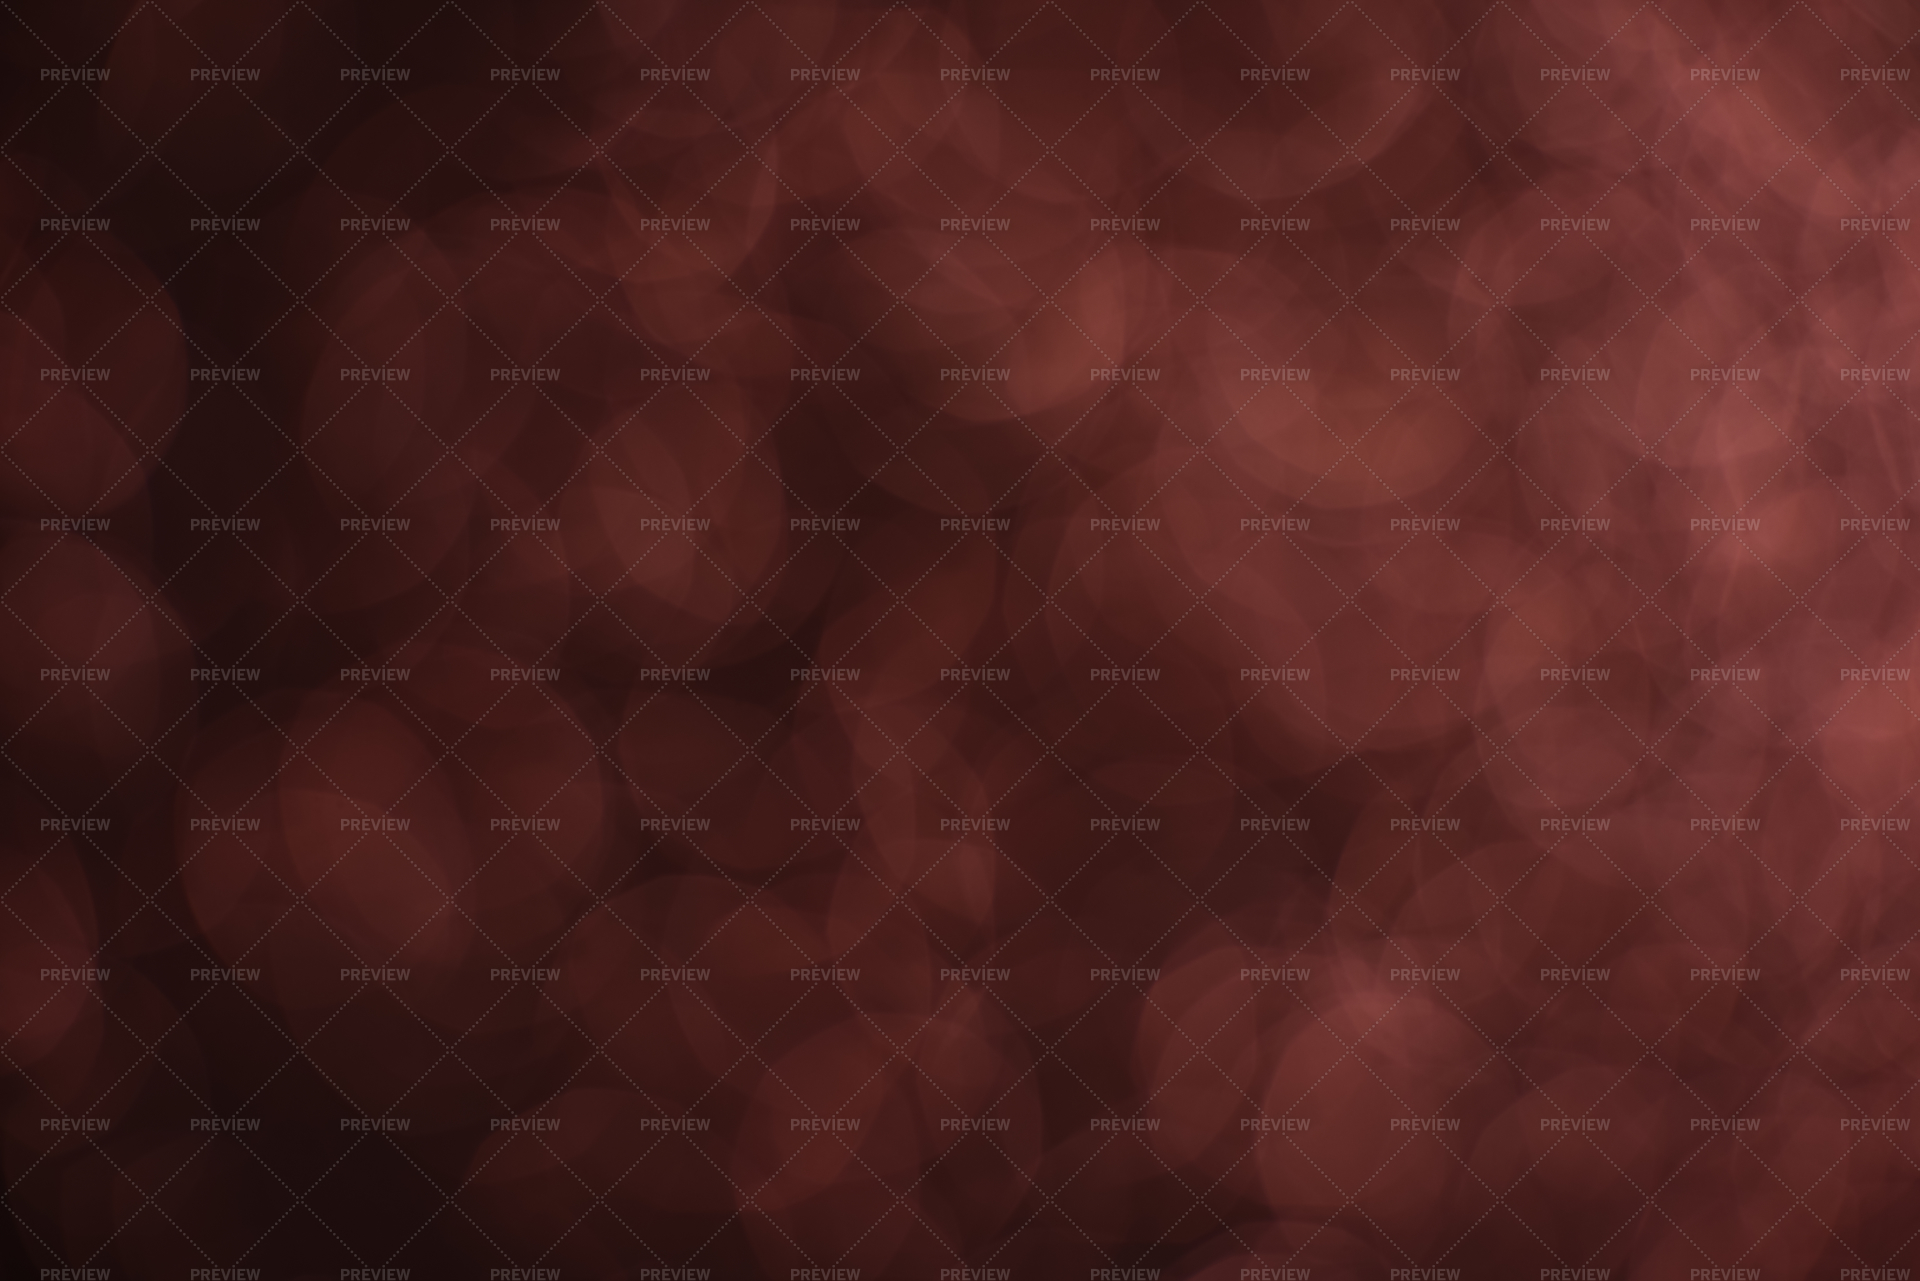
This brown speckled bokeh image is great for overlaying on similarly colored backgrounds, if you are shooting against wood or stone. Adjust the blending mode to create the result you are looking for.
4. Blue Light Bokeh
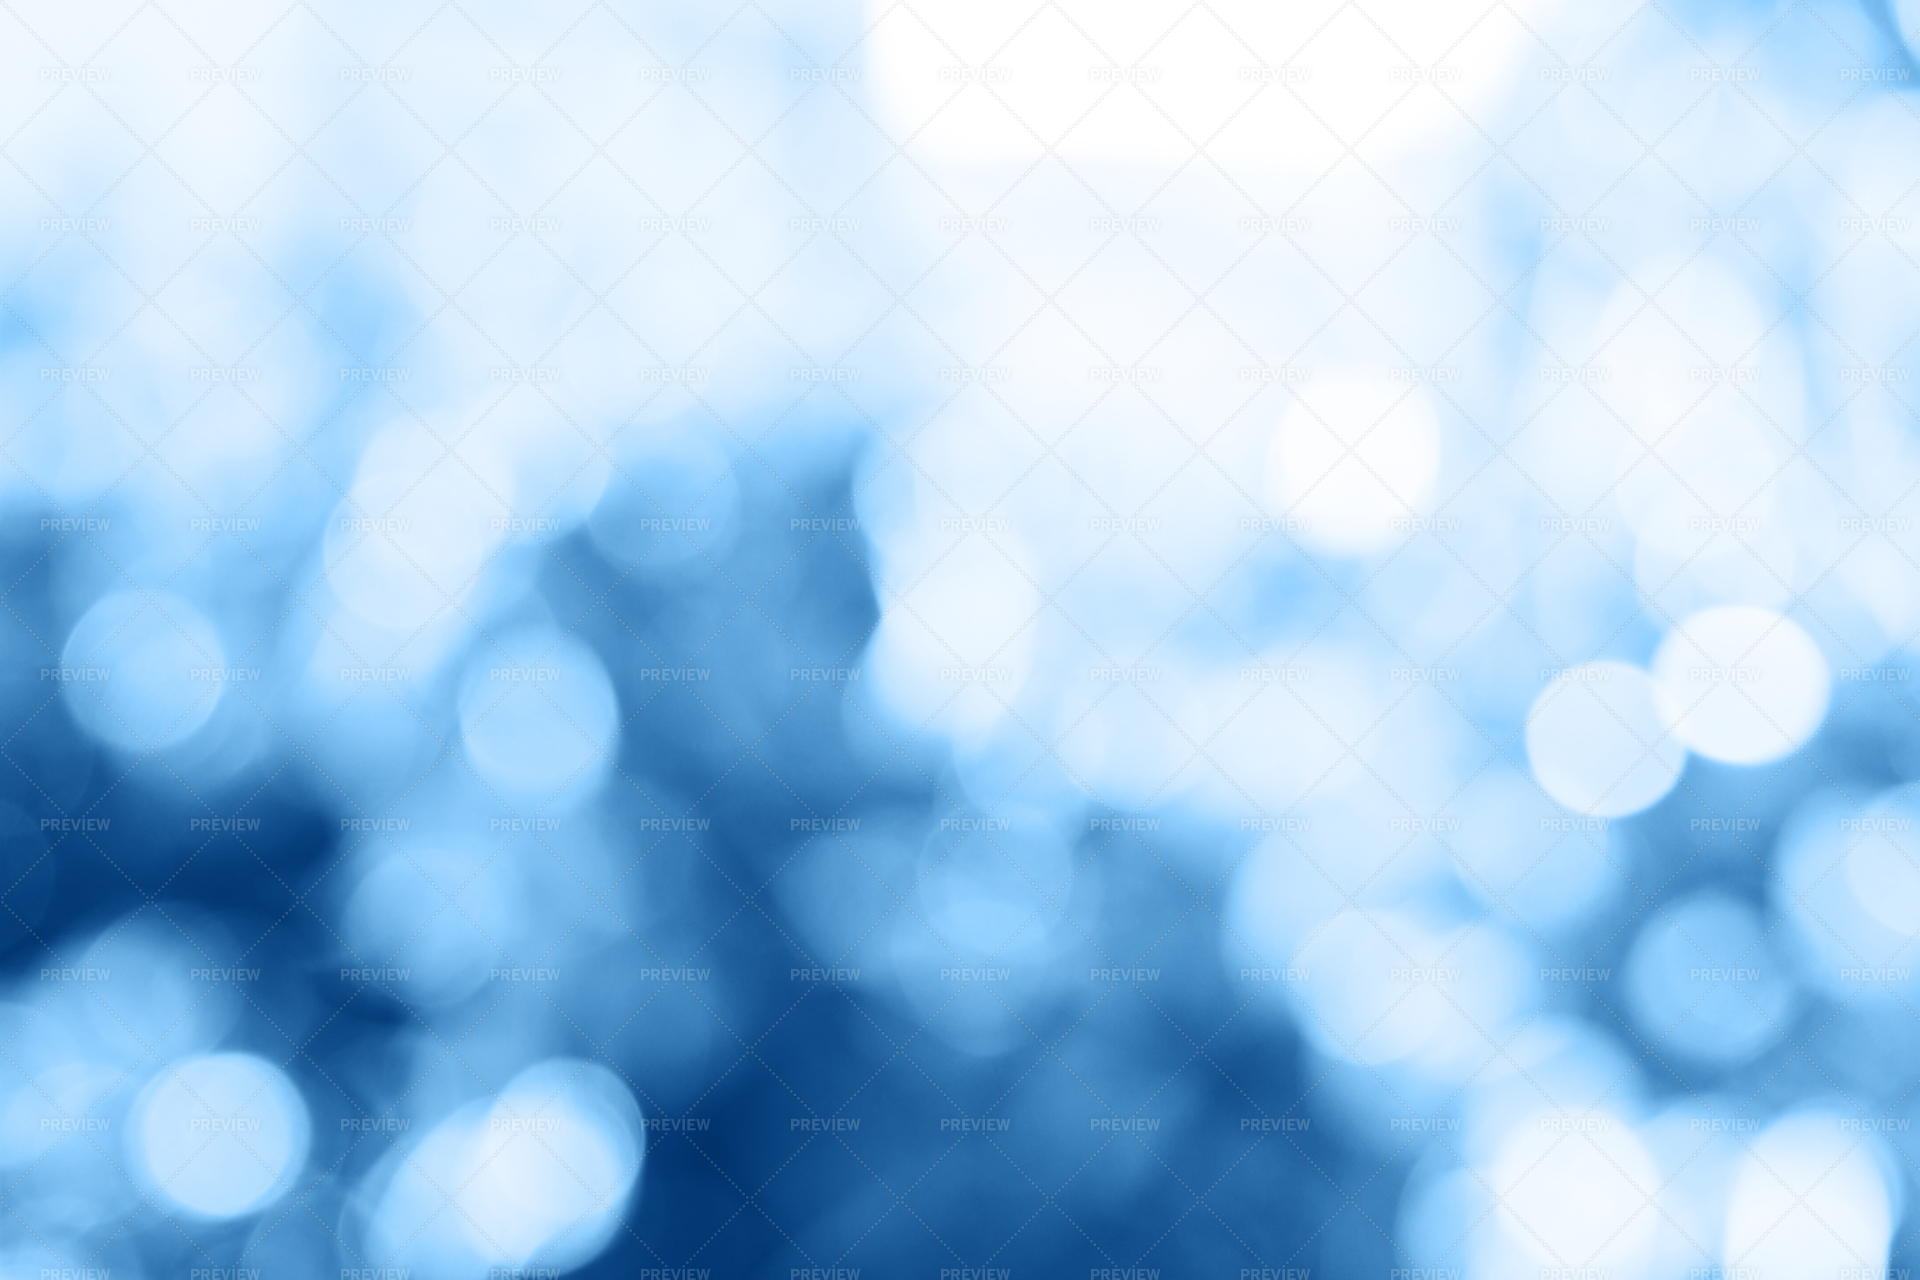
This vibrant blue light bokeh is a cool, icy blue. Overlay it on your images to make them really sing and stand out.
5. City Night Lights
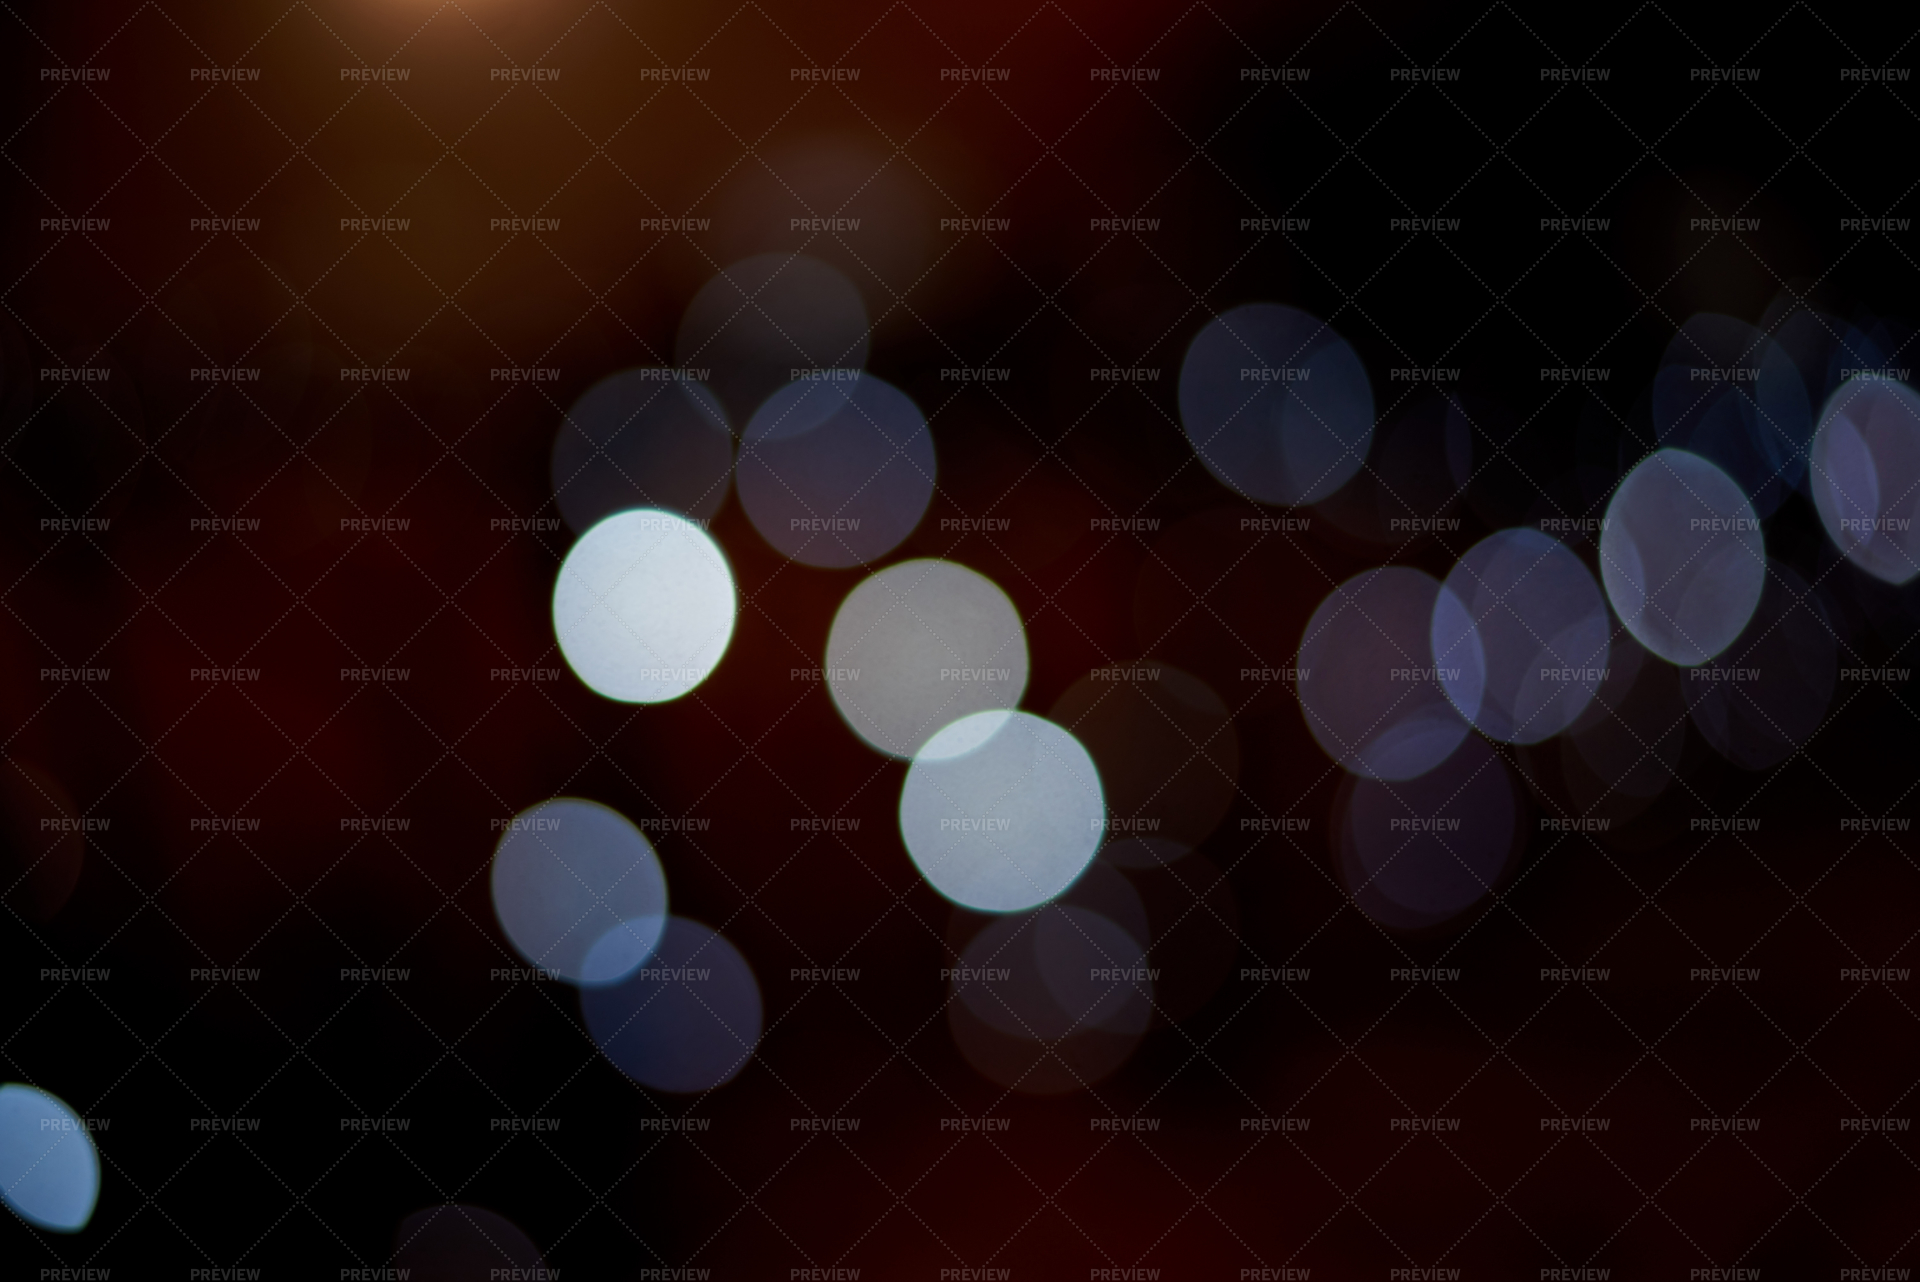
If you’re creating an urban night time composition, try using this bokeh overlay. It conjures images of street lights at night, neon signs or slow moving traffic, ideal for creating that dark urban atmosphere.
Download City Night Lights Now
6. Holiday Light Leaks
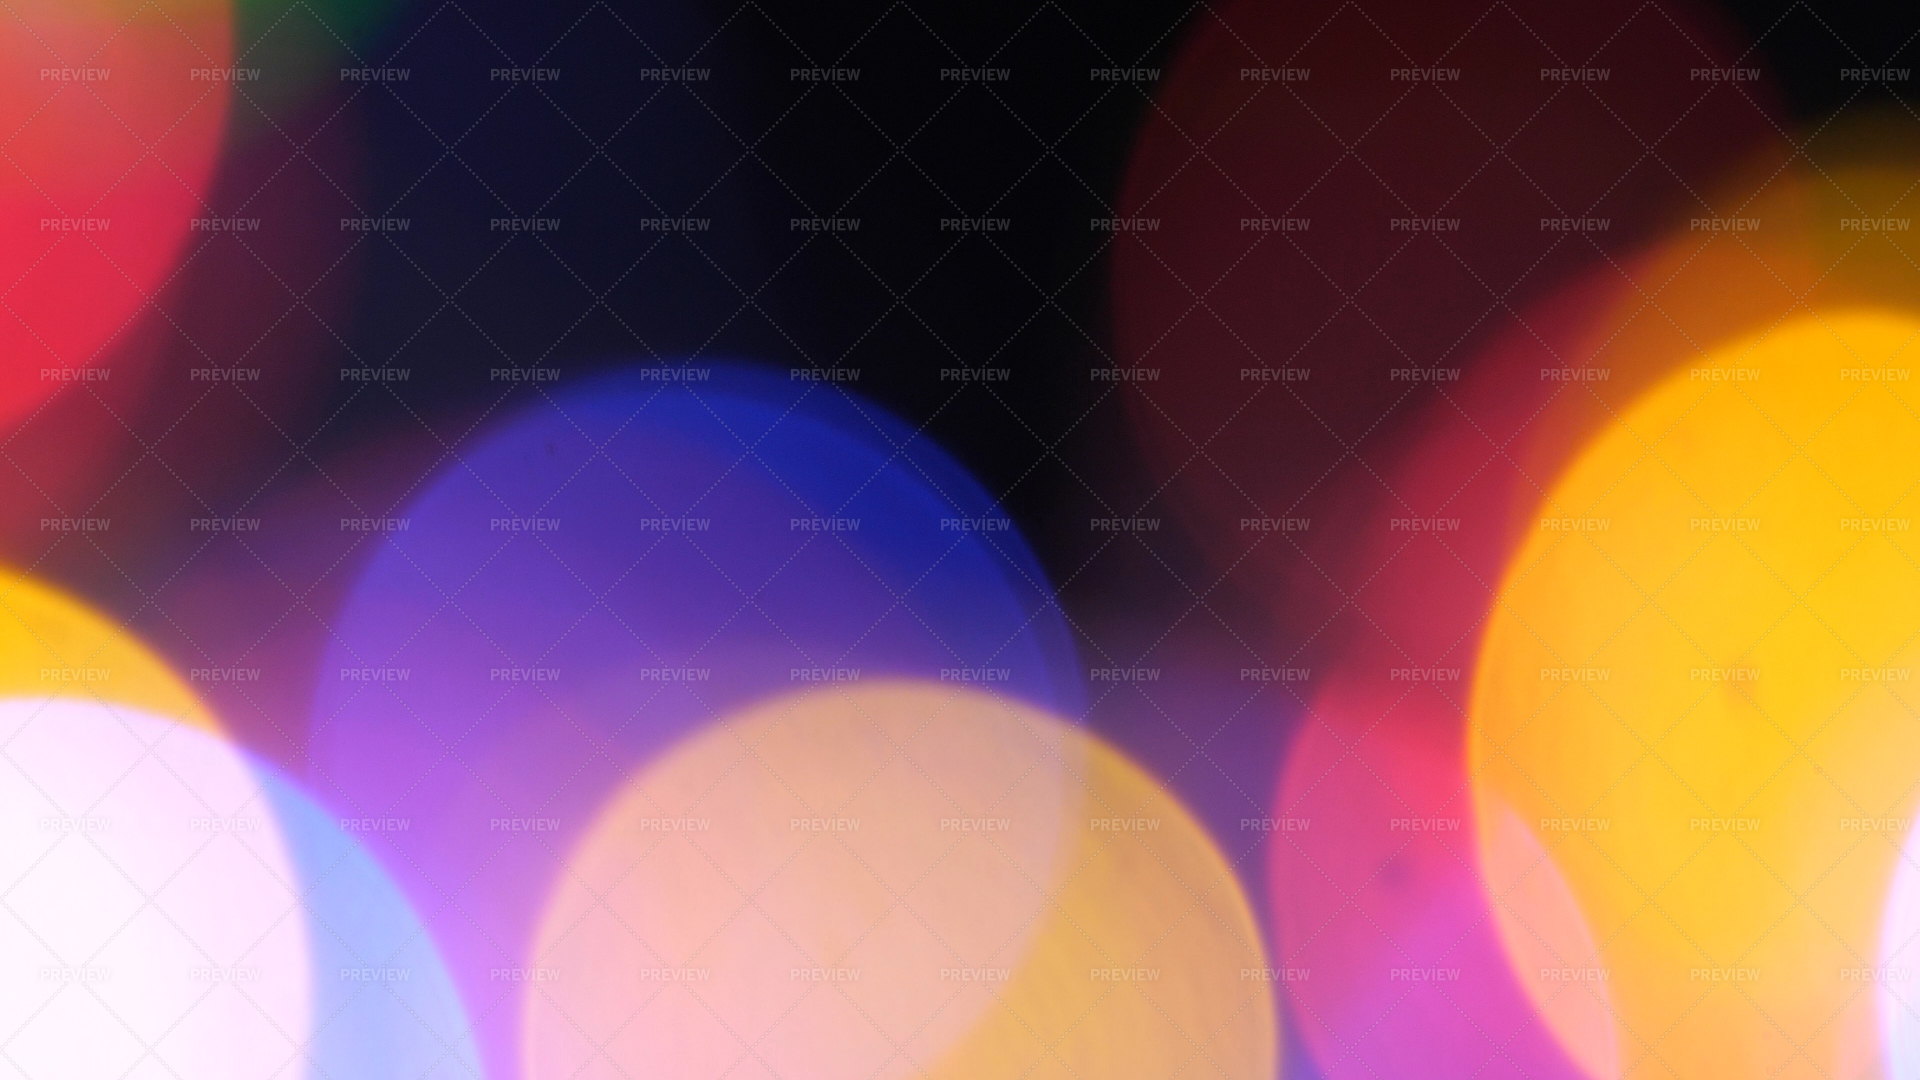
Give your images a festive, colorful vibe with these holiday light leaks of orange, purple and red. Adjust the overlay settings to explore different visual options.
Download Holiday Light Leaks Now
7. Close-Up Bokeh
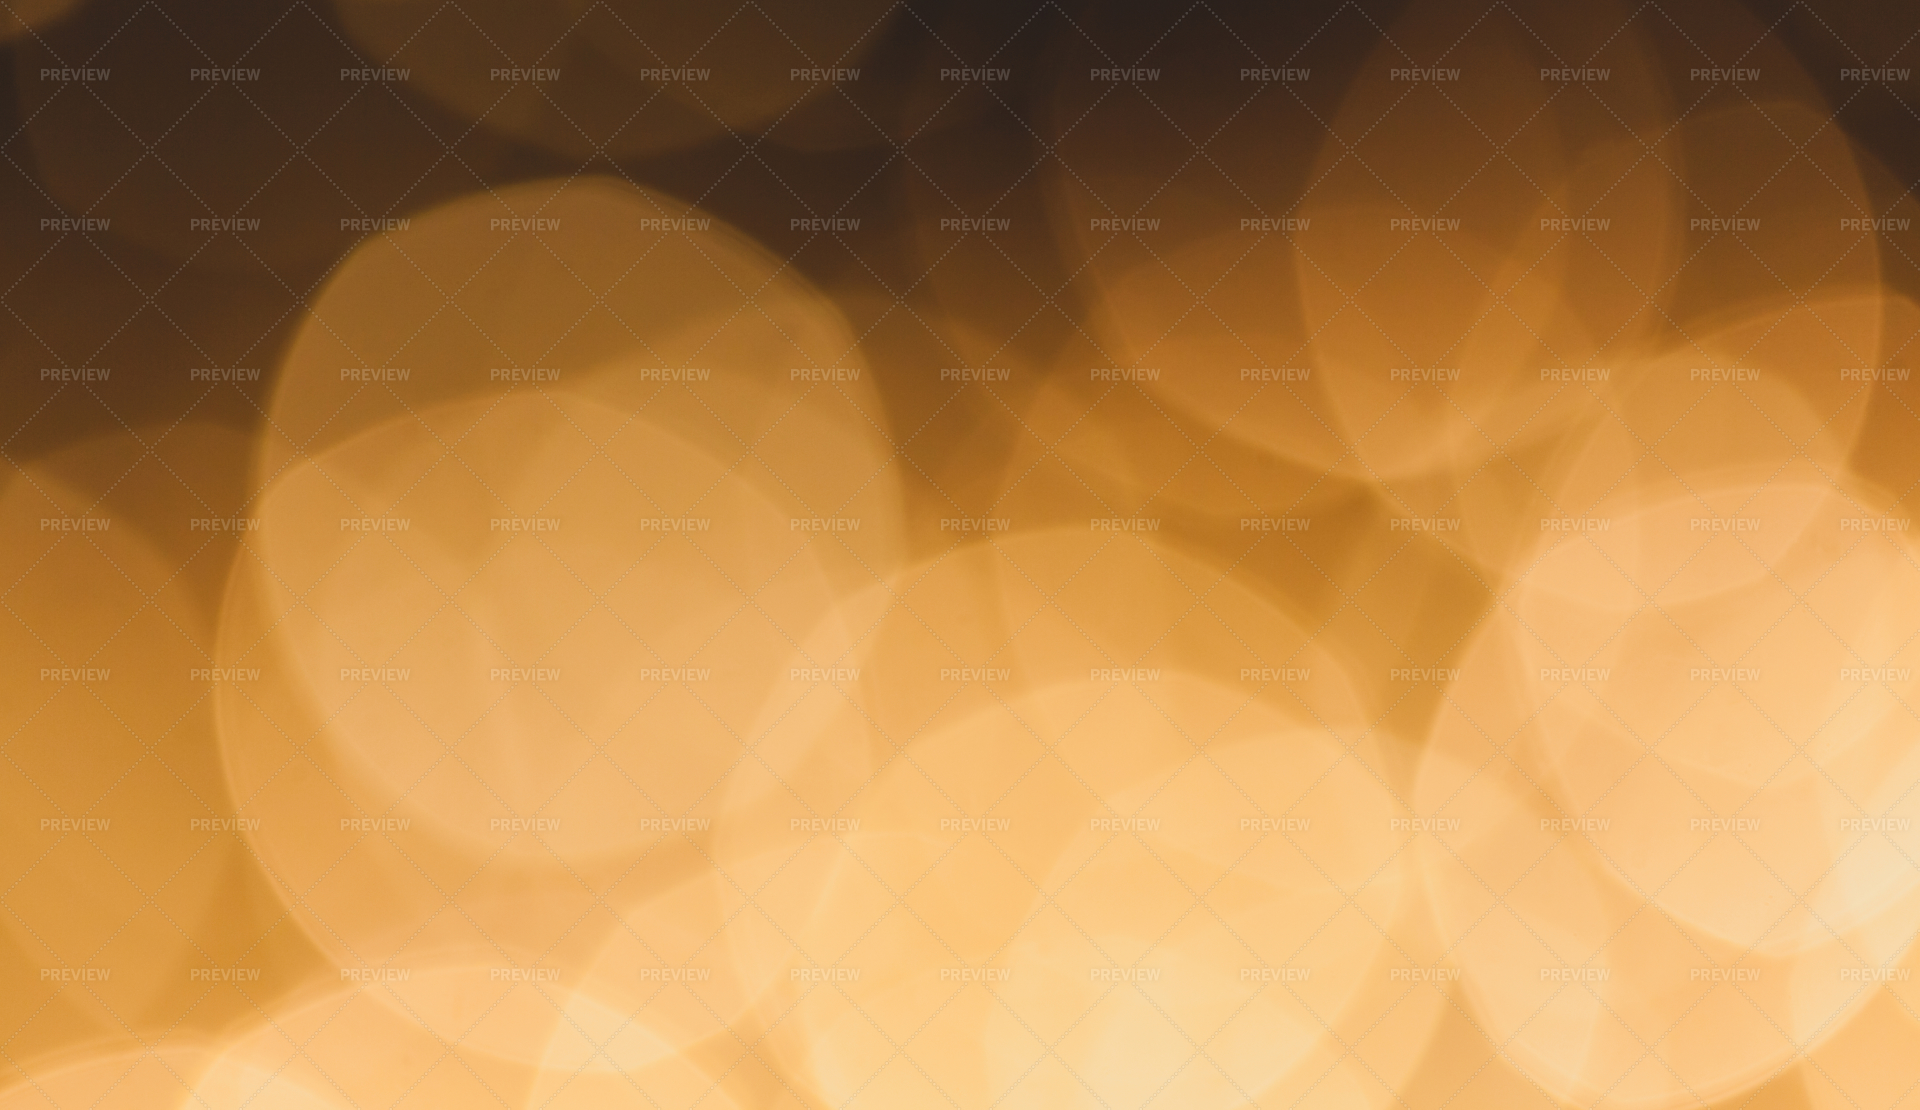
Beautiful orange orbs glow and shift in this warm image, perfect for overlaying on your cinematic images.
8. City Night Like Bokeh

Complete your image with this stunning urban night time bokeh effect. The blurring of traffic and street lamps adds an almost ethereal sense to your image and helps place it in the context of the urban environment at night.
Download City Night Like Bokeh Now
If you’re looking for a way to step up your Instagram game and float yourself in photos, try following the tutorials above. By combining background shots with self-shot images of yourself jumping you can create fantastic results in Photoshop. If you’re looking to create images of objects floating, try holding them in different hands and combining multiple images using Layer Masks to remove the unwanted hands. Finally, complete your images with beautiful bokeh overlays.
We have so many other photo selections to choose from and we have created some collections articles, such as funny stock photos and free stock photos.