Great food deserves great photography, and there are a lot of different elements that need to come together to ensure that you get the results that you want from your food photography. With these 20 food photography tricks and tips, you will be shooting like a pro in no time.
Picture Perfect Tips and Tricks for Appealing Food Photography
1. Have a Concept and Brief
One of the first rules of food photography is to have a concept or a brief, and know what it is that you’re trying to achieve with your images. Are you trying to sell a restaurant experience? Is one ingredient meant to be the star of the show? Is the aim to capture the beauty of a particular dish or product? Is the look clean and stylish or a bit more homely? Are the images for advertising, to illustrate a book or blog, or for a lifestyle magazine? Knowing what you’re trying to achieve and who the audience is will help you to nail your images.
2. Use Angles to Tell a Story
There are 3 main angles used to shoot food photography: overhead, over-the-table-at-an-angle, and straight on. Overhead ensures that everything is in focus and there are no distractions. All the emphasis is on the dish. At-an-angle usually presents the food as the diner sees it. This is great for telling that story, but you have to be alert to the background, distractions, and your depth-of-field. Straight on is excellent for emphasizing the magnificence of a stacked sandwich or layer cake, but again watch that background, and think carefully about how you light your subject.
3. Start with a Hero Object
What’s the dish or ingredient that’s the most important element of the story? Focus on that first and then bring in other items and props to help make it look its best. Don’t get distracted by crockery and cutlery or worry about the garnish before you’ve found your focal point.
4. Lighting is Key
Natural light is the best food photography lighting, but even then, knowing how to manipulate and modify it will help you enormously. If it’s too harsh, you will have unappealing shadows in your images so try to diffuse it using a sheet. Remember that you can use a reflector to bounce it back and lift any shadowy areas. Side lighting highlights textures to give authenticity to your images. If you find that there are distracting bright spots in your scene, use a piece of black card to block the light where necessary.
Of course, it’s not always possible to shoot with natural light. In which case, think carefully about where the light is coming from–you might want to boost the light coming from a window–and ensure that you are white balancing correctly for it. You don’t want odd color casts on your food!
5. Layer Up, Line Up
Props are great, but they need to be drawing attention to your hero object, not distracting from it. When you use props, make sure that they are contributing to the story and positioned so that they bring the viewers’ eyes toward the subject. Effectively, you are using them as leading lines. Layers add texture and dynamism to your images, but again, they shouldn’t divert attention from the subject. You can adjust your aperture and the distance between subject and background to help keep the focus on the subject but build interest in the image.
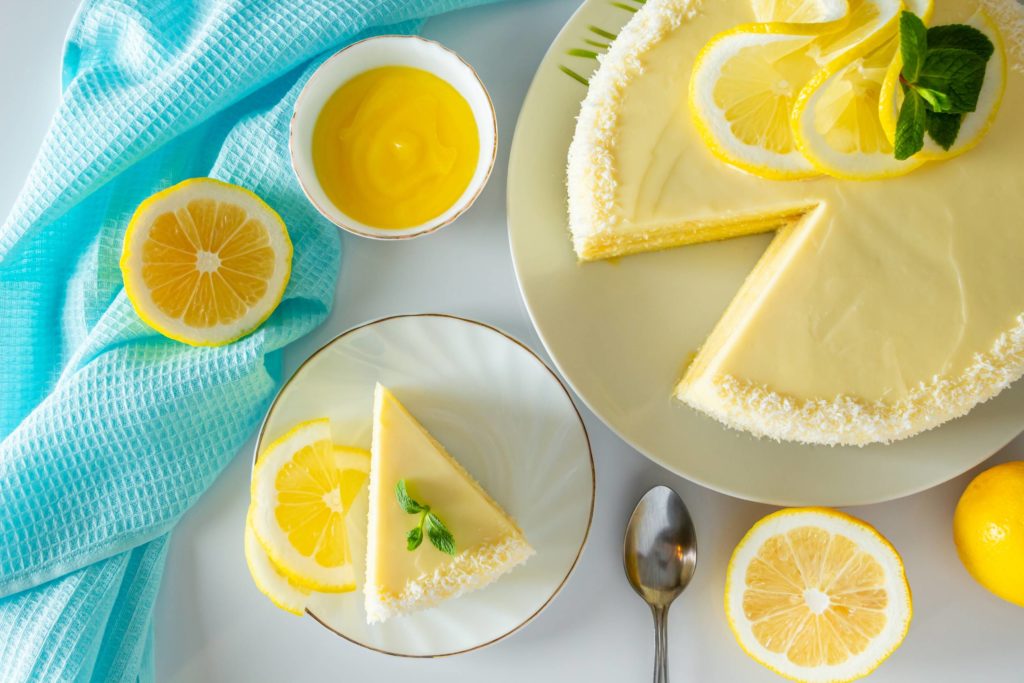
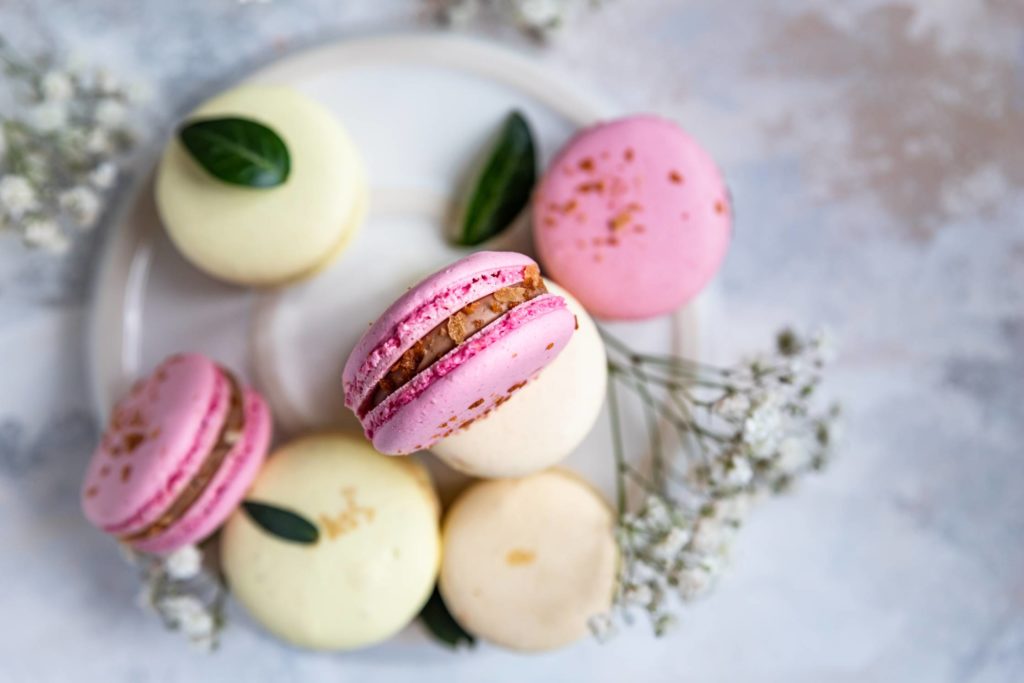
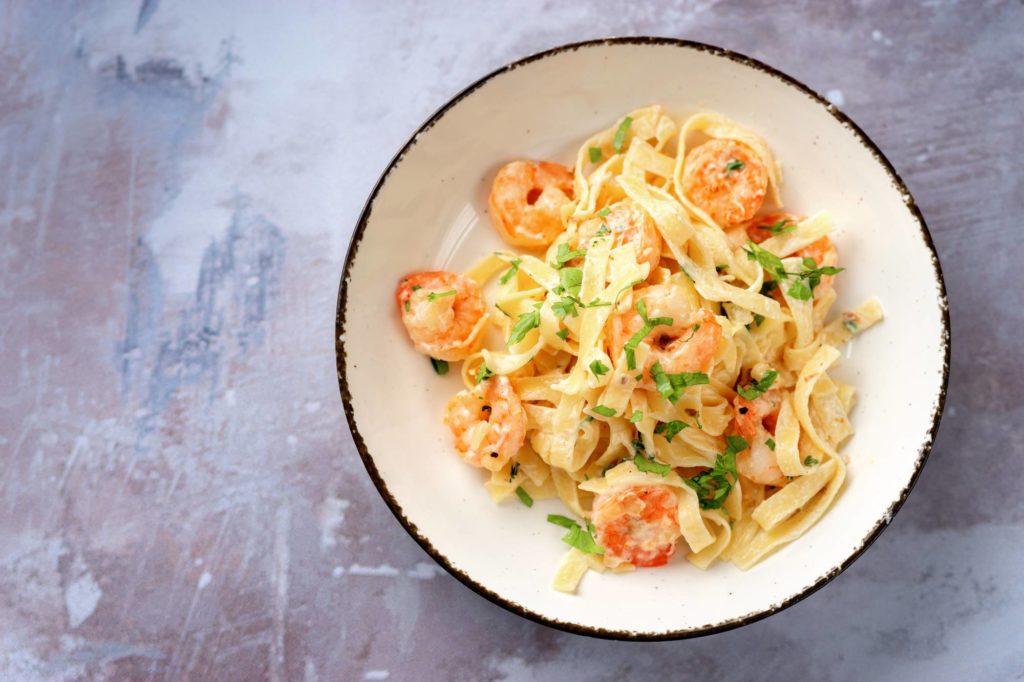
6. Limit Colors
A riot of colors in a salad or array of fresh fruit and vegetables is incredibly appealing and you want to make the most of it. Don’t let the background or props be too overwhelming or distracting. Aim for plainer dishes, containers and tableware, and neutral backgrounds. With a food item that is monochrome or simpler, use colors in the styling to complement but not upstage it. For example, pink or aqua can bring out the pale yellow of a lemon tart. Deep blues or purples work well with whites and creams. Think about the color wheel, but don’t get carried away!
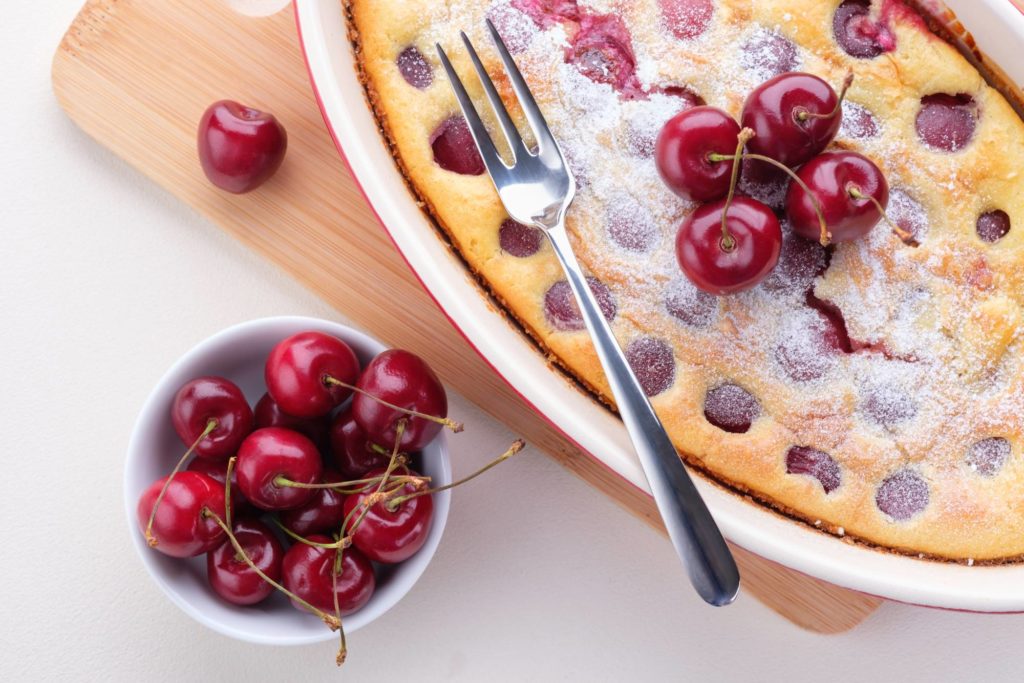
7. Engage Props
When you’re using props, remember 2 particular points. First, they should always be drawing attention to the subject and not distracting from it. So use a fork to direct the eye to the hero food as a leading line. Second, props can add a sense of time, place, or origin to a food. Use them to bring meaning and depth to the story of your food shoot. Food photography props need careful management, but they can make a world of difference to your images.
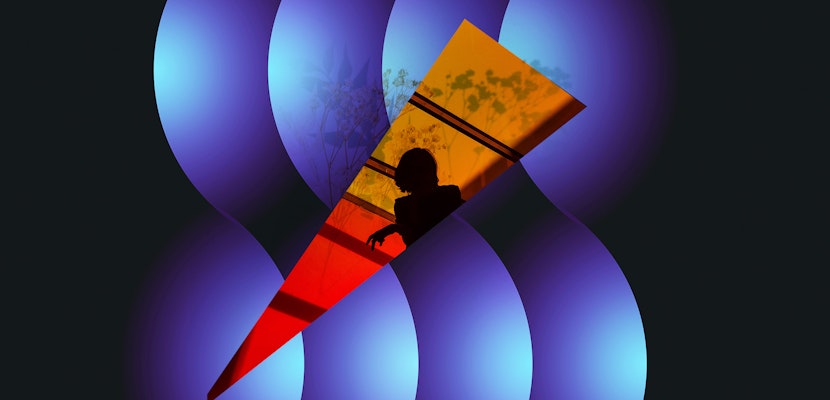
8. Add a Human Element
A hand holding a ladle of casserole or soup or a face diving into ice cream: these add an authentic, human touch to your food photography. If you feel that your photo looks boring, even after trying some other option, adding a human element will also bring a touch of life to many photo compositions. It also makes your photo more interesting and goes the extra mile to tell the story of your recipe or dish.
9. Vertical or Horizontal?
Depending on what you are photographing and where your images will be used or shared, you need to think about if landscape or portrait format will be best. For straight-on photos of tall food, you might want to go portrait, especially if it’s for sharing on Instagram. But a website banner might be best in landscape format. And if you’re shooting for a publication, it will be what the commissioning editor needs. Best advice: shoot a mixture of formats and you can’t go wrong.
10. Avoid Frontal Flash
Your on-camera flash will not do anything for your food and a frontal flash can make food look unreal, unappealing with funny colors. It’s best to avoid it and consider using an external flash with a reflector or a white wall to create a softer light. As a general rule of thumb, never direct the flash towards the food background and you will always get the appearance of fullness and richness in your photos.
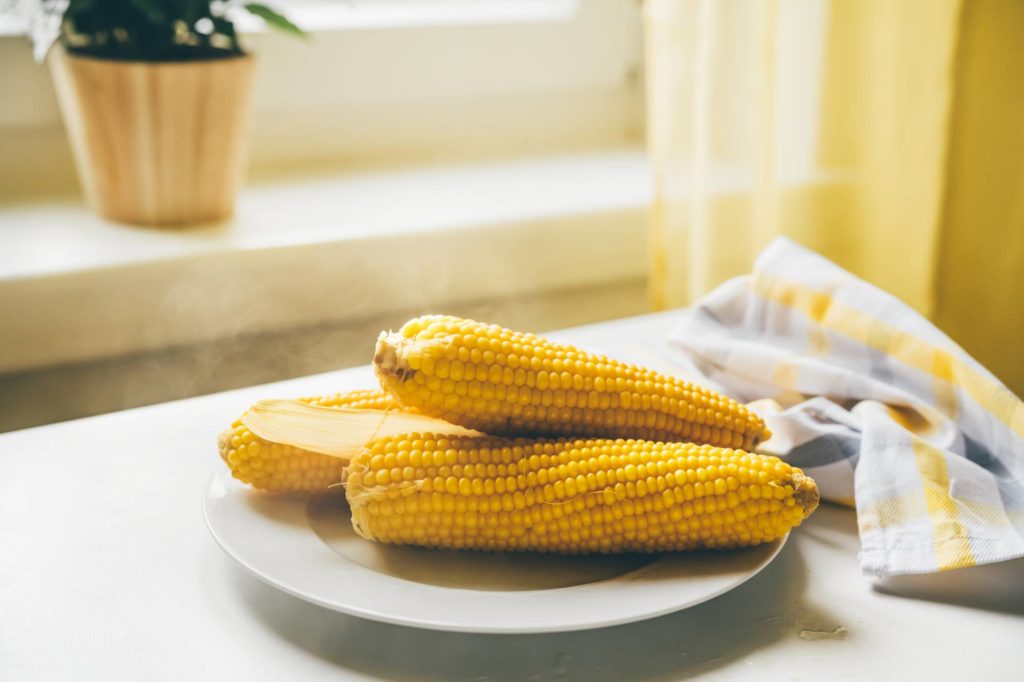
11. Steam
Never underestimate the appeal that a trail of steam can add to a plate of food. If you’re working with hot food that’s gone cold, a wad of wet cotton wool blasted in the microwave will produce a perfect billow of steam. But please be careful not to burn yourself.
12. Negative Space
Styling your food shoots is vital to telling the story of your dishes. And sometimes, deploying a little negative space so that your hero food stands out against a calm, complementary background says a lot more than any prop can.
13. Grab a Tripod
Using a tripod will ensure that you can perfectly angle your overhead shots (or better yet, build yourself a simple rig), and be able to use longer shutter speeds to get a good exposure if you’re using all-natural light for your food photography lighting.
14. Shoot Tethered
If you’ve never tried shooting tethered before, doing it on a food photography shoot is a good place to start as your subject won’t complain about you learning as you go. However, shooting tethered will give you the best chance of getting your food photography lighting just right and styling your shoot to get the shots that you want because you can adjust according to the images you see on your screen. And a cord helps to reduce camera shake, too.
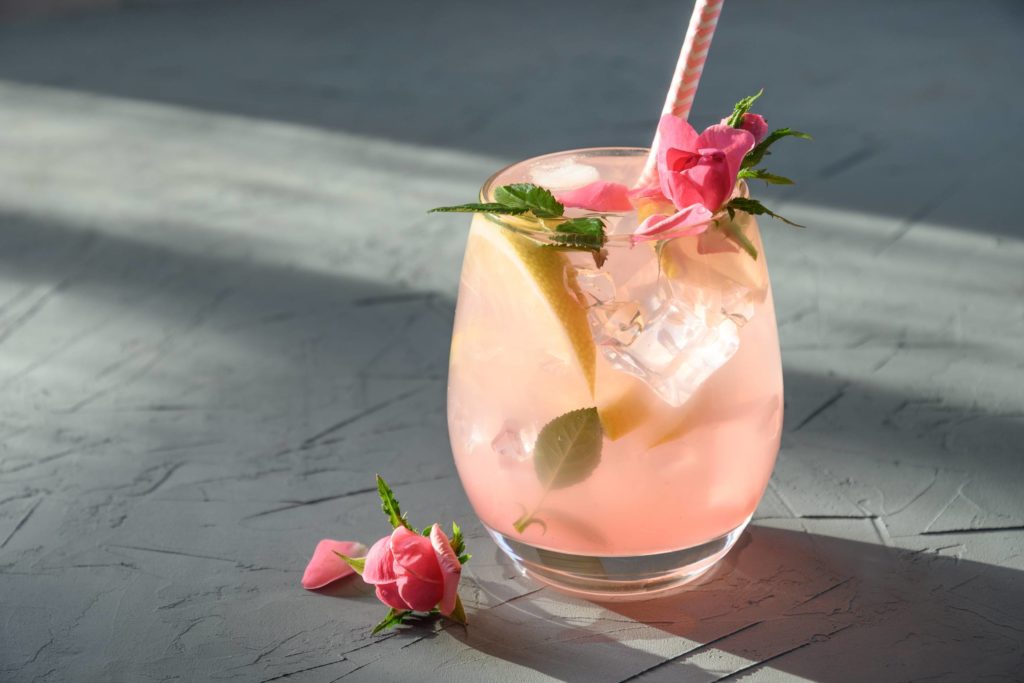
15. Try Golden Hour Light
Golden hour light always brings a soft, warm glow to your images and it can make your food images look even more appetizing. In general, you need a good source of light to capture the right colors of your food, so the golden hour light is a great time to shoot as you will have ample light to see all the details in your photos without it being too hot.
16. Consider Food Alternatives
Lots of photos of food aren’t always actually of food or aren’t the foods you think they are. Motor oil works as a sauce or syrup replacement. PVA glue stands in for milk or cream. Mashed potato is far easier to handle than ice cream. There are plenty of food photography tricks to make your life easier.
17. Aim for the Floor
Don’t be afraid of using the floor to shoot food photography. It’s often a vast, neutral expanse that gives you room to maneuver, arrange props, and easily shoot from overhead. It is also a great way to diversify your background or backdrop options. Select an area that is close to a window but one without the sun directly shining in.
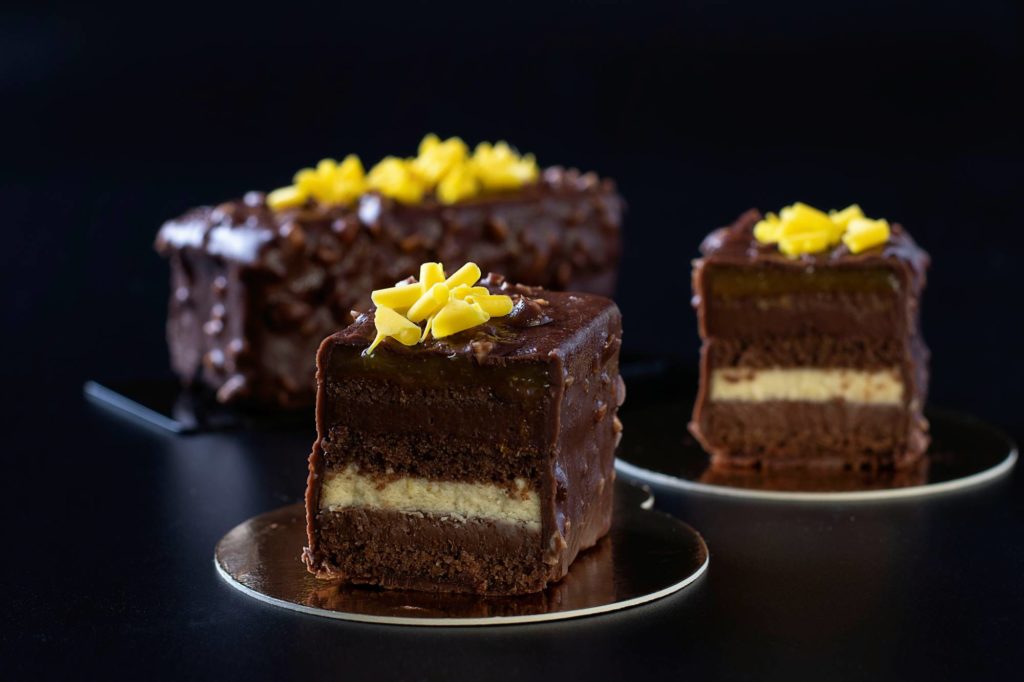
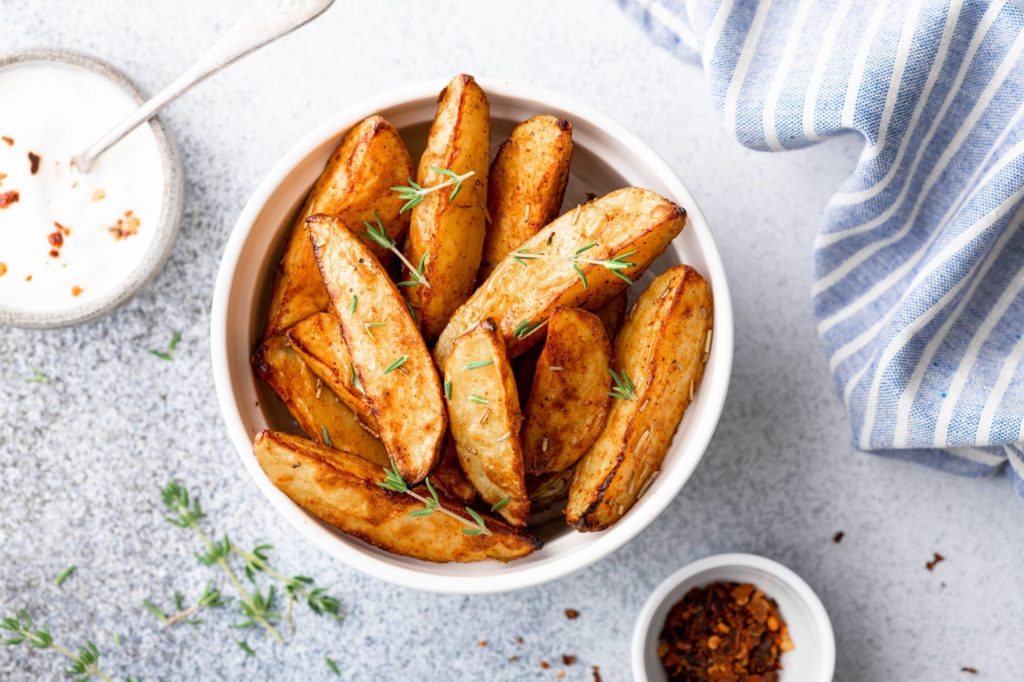
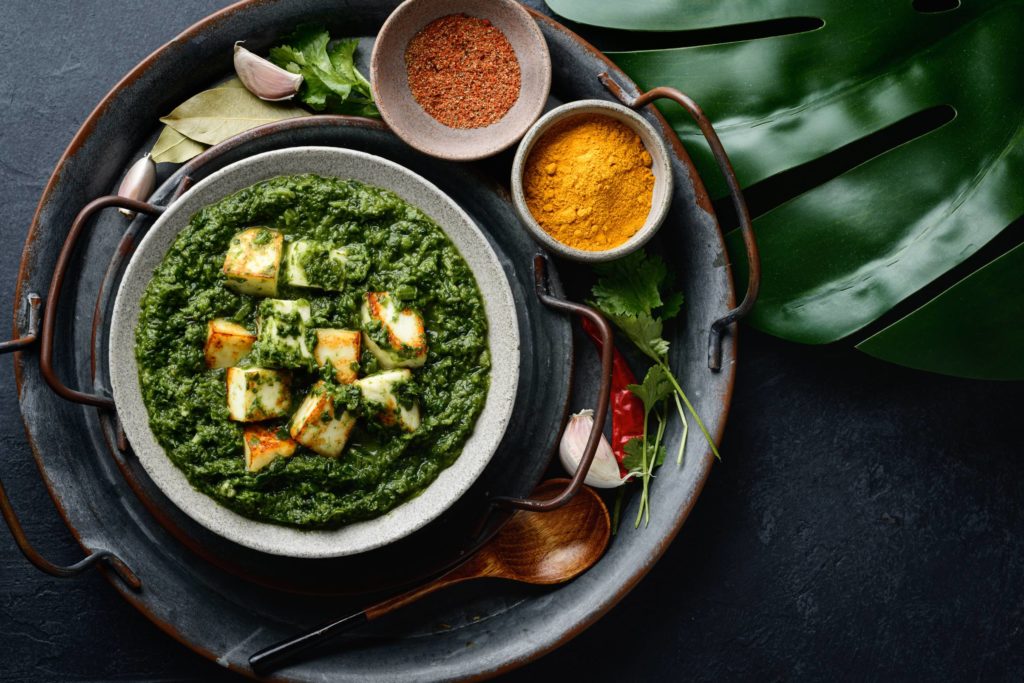
18. Shoot Dark Foods
Lots of food is brown, or dark, and in reality, looks unappetizing. You can’t stop it from being brown, but you can style it so that it is more appealing. Use green garnishes, or make sure that splashes of color are evident, for example, chunks of carrot in stews and casseroles. Engage props to enliven scenes. Concentrate on textures. And remember that you don’t have to include lots of brown in the frame: just the last bite of cake will do or a strategically placed napkin can lift a shot. Check this article from a pro photographer for more techniques and ideas.
19. Build a Portfolio
We encounter food every day, which means that if you are interested in working long-term in the food photography area, it should be fairly simple to build yourself a portfolio. And if you want to make it into a career, then you will need a portfolio. Sure, you don’t want to eat every meal cold because you’ve spent an hour photographing it before sitting down to eat, but you can always think about how best you can photograph something. Or if you’re cooking ahead, take the time to get some photos. You can always work on shooting basic ingredients and the cooking process. And you can acquire a range of props and styling accessories, too.
20. Avoid an Empty Stomach
Seriously, trying to photograph food on an empty stomach is hard and in many ways might affect your creativity or focus. The wonderful aromas of the plate you are shooting will tease your empty stomach and you might miss some great composition ideas. You can’t concentrate on the task and in the end, you’re tempted to nibble at it. Make sure that you’re sated when you start a food photography shoot.
There’s a lot more to food photography than just snapping a pic of your dinner, but when you understand how it all comes together, starting with a concept and moving through to props and styling and knowing how to work with difficult food, you can take photos that are good enough to eat.
Discover additional styles of photography to add to your portfolio, such as travel photography, street photography, and even landscape photography.