


While it is always true that the best camera is the one that you have with you, as you delve deeper into photography and spend more time on it, you will find that you want to expand your photography equipment range. But what’s essential? What’s a nice-to-have? Here, we’ve brought together a list of the best photography equipment to see you through from beginner to advanced.
Summary
Part 1: Crucial & Handy Photography Equipment You Need
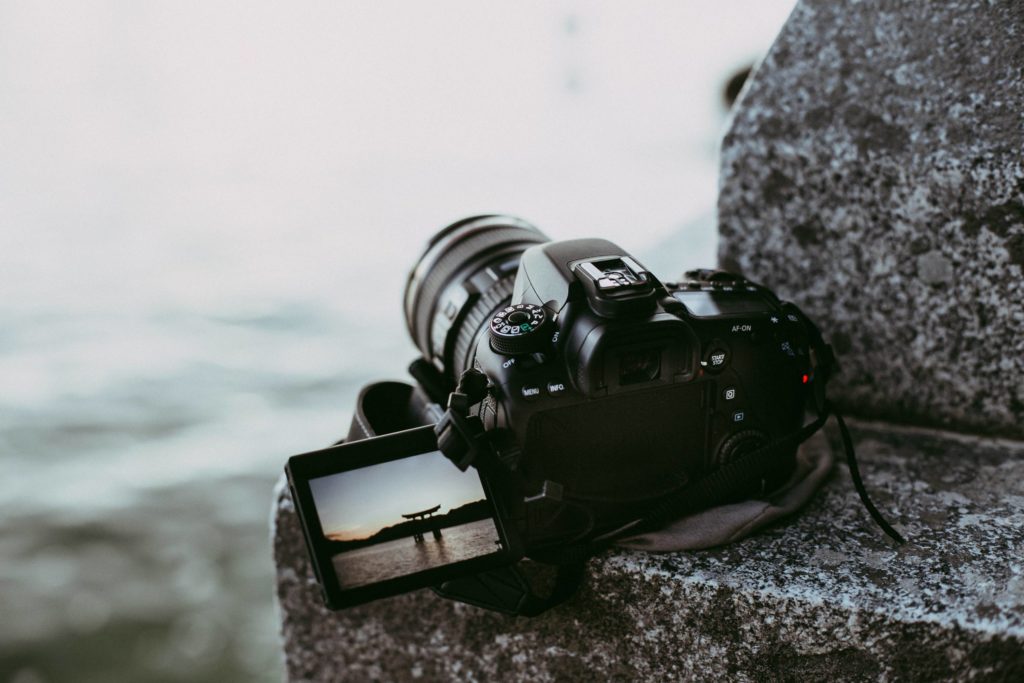
1. Your Camera
You might have started taking photos using your smartphone but have realized that you want more control over your images so are thinking about progressing to a DSLR or a mirrorless camera. DLSRs tend to be a little bigger and heavier than mirrorless cameras but traditionally had the advantage of being able to record exactly what you see through the viewfinder, not having the slight delay caused by relaying an image to an LCD screen. This made them the choice for sports and wildlife photographers in particular. However, screen technology has improved dramatically, and top-end mirrorless cameras can compete with DSLRs when it comes to viewfinders.
Tip: If budget is an issue for you, you can get major discounts by purchasing a slightly older model from the same lineup. But don’t agonize over your choice as every option in the market now is quite good. We also recommend you check out our beginner’s research list here.
Whether you opt for a DSLR or a mirrorless camera, the ability to change lenses and to effectively control your exposure and white balance will make a difference to your images. What you choose will depend on your budget and what feels right in your hands.
2. Your Lens
Having an interchangeable lens camera presents you with so many possibilities. When you purchase a camera, the chances are that it will come with a kit lens, probably with a focal length of 18-55mm. A kit lens will allow you to take photos straight away, but you will want something of better quality.
For a reasonably priced lens that is versatile and sharp, look for a 50mm ƒ/1.8 prime. (That means it has a fixed focal length of 50mm and a maximum aperture of ƒ/1.8, which makes it fast.) A nifty fifty, as they are called, should be in everyone’s kitbag.
Zoom lenses are the opposite of prime lenses, in that they cover a range of focal lengths, for example, 70-200mm (that’s a telephoto zoom) or 16-35mm (a wide-angle zoom). Zoom lenses are more versatile than prime lenses but tend to have smaller maximum apertures and not be as sharp. It’s a trade-off.
As you develop a photography style, you’ll find yourself gravitating toward lenses that support it.
- For street photography, a 35mm lens is ideal.
- Landscape photography traditionally uses wide-angle lenses, say 24mm, but telephoto lenses–normally used for wildlife and landscape photography–can give you beautiful images, too.
- For perfect portraits, something around 85mm is an excellent choice.
Do remember that all lenses are different, as you will have to get to know each of your own. Test out their minimum focusing distances. See at which aperture they are sharpest and when things begin to drop off a bit. And don’t forget to register, insure and protect them, too. You might want to take a look at rubber lens caps, which are easy to use and offer good protection.
3. Your Camera Bag
You are going to need a bag in which to carry your gear. There are thousands of bags in hundreds of styles to choose from, such as backpack, cross-body, shoulder. Smaller. Capacious. Your choice will really depend on how you are planning to use it and your own carrying preferences. Look for lots of padding, a waterproof outer, and ideally something that doesn’t look too much like a camera bag.
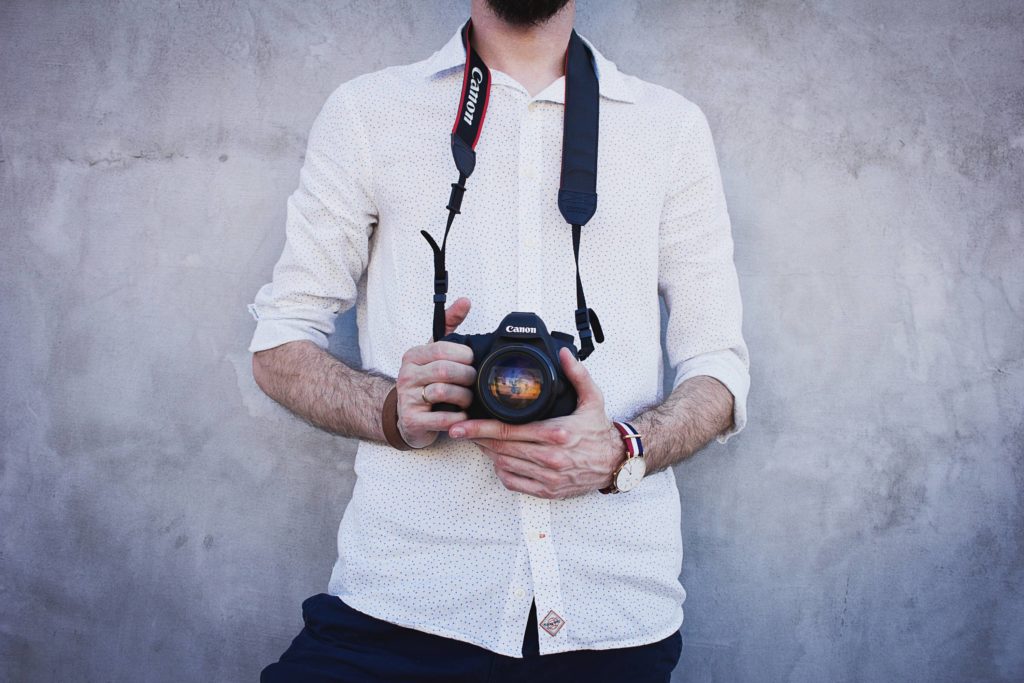
4. Your Strap
A good camera strap might not sound important, but it can make such a difference. If you’re on your feet all day taking photos, cameras soon grow heavy. Having one hanging from your neck can be a terrible strain. A proper strap will relieve the pressure from your neck but still allow you easy access to your camera.
5. Your Memory Cards
If you use a camera with lots of megapixels, you will need large memory cards in order to store all the data from the images. Your SD cards should have a minimum capacity of 32GB. They will also need a fast read-write speed so that you can transfer the information efficiently, too. Look for transfer speeds upwards of 120MB/s. And you will need cards in the plural. Remember to rotate your cards when you are shooting so that should anything terrible happen–theft, loss, damage–you won’t lose all of your photos, just some of them.
Some computers have integrated SD card readers, which makes transferring and storing your images before processing them easy. If your computer doesn’t have a built-in SD card slot, then you will require an SD card reader, too.
Not all cameras use SD cards, although most do now, some have compact flash cards. The same principles apply.
Finally, you might find a great deal on memory cards online and think that you’re getting a bargain but memory cards are something that is easily faked. So do buy a reputable brand from a respectable dealer. Heavy use makes cards unstable, so it’s sensible to upgrade them regularly, too.
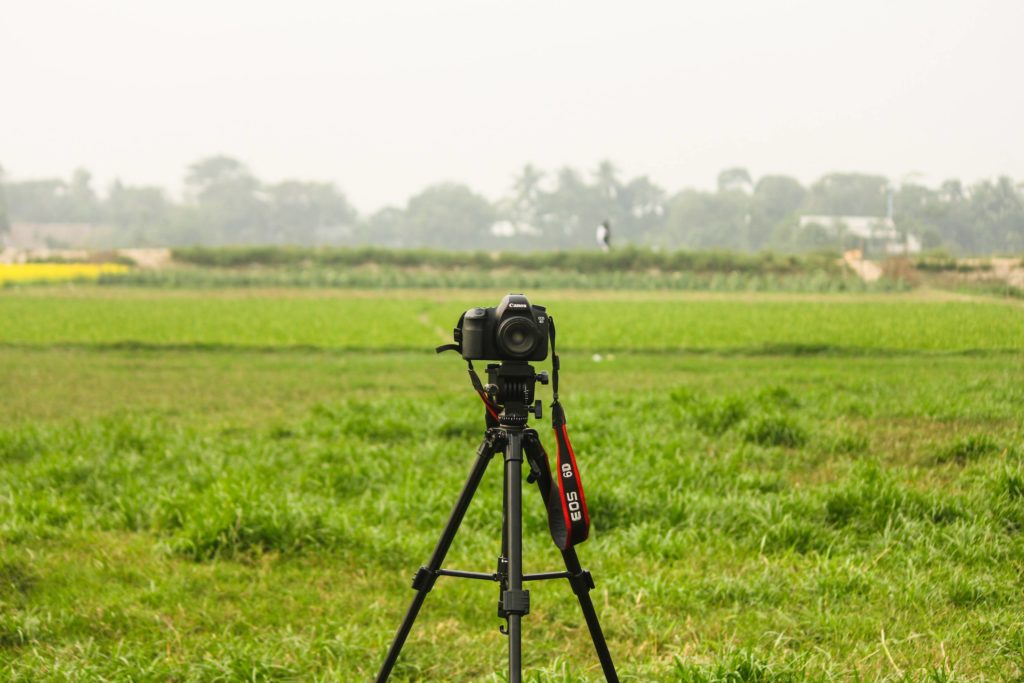
6. Your Tripod
A tripod is a must-have piece of equipment, even for beginners. For your first tripod, it might be worth asking any photographer friends if they happen to have a spare tripod hanging around that you can borrow before you commit to a particular type. Tripods come at very different price points and for different photography styles. There are lighter ones for travel and heavier ones with built-in levels for landscapes. There are tripods that are highly adaptable and great for macro work. And some that are faster to erect than others. One day, you’ll be the photographer with at least 3 different tripods for different purposes.
7. Your Reflector
After a tripod, look to purchase a reflector. They are incredibly useful when working with both natural and artificial light. In particular, you can use them to fill in shadows and bounce light across a scene to make it more even. They work wonders on sunny days when you might have harsh shadows, or in the golden hour when the sun can be at a tricky angle.
If you buy a 5-in-1 reflector, you’ll have different colored reflectors as well as a diffuser to spread light more evenly and negative fill to block light. Very handy!
Tip: Consider gray cards to ensure an accurate white balance. They are inexpensive and easy to use, but make such a difference to the color in your photos.
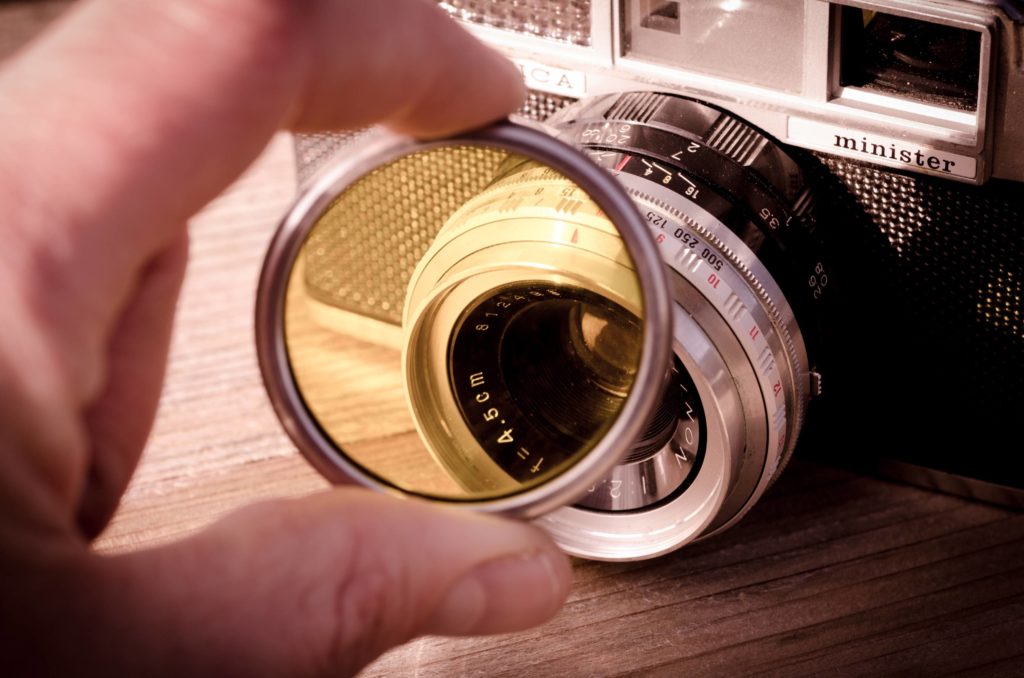
8. Your Filters
Filters come in many different sorts and sizes, to serve different purposes with different sized lenses.
If you do lots of landscape photography, you might find that a variable neutral density (ND) filter is a good investment. These reduce the intensity of the light in your scene without altering its color. Consequently, you can use longer exposures without over-exposing your shots. You can also buy graduated ND filters, where the filter effect changes strength across the filter so that you can increase it above the horizon but have less of an impact beneath it.
For natural light photographers, polarizing filters are very useful. These work to reduce reflections, glare, and haze and to saturate colors. They don’t work in all situations, though, for example, if the sun is directly behind you, so don’t expect miracles. But they are useful.
If you’re concerned about your lens getting damaged or dirty, a UV filter acts as a good protective layer.
9. Your Flashes
Rather than relying on an on-camera flash (and plenty of cameras don’t have them anyway), you are much better off spending some money on a speedlight and a controller. With a controller, you can position your flash away from your camera, and you can adjust its intensity, too. This gives you the option to harden or soften your light (especially if you have some umbrellas or a diffuser, too) and try out high key and low key lighting, as well try some classic portrait lighting setups, for example, clamshell lighting with the help of a reflector.

10. Your Camera Batteries
Having a spare battery in your camera bag is always a good idea. If you’re fortunate, you might even get a spare battery with your camera. If you’re going to be away for an extended period or won’t have access to power, think about buying a power bank. You can pick them up for reasonable prices now, and they provide you with both power and peace of mind.
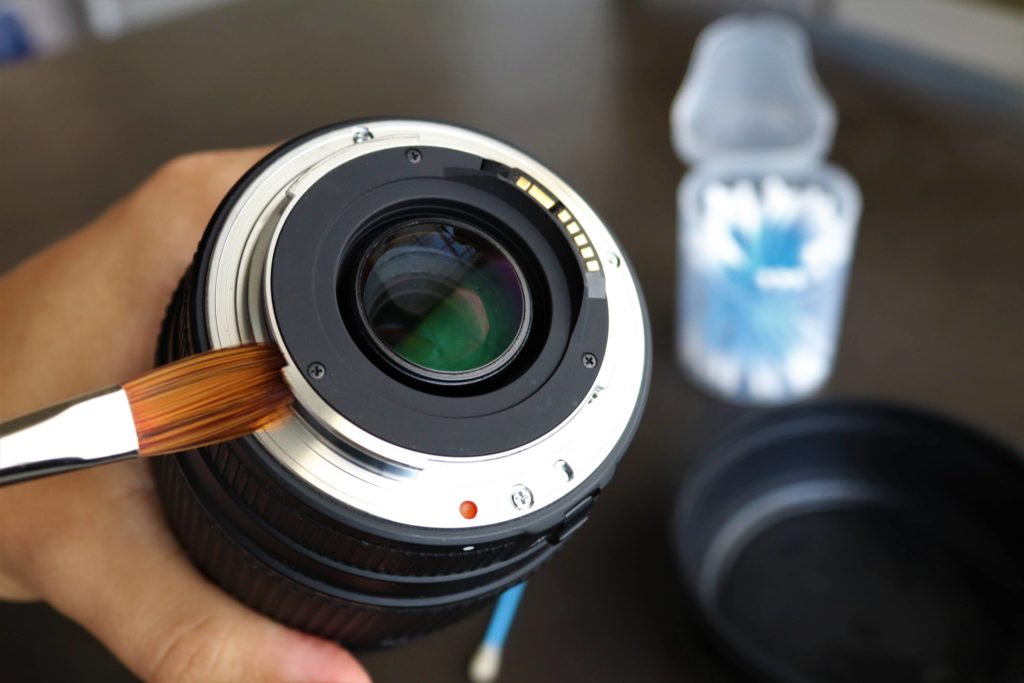
11. Your Cleaning Gear
It doesn’t matter how careful you are, your gear is going to get dirty. A microfiber cloth and cleaning spray is great for lenses, but you can pick up specialist lens cleaning pens inexpensively, too. While you can buy sensor cleaning kits, it’s probably best to send your sensor for professional cleaning. But on the odd occasion that you need to blow some dust off of it, a rocket air blaster will do the job.
12. Your Remote Release
A remote release is handy for several different situations. They are especially useful when depressing the shutter button can cause minor disturbances to your focal point or composition, so keeping things hands-free is best. This would be the case for macro photography, landscapes, and of course self-portraits.
If you choose an intervalometer rather than a straight remote release, you can use one of these to make timelapse videos as well as capture very long exposures as a self-timer or remote.
Bonus: Your Editing Suite
To get the most out of every shot you take, you should be shooting in Raw format. The raw format means that you get to post-process your images yourself, adjusting the exposure, white balance, sharpness, and more, exactly as you want it to be. To do this, you are going to need a good editing suite.
We recommend Photoshop for photo editing and Premiere Pro for editing your videos. Learn some cool techniques in Photoshop, as well as how to create the double exposure effect and floating photos. You can follow this link to learn more about beginner to advanced editing techniques in Premiere Pro.
Part 2: How to Consider Your Basic Photography Setup
You might well have seen professional photography equipment lists, for example, what a wedding photographer packs or a travel photographer takes with them when they head off on their way. It’s important to remember that however much kit you have, you are very unlikely to need all of it every time that you set out to take photos. What you need is going to be dependent on what you want to achieve.

- If you’re doing some family portraits on location:
- You won’t be needing a wide-angle lens but something like an 85mm or 100mm lens.
- Reflectors and diffusers are must-haves.
- Heading out to take some landscapes:
- You will want a wide-angle lens, but probably a telephoto, too.
- A sturdy tripod and a remote release are essentials.
- Plus, ND filter or maybe a polarizing filter as well.
- For macro photography:
- You will need a macro lens, a tripod, and remote release as well as some extra light.
- While flashes are good, and ring lights, in particular, you might find that something like an LED panel is easier to control and manipulate.
- Don’t forget your reflector!
- A day out doing street photography is a much simpler proposition:
- Your camera and a 35mm lens should do the job.
- If you are taking lots of portraits or doing product or food photography:
- Investing in some lighting gear would be a good move.
- Softboxes or umbrellas don’t have to cost the earth and with some good lighting modifiers, for example, reflectors, grids, barn doors, and flags, create very versatile lighting setups.
- Maybe think about some backdrops and an overhead rig, too.
There’s absolutely no need to go out and buy all of your photography equipment all at once. A camera body, a Nifty Fifty, a tripod, and a reflector should cover the photography equipment for a beginner. As you explore the craft and find your niche, you will be able to identify your needs more clearly. Don’t forget: there are plenty of second-hand bargains to be had. It’s easier on your wallet and kinder to the environment. And finally, if you look after your photography equipment, it will look after you.


