


Photography means painting with light. Without question, understanding light and lighting will enable you to make the very best of every situation and be able to capture the best photos possible. So let’s get started with your introduction to photography lighting.
Summary
Part 1: Photography Lighting Basics
Photography lighting can be natural–which comes from the sun or moon–or artificial. You will also hear natural light referred to as available light or ambient light. Artificial lighting can come from flashes or strobes, street lights, or what are called practical lights, such as table lamps.
Always Begin with Natural Light
Natural light has the advantage of being free, but you cannot control it as effectively as a flash. The good news is that light behaves consistently, so you can apply your knowledge to natural and artificial light equally.
When you hear someone talk about the quality of light it’s not a judgment on whether the light is good or bad. It’s whether light is hard (sometimes known as short) or soft (often called broad).
- Hard light has defined edges and distinct shadows. One of the simplest ways to create hard light is using a camera flash: on-camera it creates harsh shadows while off-camera less sharp shadows.
- Soft light is diffused and forms a gradient transition between the light and shadow. It wraps itself around subjects and while there might be shadows, they will be softer and more subtle. Use window light but make sure the sun is not shining directly on the subject.
Also, depending on how much light you have in a scene, it might be high key or low key lighting.
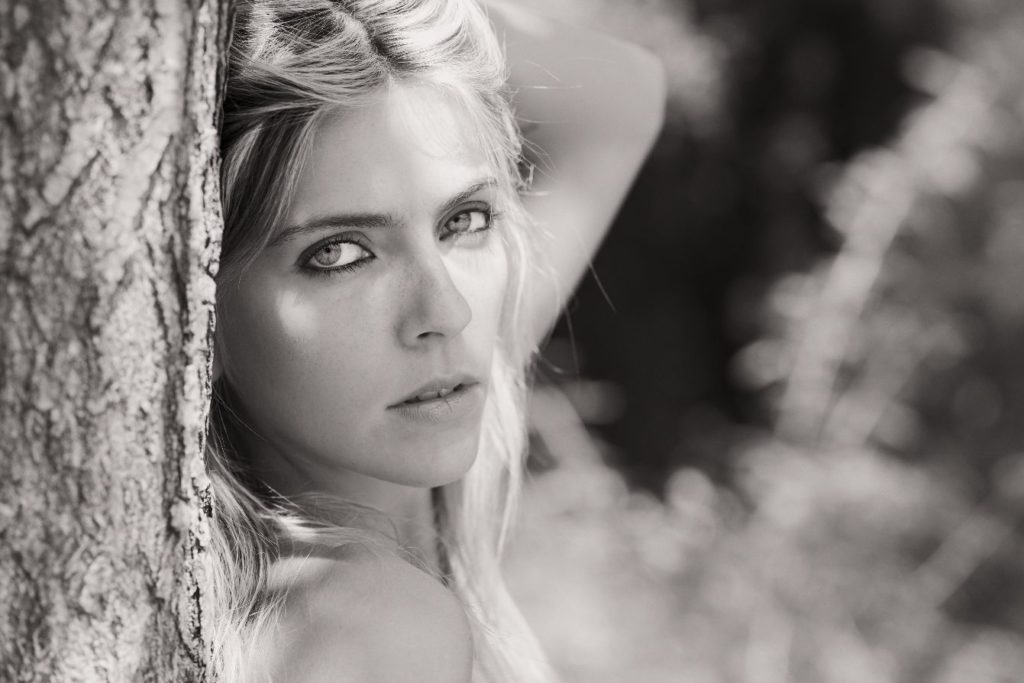
- High key lighting is bright and airy and often feels positive. The best way to achieve this with natural light is shooting when the sky is overcast but with no thunderstorms or rain. This lighting is also mainly used for portrait photography as well as nature shots.
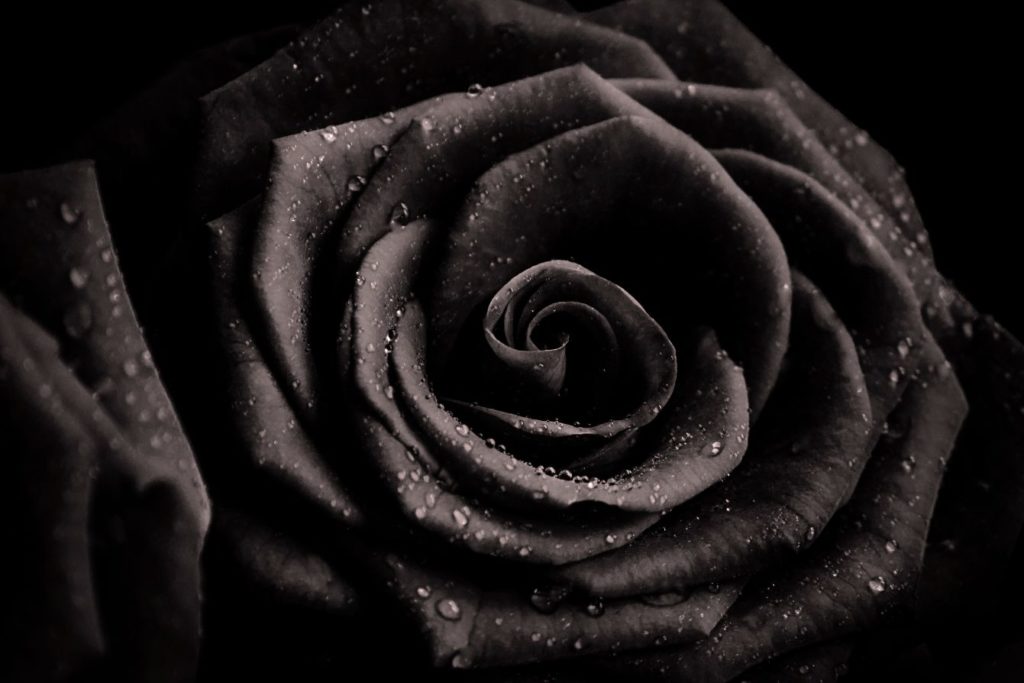
- Low key lighting is much darker, even moodier. It can sometimes feel intimidating or oppressive. The best time to shoot for this lighting is at night and think of extra bright light sources, such as headlights of a car, streetlights, or a campfire. This lighting is mainly used for dramatic close-ups or journalism and documentary photography.
Tip: No matter what lighting you want to use in your photos, remember your indispensable tools are a tripod and an off-camera flash.
Consider Light Temperature
All light has a color, it’s not just white. This color depends on the temperature of the light, measured in Kelvin (K). The hotter the temperature of the light, the cooler or more blue or white, it will look.
- A candle flame has a temperature of around 1,900K and has a reddish or orange tone to it.
- Around sunrise and sunset, known as the golden hour and a perfect time for photography, light has a temperature between 2,000 and 3,000K.
- Midday sun comes in at 5,500K while light on a cloudy day or in the shade will be in the region of 6,000 or 7,000K.
- Sunlight in a bright blue sky can be as hot as 10,000K.
- Artificial light comes in different temperatures, too. Incandescent household bulbs burn at 2,500K, fluorescent lights at 4,500K, and flash and LED lights at 5,500K.
You can set the color temperature with some lights and knowing your color temperatures is important so that you can adjust the white balance of your images. If the white balance doesn’t reflect the temperature of the light, you might find your photos looking too blue or too orange. For this reason, you should always shoot with lights set to the same color temperature and turn off artificial lights if you want to make the most of natural light indoors.
If for whatever reason, there are mixed light temperatures in a scene, this can happen if you’re shooting outdoors with your subject in the shade while some of the scene is in full sun, always white balance according to where your subject is.
Part 2: Understand Direction of Light
You always need to know where your main light is coming from because the direction of light in your shots will change the way that they look.
Front Lighting
When the light comes from behind the camera, it is called front lighting. It will seem very flat. It doesn’t give away much by way of shadows and lights your subject evenly. It can be great if you’re trying to conceal blemishes in a portrait subject, but it doesn’t have a lot of character.

Side Lighting
Side lighting usually molds itself to your subject and emphasizes shape and contour. Landscapes that are lit with the sun coming from the side usually have a beautiful depth to them. Side lighting does not have to be at 90º to the subject but from a side angle. Adjusting the position of the light can change where the shadows fall and therefore the look and feel of your shot.
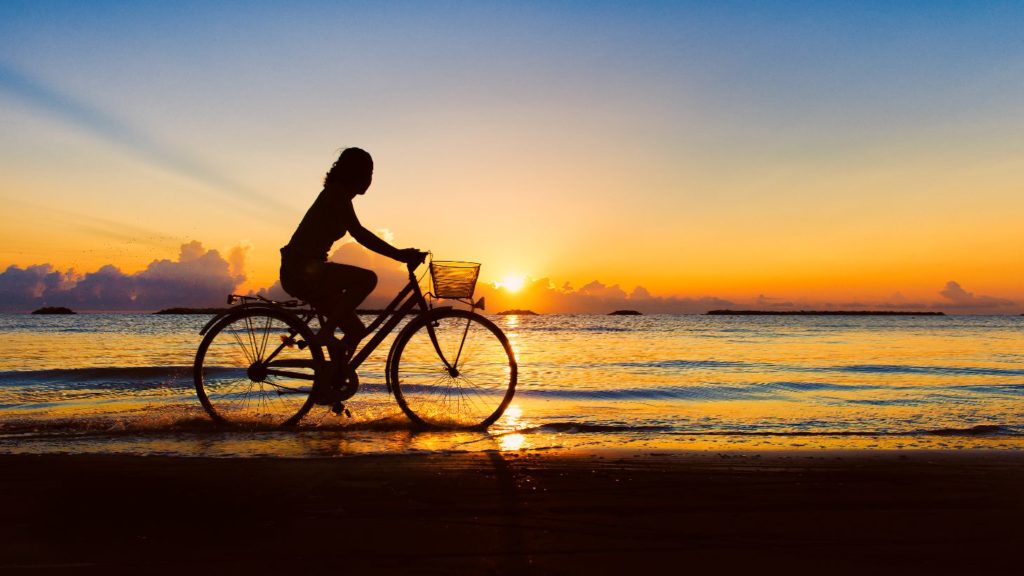
Backlighting
when your light is coming from behind your subject, can be difficult to get right. It can lead to overexposed and washed-out-looking shots. However, if you get it right, rim lighting–when the light illuminates the edges of your subject and gives them a type of halo–can look fantastic. And of course, silhouettes are a kind of backlighting where you expose the background correctly and leave your subject deeply underexposed.
Part 3: The Basic Photography Lighting Setup
There are lots of different types of photography lighting or lighting setups. You might have heard of loop lighting or butterfly lighting. But the basic photography lighting technique is the 3-point lighting setup. Learning these photography lighting basics is a great foundation for other setups.
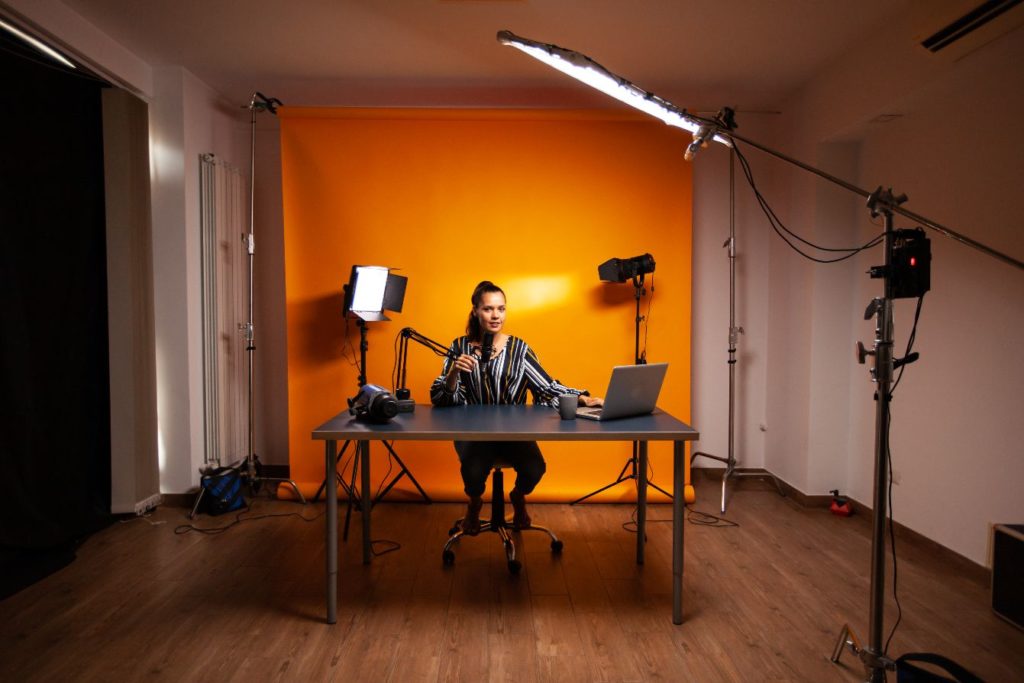
The 3-Point Lighting Setup
The 3-point lighting setup needs three lights, or two lights, and a reflector or bounce card. The idea is that the 3 light sources work in conjunction to produce an evenly lit subject and a background that has depth.
- The key light is your main light, it will be the brightest light in the setup. It is usually positioned at a 45º angle from the camera, either to the left or right.
- The fill light doesn’t have to be a light, a reflector can do the job, too. The fill light balances out the key light and is therefore positioned on the other side of the camera.
- The backlight, which is also known as the hair light or rim light, comes from behind the subject on the same side as the key light. The job of this light, bringing light behind the subject, is to add depth to the background. Without it, the subject will look as if it is popping out of the darkness.
Top 3-Point Lighting Tips
- By moving the key light closer to or farther from the subject, you can control the softness of the light. It might seem counter-intuitive, but closer will mean a softer light that wraps itself around the subject producing gentle shadows. Bringing the light closer to the subject makes it comparatively larger, and therefore more diffuse.
- If you cannot move the light closer, but still need it to be softer, a diffusion panel or even a plain white sheet in a pinch, between the light source and subject, will help to spread the fall of the light.
- If you want a harder, more directional light, you can use barn doors, flags, or even pieces of black paper or cards to help prevent the light from falling where you do not want it.
- If you don’t have access to flashes or strobes, you can make the most of natural light for portraits. Outside in the shade is a great option. Or inside, by a window, works very well.
- For indoor photography lighting, remember to turn out any household lights you have burning. If you have a reflector, use that to bounce the light from the window back onto your subject.
When you have learned the photography lighting basics, progressing to more complicated lighting setups, whether inside or outside, will come much more easily to you. But wherever and however you are shooting, remember that light is light and it is predictable. Whether it is indoor photography lighting that’s artificial, or outdoors and you are making the most of natural light, you will be able to read the light for the best photos.


