Everyone needs some photography tips and ideas from time to time and it doesn’t matter if you’re a beginner or someone seasoned. There’s always something new to learn. If you are just starting out and are looking for some tips to help you on your way, or maybe some photography ideas for at home, there’ll be something for you here.
Summary
Part 1: Top 10 Photography Tips for Shooting Great Photos
Let’s start with the technical basics that you’ll want to get a handle on to help you progress your photography. This will offer you a good grounding, whatever type of photography you want to pursue and whatever camera you use.
1. Get to Know the Rule of Thirds
The rule of thirds is a basic composition principle where you divide your frame into nine equally sized rectangles and use the lines and the points where they intersect to help you organize your shot. Aim to place strong verticals, for example, trees, or horizontals such as the horizon, along the lines and use the four intersections for key features where you want people to focus.

2. Be Stable
Blur detracts from your story, so keep your camera steady. Use a tripod for slower shutter speeds and if you are shooting handheld with faster shutter speeds, keep your elbows tucked in to your sides.
3. Nail Your Exposure
Aperture, shutter speed, and ISO comprise the exposure triangle. They work together to ensure that your photos are not too bright or too dark. The aperture lets light into your camera and can vary in size to let in more or less; the shutter speed determines how long the sensor is exposed for, and the ISO sets the sensitivity of the sensor – a higher ISO means more sensitivity to light.
It’s important to know, too, that a wider aperture (that’s a lower ƒ-stop number) will introduce a shallower depth of field to your photos so that more of the background is blurred. A slower shutter speed will give you motion blur. And the higher the ISO the more digital noise you’ll see in your images.

4. Expose and Compose
When you are trying to set your exposure and compose your scene, it’s best to expose where your subject is, set the exposure, and then compose the shot. This will ensure that your exposure is set for your subject and not for somewhere else in the scene.
5. Set Your White Balance
All light has a color–it’s not just white–and a temperature, which is measured in Kelvin. Our eyes are excellent at adapting to these differences in temperature and color, which alter depending on the type of light source or the time of day if your light source is the sun. Our cameras are not so good at it. This means that whites can come out tinged blue, green, orange, red, or yellow. Your whole photo can have an odd color cast. By adjusting your white balance, so either telling your camera what the temperature of the light is when you’re shooting or correcting it in post-processing, you will ensure that whites really do look white.

6. Look for the Light
Assess where the light is coming from when you compose a shot and use it to its best advantage to illuminate your subject. If it comes from straight behind you, it can be quite flat. You can get some great effects with a light behind your subject, but it can be tricky to expose properly. Side lighting molds to your subject and provides lots of definition.
7. Tell Your Story
Think about what your subject is and the story you want to tell, and then work to emphasize that in your frame. Every time you take a photo, you need to be saying something.

8. Get in Close
How close are you to your subject? Do you think you could get any closer? Everything in your scene should be contributing to the story, not detracting from it. Sometimes, your subjects work best in isolation or with lots of negative space, but it’s worth taking a step closer and seeing how that alters your image.
9. Try to Avoid On-Camera Flash
On-camera flash can be quite harsh and often comes from the wrong angle. If you can, try to avoid using it. If you must use it, try to diffuse it with a piece of paper or bounce it off a wall if you can.
10. Clean Your Lens
A dirty lens will result in a blurry image. Keep your lenses clean. This applies especially to smartphones that come out of pockets or bags rather than being kept beneath lens caps. A quick wipe with a lens cloth each time you use it will do wonders.
Part 2: 15 Creative Tips & Tricks for Beginner Photographers
If you’re looking for some photography inspiration or tips to step your photography up a notch, we’ve got some ideas for you to try. Lots of creative photography techniques are more about keeping your eyes open for potential shots and being patient than needing specialist gear. A camera, lens, and tripod should set you on your way.
1. Look for Reflections
Reflections produce intriguing, evocative images. A perfectly symmetrical reflection of a mountain in a lake or a skyline in the sea or river looks stunning, but you don’t have to head to the Alps or the coast! Look for reflections in puddles, windows, mirrors, or any other surface for an unusual shot.
2. Look for Shadows
Shadows can add so much to a scene by emphasizing shapes, suggesting something dark or menacing, or bringing balance.

3. Seek Out Frames
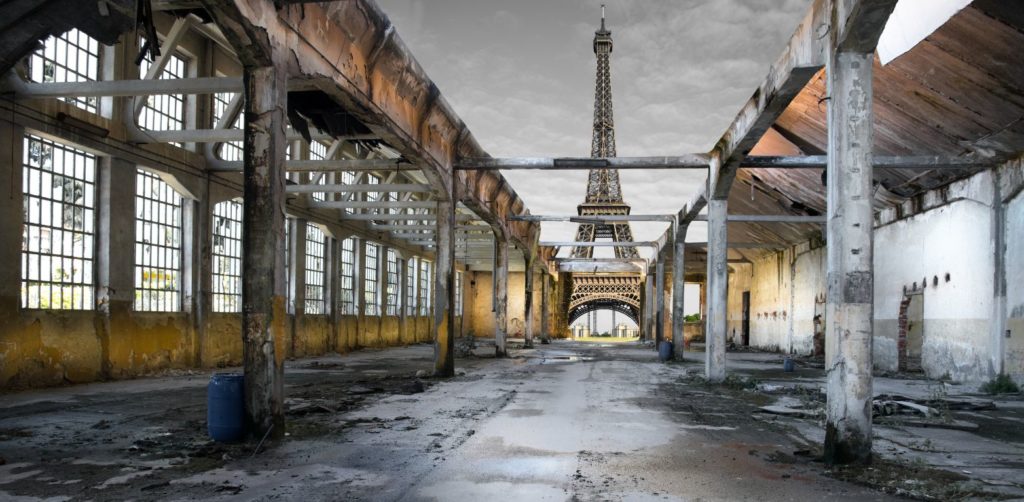
Natural frames really help to draw your audience’s eye and focus attention on your subject. Almost anything can act as a natural frame, from archways to trees, so keep your eyes peeled for them. Natural frames are a great photography idea for portraits!
4. Keep an Eye Out for Symmetry
Symmetry is aesthetically appealing, so look out for symmetrical images. These can be anything from buildings to butterflies. Just be sure that you get it right because if it’s slightly off-center, it can be irritating.

5. Create a Sense of Depth
When you shoot landscapes, try to immerse your audience in the scene by creating a feeling of depth. Leading lines can help with this, as can ensuring that you have something in the foreground that helps to give a sense of scale. And remember that a landscape shot still needs a point of focus and a story to drive it.
6. Make Use of Leading Lines
Lines that draw your audience’s attention to the subject are a valuable story-telling tool. Leading lines can be real, for example, arms or railway tracks, or imagined, such as people’s eye-lines, and straight or curved.

7. Shoot During the Golden Hour
The period just after sunrise and just before sunset produces beautiful, soft, golden light that is extremely flattering for portraits and can make natural scenes glow. If you can make use of it, do!
8. Capture Water Droplets
Capturing the precise moment in time of a water droplet falling from a leaf, or making a splash in a pool makes an evocative photo. You’ll need plenty of patience, a tripod, and a fast shutter speed.

9. Have a Go with Light Trails
Another shot for a tripod. Set yourself up on an overpass at night with your camera on a tripod and with long exposure to capture the lights of cars passing beneath you.
10. Consider Underwater Photography
Pick up an underwater housing and have a go at shooting beneath the water’s surface. You can experiment with the changes it makes to light, color, and movement.

11. Give Street Photography a Go
Grab a prime lens and hit the streets. Look for interesting moments of interaction or unusual sights, work with the light and think about your framing. You might surprise yourself. If you’re worried about photographing strangers, maybe try doing it at a parade or carnival. Otherwise, a smile and a point to your camera often do the trick.
12. Perfect Your Panoramas
Panoramas are quite straightforward to shoot using your smartphone, but you can do it with a mirrorless or DSLR camera, too. Shoot plenty of images and then stitch them together using specialist panorama stitching software.

13. Shoot in Silhouette
When you have your subject in front of a bright–and ideally colorful–background, you can expose the background, and compose for the subject to create a silhouette.
14. Make Photos that are Good Enough to Eat
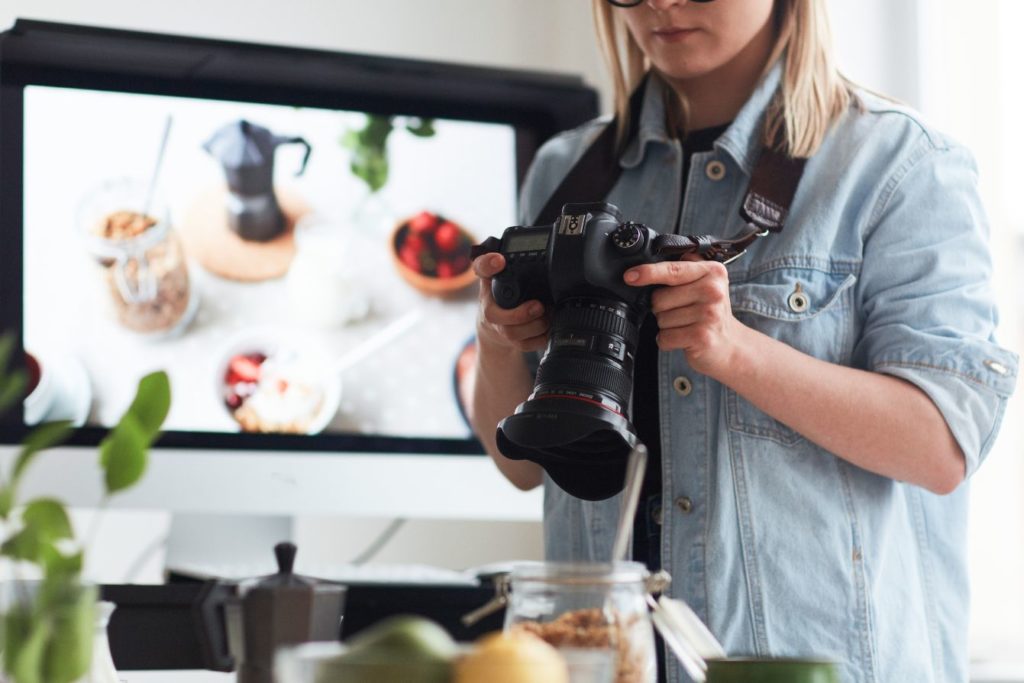
Food photography allows you to get creative with color, shape, and composition but is surprisingly challenging. Make sure that you have plain backgrounds, clean plates, good lighting, and then experiment with angles and have fun.
15. Head Over to the Dark Side
Photography might be about painting with light, but that shouldn’t stop you from trying night photography. There’s plenty of light around if you look for it, from streetlights to the moon, that you can use to illuminate your subject, cast interesting shadows, and tell great stories.
These photography tips and ideas should keep you going for a while and give you plenty of creative suggestions to improve your photography. More than anything, it’s about looking for moments and telling a story.


