Filmmaking is a messy business. Shooting schedules, scripts, crew members are frequently subject to change and a lot of the time it can feel like you’re sailing around in choppy waters with no dry land in sight.
Fortunately, however, there’s one component of the filmmaking process that’s steady, straightforward, and methodical AF. And that’s editing.
Editing provides the perfect calm after the on-set storm and is sometimes even an area in which you can make up for lost time. That’s assuming you do it the right way and follow the good old faithful 5-stage rule.
Stage 1: Logging
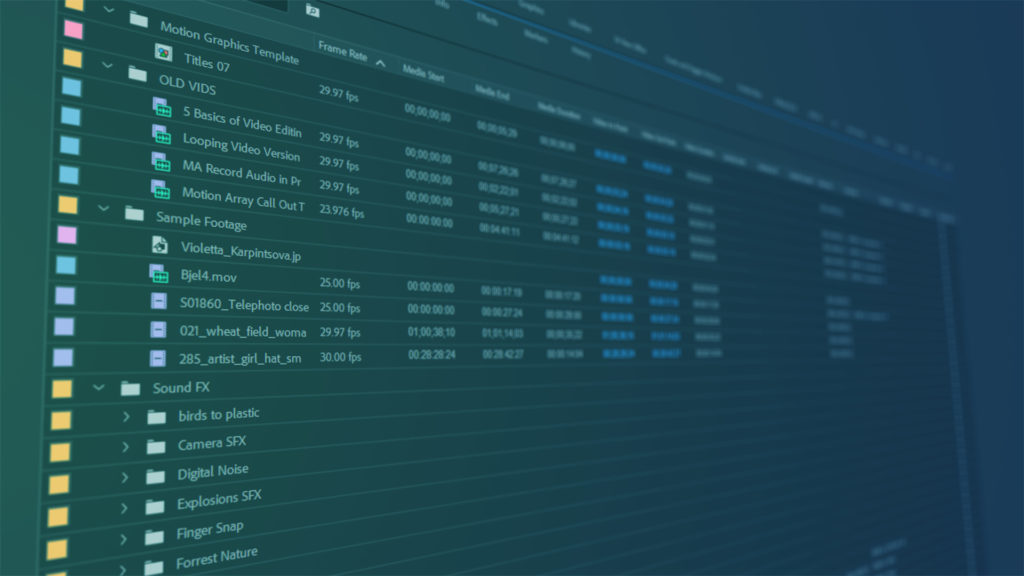
The first thing you’re going to do is log your footage. This is where you sort through all of your source video material, cut out all the usable clips, group them into bins, then label those bins accordingly. That way when you’re searching for a specific take from a specific scene later on, you can save yourself the hassle of trawling through hours upon hours of footage and instead delve directly into its bin.
While tedious, logging is the first opportunity you’ll have to see how well your footage presents on screen and thus has the potential to conjure emotions ranging anywhere between sheer exhilaration to sheer panic. If for whatever reason a film’s footage isn’t looking so hot to trot or there’s a key piece missing, the director will likely order a re-shoot—an inconvenience yes, but not a major one. This is because, on most large-scale productions, logging takes place concurrently with the filming so if something isn’t right, the editors can give the director a heads up almost immediately, and the director can arrange a do-over while the actors and set are all still in place.
Obviously, if you’re working with a bare-bones team or you’re doubling as director and editor, this kind of tight-ship feedback loop won’t be possible. You’re logging will likely take place days if not weeks after a shoot. Not ideal but hey, nothing in budget filmmaking ever is.
FYI: If you don’t trust yourself to log footage manually, you can always call on the help of software like Adobe Prelude or Kyno to help you keep everything in order.
Stage 2: First Assembly
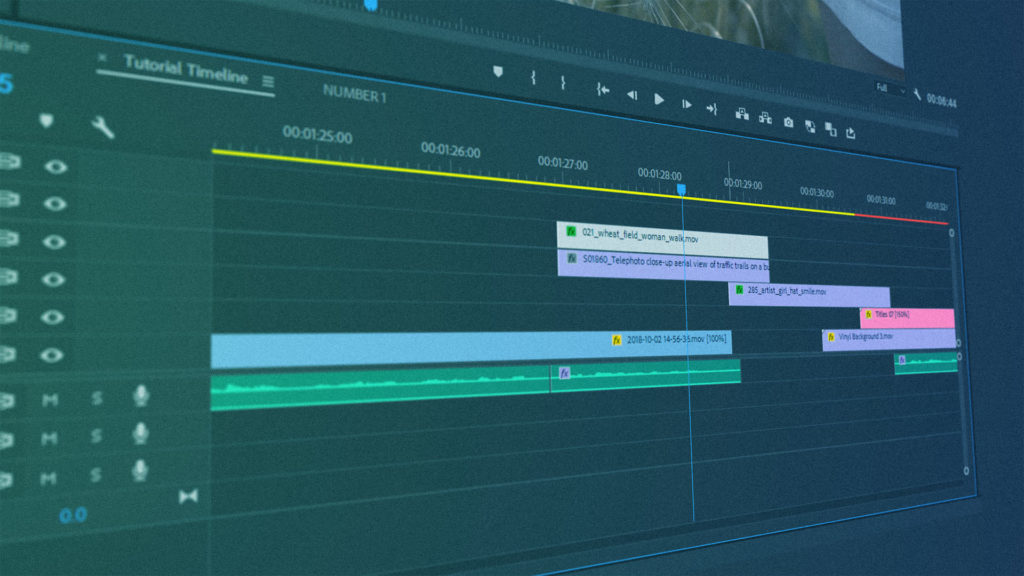
The first assembly is where you take all of that meticulously logged footage and arrange it into a timeline consistent with the film’s storyboard. For feature-length films, this can be quite a task, so to make it more manageable editors will often break the process up by organizing each scene as a standalone before sequencing all of the scenes together.
Where logging gives you your first glimpse at your film’s footage, the first assembly gives you the first glimpse of your movie laid out in a linear structured format, albeit an extremely long one. For the purpose of maintaining optionality until the next stage, you’ll want to slot multiple versions of the same take all along your timeline, resulting in a first assembly cut somewhere in the vicinity of to 2-3 times the duration of your eventual finished product.
Which is precisely what you need! Because in the next step, you’ll be whipping out the hedge clippers and attacking that wild, woolly timeline of yours. Just before you begin, be sure to save your first assembly in all its messy entirety. If you happen to make any boo-boos of biblical proportions going forward, then you’ll almost certainly be able to come back to square one—a.k.a your first assembly.
Stage 3: Rough Cut
Okay, now it’s really time to wake up and switch on that brilliant movie-making mind of yours. So far, it’s been all about cruising on auto and following basic techniques. But from here on out, you’ll be required to make some pretty tough decisions, and nowhere will they be tougher than during the rough cut.
With the rough cut, you’ll be trimming that crazy-long first assembly down to one, neat tidy first draft. This means going through all of the different versions of each take and picking out the best one to keep. Think annual facebook friends cull, only harder.
Next, you’re going to turn your attention towards the structure and pacing of the film, adding in pauses, transitions, titles, dummy narration, and anything else that’ll help capture and convey the emotions and messages embedded in the narrative. If you’re working under a director, he or she will be peering over your shoulder and weighing in heavily during this part. If you’re working solo, then the creative license is all yours.
Once you’re done with your rough cut, you’re going to show it to your client or director and hope they say “Love it!” as this will mean no more structural changes need to be made and you’re on the homeward stretch!
Stage 4: Fine Cut
Where the rough cut focuses on refining the overall film, the fine cut focuses on refining each and every itty bitty frame. So you maybe want to get your microscopic goggles out. No, but seriously, you are going to need to pay super close attention to every cut, making sure that they flow from one to the other in a seamless fashion. If there are any blemishes, the fine cut is your last chance to catch them.
This is because, after the fine cut, the film receives what’s called a “Picture Lock” which basically means it’s ready to be shipped off to other departments for finishing touches (color corrections, special effects, etc.) and no more changes to the timeline or TRT (total running time) can be made. Because if they are it’ll like, ya’know, cost a lot of money and stuff.
Obviously, if you’re the one in charge or you’re working on your lonesome, you can flaunt the age-old Picture Lock rule by going back and making as many changes as you want. But if you’re working with a production studio or team, then you should know that this is the point of no return.
Stage 5: Final Cut
If you’re working on a major production, then you can expect to have very little to do with the final cut. This is where you as the editor steps back and lets all of the color grading, audio mixing, special effects, and closed captioning experts step in and take the film from meh to magic!
If you’re working solo, then this final stage will look very different. Instead of kicking back, you’ll be frantically searching the interwebs for royalty-free music, sound effects, motion graphics, and anything else you can find to spruce up your movie. With so many different websites offering so many different products for such drastically different process, this part can be super stressful and time-consuming. So to alleviate some of the burdens, you’re definitely going to want to find yourself one marketplace offering all the goods so you need to not flit around from site to site for hours on end.
Call us biased but one marketplace we see as cutting the mustard pretty damn well is our own. The Motion Array library offers more than 70,000 files ranging from motion graphics templates to royalty-free music to stock video footage. Through our various membership packages you’ll score open access to the full gamut of our library, plus our cloud-based video review system, video portfolio builder, and range of Premiere Pro plugins. Those interested but not sure are welcome to give it a whirl with our free plan to start.
Conclusion
Regardless of whether you’re a one-man-editing show working on your own passion project or part of a massive post-production team churning out movies for high-profile clients, this 5-stage video editing formula will always apply. And that’s simply because it makes the most sense.
Obviously, you’re free to go about the post-production process in any quirky-ass way you want. Just know that if you deviate from the tried-and-tested route, it’ll only take more time and result in more headaches. Both of which suck.