


In this Premiere Pro tutorial, you’ll learn some quick ways to find the right cut points for music when you have already edited your video. So, why might you want to cut music to match your video after the fact? Let’s say you’ve completed your edits, but your client wants to change the music track (and it’s way longer than your video)? Don’t sweat it!
We’ll go over how to find the beats in a music track, how to cut to phrasing, and how to cover your audio edits, so the audience doesn’t even notice them. While you can use dedicated audio software for precise editing, here you’ll learn how to edit audio in the Premiere Pro timeline.
Summary
Part 1: Music 101
Before we get started, it’s important to understand the “language” of music and review time signatures. And one of the most common signatures in music is 4/4 time. This means each measure comes with four beats. Generally, the phrasing is in 4, 8, 12, or 16 measures. So a simple calculation can tell us where to trim the audio.
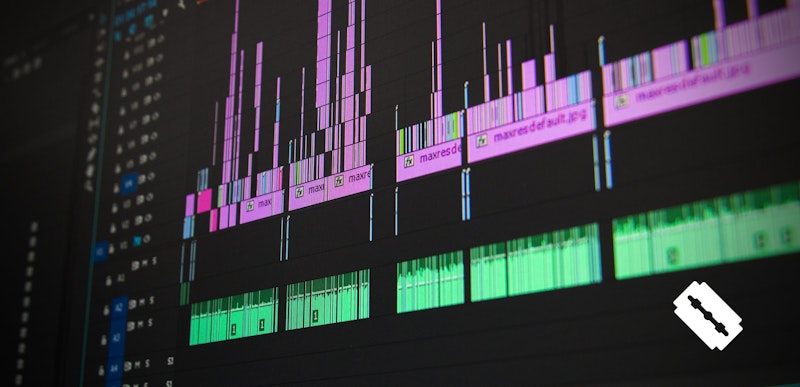
For instance, if the intro of your music has 8 measures and if you need only 4, you can simply identify the song change with the peaks in the curve using the razor tool to cut the frame. Keep this scenario in mind as we dive into the edits!
Part 2: Cutting Your Music to Match the Video
Step 1: Evaluate Your Audio
- Firstly, drag the audio on to your timeline below your video layer. If you need to pick a track, here’s a bunch of stock music to choose from in the Motion Array library.
- You’ll want to evaluate how long the clip is and where the beats are via the soundwaves. Just keep these in mind for the time being.
- The end goal will be to cut off the music piece in certain positions to fit it in the timeline.
Step 2: Cutting Your Music Track
- Remember the 4/4 time signature? That’s going to come in handy now.
- Start at the beginning of the audio clip and review it based on your intro video footage.
- Again, if the first part of the music has 8 measures and if you need only 4, you can count out the beats, and use the razor tool to cut at the end of the beat.
- Once you’ve cut, you should see two sections that are 4 measures each.
- Now, highlight the excess measure you want to delete.
- Once complete, you’ll see a space in the timeline. This is fine, as you’ll be able to move everything down later.
- Alternatively, if you hit ALT or Option when hitting delete, you’ll do a Ripple Edit. This will pull the music track back in your timeline.
- When you playback the music, you might identify some spots where the song changes its beat or tempo. You might have missed the beat by a little. Simply, trim this out for a more precise cut. Again, you can use the razor tool to make the necessary cuts and reduce the music to four bars only.
- Then, follow the above steps for the various tempo changes in the track.
- After you completed the above until you’re about the desired length of the music (based on your video edit), you should be nearing the last notes.
- You’ll want to ensure that the last part of the video coincides with the final note of the song.
Step 3: Smoothing Out Audio Edits
- You might run into a situation when a single note or a sound pops up and ruins the smoothness of the audio between your cuts.
- For this, all you have to do is go to the Effects section and navigate to the Audio Transition and reach the Cross Fade icon to place it over the music edits.
- Change the Delay to four frames and you are set (the default is 1).
- Add the Cross Fade to all of the places where you cut to smoothen out the audio and don’t forget to set each to 4 frames!
How’d it go? Check out this tutorial if you felt like you needed a brush up on audio editing basics in Premiere Pro.
And there you have it! You’ve now learned how to edit your music track to fit with your video edit. We hope this tutorial has made it easier to cut music inside of Premiere Pro CC!


