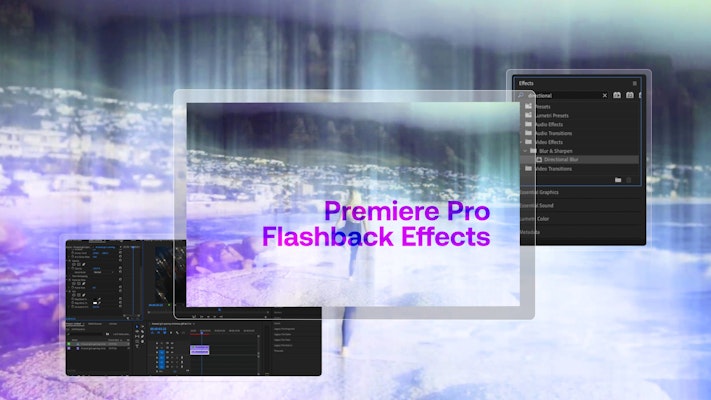
Flashback and dream sequences are often stylized to indicate to the viewer what is happening in your film. While there are flashback and dream presets you can use, creating the effects from scratch can give you far more control over your compositions. Today, we will show you how to create a Premiere Pro flashback look and transition.
Summary
Part 1: How to Create the Flashback Effects & Transitions in Premiere Pro
Flashback and dream sequences often take on a unique look, but getting the audience into that look is just as important. By learning how to create a preset and transitional effect, you can make sure you create a cohesive look between the two.
Step 1: Create the Dreamy Effect
The dreamy look created for flashback scenes can use a variety of effects, but how it looks will depend on your source footage. We’re going to show you the method but play around with your settings to customize the look of your clip.
- Import your clip and trim on the timeline.
- Duplicate the footage by pressing Alt on your keyboard and dragging it up.
- Select the duplicate and in the Effects Control panel, change the Opacity to around 40%.
- Search for Posterize Time in the Effects panel, then add it to the bottom clip.
- In the Effects Control panel, change the Frame Rate to one-third of your current frame rate. If your clip is 24 fps, change the setting to 8.
- Find the Directional Blur effect in the Effects panel and add it to the duplicate clip.
- Adjust the Blur settings to create the look you want in the Effects Control panel.
- Search for the Tint effect and add it to both of your layers.
- Select the bottom layer and adjust the Amount to Tint setting until you like the color style.
Top Tip: Try adding some Camera Shake to your clips for an extra flourish.
Step 2: Create a Transition
The best thing about creating your own Premiere Pro transitions is that you can copy and paste them to other projects and customize them as needed. Whatsmore, you can use this keyframing technique with different effects to create your own styles.
- Edit your clips so they are next to one another on the same track.
- Search for Cross Dissolve and add it to the join between your clips in the Effects Control panel.
- To extend or shorten the transition, drag its ends along the timeline.
- Click the + New Item icon in the Project Browser and choose Adjustment Layer.
- Drag the Adjustment Layer to sit above the transition, then trim the ends to match the transition length.
- Search for Gaussian Blur and add it to the Adjustment Layer.
- Place your player line at the start of the Adjustment Layer and go to the Effects Control panel.
- Click on the stopwatch alongside Blur Amount to create a keyframe. The setting should be 0.
- Move the player line to the end of the Adjustment Layer and click the diamond icon alongside Blur Amount to create a second Keyframe.
- Move your player line to the join between your clips and increase the Blur Amount to 100.
- Check the Repeat Edge Pixels box to remove the dark edge.
- Hold Alt on your keyboard and drag the Adjustment Layer to the track above.
- Select the top Adjustment Layer and in the Effects Control panel, adjust the Blend mode to Linear Dodge.
- Create 3 Keyframes for the layer Opacity using the same method as the Motion Blur, using the settings 0, 100, 0.
- Create a new Adjustment Layer and add it to your timeline above the others.
- In the Effects Control panel, search for Turbulent Displace and add it to your new Adjustment Layer.
- Create 3 keyframes for the Turbulent Displace Amount using the same method as the Motion Blur/Opacity, using the settings 0, 200, 0.
Part 2: 5 Amazing Flashback Effect Resources for Premiere Pro
Sometimes it’s easier to start with a preset design and customize it from there; fortunately, Motion Arrange has hundreds of Presets and templates for you to download; check out our top 5 Flashback Effects.
1. Flashback Effect
The Flashback Effect pack includes 8 fantastic presets with a dreamy, glowing feel. The simple drag-and-drop looks have a mix of blurs, glows, and flare effects, including a stunning prism gradient for unique flashback styles.
2. Flashback Effects and Transitions
The Flashback Effects and Transitions pack includes 12 transitional effects and 5 presets. The unique set consists of a warping zoom, scale glitch, and pulsating vignette, ideal for your films, music videos, and slideshows.
Download Flashback Effects and Transitions Now
3, Memory Effect
The Memory Effect includes 8 stunning presets to create a floaty, dreamy look to your clips. The preset uses Fractal Noise effects to create a cloudy look, mixed with gradient color, Blur, and warp effects for a range of styles.
4. Dark Dreams Effects
The Dark Dreams Effects pack includes a massive 78 presets and is ideal for any editor wanting to boost their flashback toolkit. The vast range of effects includes glitches, light leaks, and trendy kaleidoscope designs.
Download Dark Dreams Effects Now
5. Dreamy Light Rays Effects
The Dreamy Light Rays Effects includes 24 gorgeous light leak effects highlighting the clip light sources with stunning glowing flares. The soft and subtle style is ideal for dream sequences, flashbacks, or a beautiful look for your film.
Download Dreamy Light Rays Effects Now
Premiere Pro Flashback Effects are a lot of fun and super easy to create, even if you’re starting out. The stylistic compositions are ideal for documentaries, music videos, and movies, allowing your audience to understand where and when they are in the world of your film. If you’re interested in finding out more about Premiere Effects, why not try out this incredible Sparkles Tutorial.


