When shooting a video, it’s important to keep the shooting style consistent and make sure everything is the angle you need it to be in the edit. But sometimes you might be editing several different video clips which are different angles, and you’ll need to rotate them the right way around.
There are a few ways to rotate a video in Premiere Pro. The first is the easiest and can be done in three simple steps. Let’s jump right in.

Summary
Part 1: 3 Easy Steps to Rotate Videos in Premiere Pro
Rotating videos in any direction is easy in Premiere Pro and can be done directly in the Effect Controls panel. You can rotate a video in any direction to amend a slightly wonky camera angle or to add a stylistic slant, but generally, there are 3 directions you will be rotating in.
- On the Premiere Pro timeline, select or highlight the video clip you want to rotate.
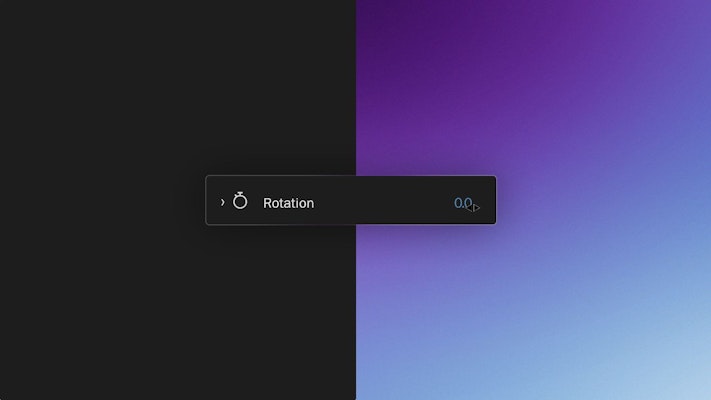
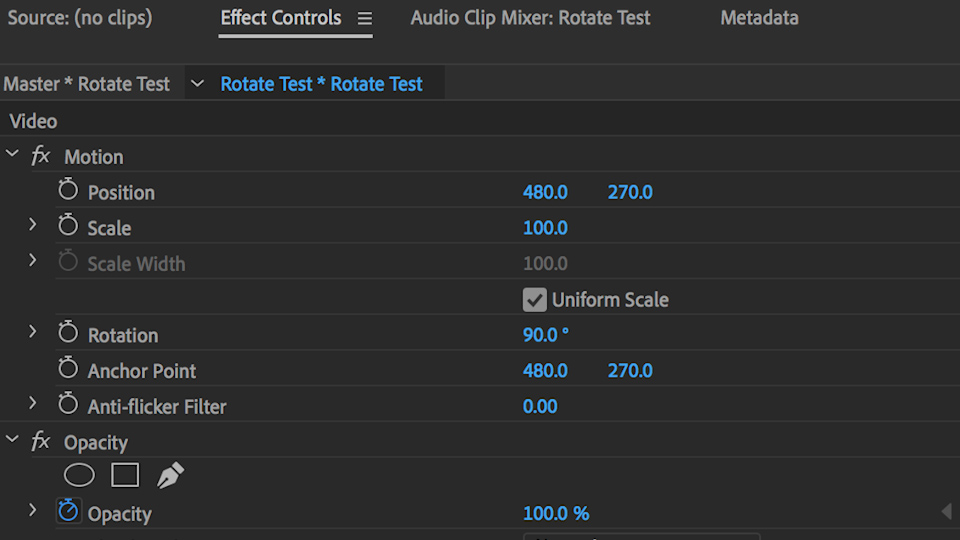
- Head to the Effects Controls panel, then go to Motion > Rotation and click on the number beside this function.
- Enter the degrees by which you’d like to rotate.
- 90.0º turns it on its side.
- 180.0º flips it.
- 270.0º rotates it again in the other direction.
You don’t have to rotate videos in entire 90-degree increments. If your video is slightly skewed, you can straighten the horizon by entering a smaller number. Try rotating it by just a few degrees to see the result.
Pro Tip: After rotating a video you will find black sections of the screen where the picture is misaligned with the frame. You can increase the Scale of the video in the Effect Controls panel to increase the size of the video in the frame and remove the black, hiding the fact that the image has been rotated at all.
Part 2: Additional Tips on How to Flip Videos
If you rotate a video 180 degrees, it will result in the video being upside down. If you want to flip the entire frame to reverse it, you can do that by searching for the Horizontal Flip effect. Double-click it or drag and drop it onto your chosen video clip to reverse the image horizontally.
Alternatively, you can use the Transform effect to achieve similar results.

- Select the clip you want to transform in the timeline.
- Go to Effects > Distort > Transform and double-click or drag it onto the clip.
- In the Effect Controls panel, scroll down to Transform.
- Uncheck Uniform Scale.
- To flip the image horizontally, change the Scale Width to -100.
- To flip the image vertically, change the Scale Height to -100.

These methods generally result in the same effect, so it’s really a case of choosing what works best for you in your workflow. Experiment with the different approaches and find the method that suits you best.
Bonus: 3 Cool Premiere Pro Rotation Transition Templates
Now that you have learned how to rotate videos, you might be thinking it would be a cool effect to use in your next video. Well we have got you covered! Download and drop in these transitions to create simple yet eye-catching effects.
1. Swirl Transitions
Add impressive spinning effects to your videos and create a dynamic flow to showcase all your work! Expand your own creativity by choosing between 32 transitions in 8 different styles.
Download Swirl Transitions Now
2. Rotation Transitions
Create impressive YouTube intros or social media ads with a dynamic and energetic style that will add a pro look and feel to your work. This template is definitely one you need to add to your creative arsenal.
Download Rotation Transitions Now
3. Turn Transitions
Infuse your videos with smooth shifting and turning transitions that will visually tell your business or brand story. Perfectly design for your next product launch or short promos for your events.
Rotating a video is mainly used to adjust the frame slightly if the horizon is slightly skewed, or if the video has been shot incorrectly as a vertical video, that can be fixed with entire 90-degree increments. Whether you are using the Rotate tool in the Effect Controls panel or applying effects such as Transform and Horizontal Flip, rotating videos in Premiere Pro is a simple way to amend errors that occur during filming.