Presets are a fantastic way to build your editing capabilities and offer new and exciting effects for your viewers and clients. Presets for Premiere Pro include Color Grading LUTs, Video Effects such as glitches and grains, and title animations. Premiere Pro has a lot to offer, but you can create unique and engaging content every time with downloadable presets.
Summary
Part 1: Learn How to Add & Use Premiere Pro Presets
Installing and using Premiere Pro Presets is super easy, and you can have them ready to use in just a couple of minutes. Whatsmore, you don’t need to install them each time; once installed, your presets will appear in the Effects Panel in all of your projects.
- Edit your clips in Premiere until you are ready to add your preset.
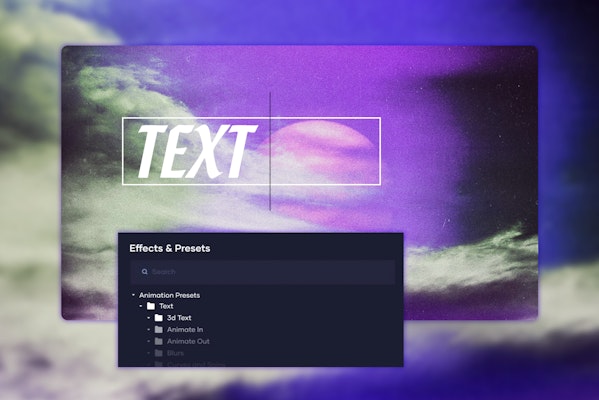
- Go to the Effects panel at the top of the screen; if you don’t see this, go to Window > Workspaces > Effects.
- In the Effect panel, go to the Presets folder; right-click, and choose Import Presets.
- Navigate to your downloaded preset location in the Finder window, select the file, and hit Open.
- Search your Presets folder in Premiere to find your recently imported effects.
- Drag and drop your effect onto a clip, and playback your video to see how it looks.
Part 2: Top Tips for Using Presets
1. Choose Presets Based on Genre and Style
You can effortlessly search for a particular style, whether you use titles, effects, or LUT presets. Many downloadable presets are tagged based on genre, allowing you to easily search for horror, sci-fi, or business-based presets.
2. Organize Your Presets
As we’ve shown, you can easily organize your presets into categories, keeping everything in one handy place. This is fantastic for professional editors working with multiple brands and projects.
3. Add Presets to an Adjustment Layer
Many presets can also be added to adjustment layers; the benefit of adjustment layers rather than individual clips is that you can add your effect to the whole timeline at once.
- In the project browser, select the + icon and choose Add Adjustment Layer.
- Add your presets to the adjustment layer and extend it to cover all the clips you want to apply the effect. Remember, adjustment layers only add effects to layers sitting below it in the timeline.
4. Don’t Get Carried Away
Presets are a lot of fun, and there are so many different styles out there that it can be challenging to choose. It would be best if you’re careful about how many Presets you add to your clips; aside from slowing your edit process down, it can begin to look messy and confusing. Remember, any effects you add should enhance your message, not distract from it.
5. Presets Not Working
Occasionally a Preset may behave unpredictably or not work at all. As Presets are 3rd party plugins for your software, several points in the process can go wrong. If a preset isn’t working correctly, you should first check that the download file is compatible with your version of Premiere and update your software as required.
6. Build a Library
Premiere is an incredible piece of software, but presets can be used to expand your editing capabilities and provide new and unique looks. Like your computer font library, building a preset collection can be a massive resource for your video projects.
7. Create Your Own Presets
Not only can you download and install presets to Premiere, but you can also create your own. If you’ve made an excellent video effect or color grade and want to save it for future use or share with a team member, you can quickly export your build to a Preset; find out more with this handy guide.
Part 3: 2021’s Top 5 Premiere Pro Presets
1. Cinema Alpha Titles
The Cinema Alpha Titles pack contains 14 cinematic text designs with smooth dynamic motion. Turning your footage into text, the smooth zoom-in creates stylish parallax effects.
Download Cinema Alpha Titles Now
2. Neon Hallucination Effect
The Neon Hallucination Effect is a trippy stylistic look, ideal for music and events videos. Turning your footage into a warping glowing light show, this pack of 8 presets is sure to grab your viewer’s attention.
Download Neon Hallucination Effect Now
3. Pixel Stretch Effects
The Pixel Stretch Effects pack contains a massive 36 presets with a unique, exaggerated pixel stretch. These incredible effects can create cool movement transitions with a range of layouts.
Download Pixel Stretch Effects Now
4. 3D Parallax Rotation Effects
The 3D Parallax Rotation Effects pack contains 36 incredible effects that create dramatic and stylish freeze Frames. A tunnel of images makes a parallax effect rotate toward the viewer as the frame freezes.
Download 3D Parallax Rotation Effects Now
5. Night Color Grades
The Night Color Grades pack includes 10 beautiful nighttime grading LUTs. The strong and saturated effects work perfectly for creating a colorful and stylistic look and are also ideal for grading day for night shots.
Download Night Color Grades Now
There are thousands of Presets available to download from Motion Array, so you are sure to find something you like. Now you know the steps to downloading and installing your Presets, you can begin building your library. Why not start here with over 200 incredible Free Downloadable Presets.
If you liked this tutorial, we’ve got lots of other tutorials for Premiere Pro, After Effects, and filmmaking in general! If you’ve got any questions or want to see other future article topics, leave us a comment down below.


