


The Magnify effect is a versatile and often underused tool in Adobe Premiere Pro. There’s plenty you can do with it, from drawing attention to things in the frame to creating stylish GFX when combined with other effects. In this tutorial, you will learn how to use it in 2 main ways – magnifying an object in a scene and making a glitch transition effect. Read on to master the magnify effects you can create in Premiere Pro!
Part 1: Learn to Use the Magnify Effect in Premiere Pro
The Magnify effect can be used to enhance the narrative of a scene, drawing particular attention to something. Imagine police forensics officers magnifying something on a CCTV screen to catch a subject, or needing to draw particular attention to something in a tutorial.
- In your Premiere Pro sequence, duplicate the video layer (Alt+drag).
- Move the playhead to the point at which you want the magnification to happen.
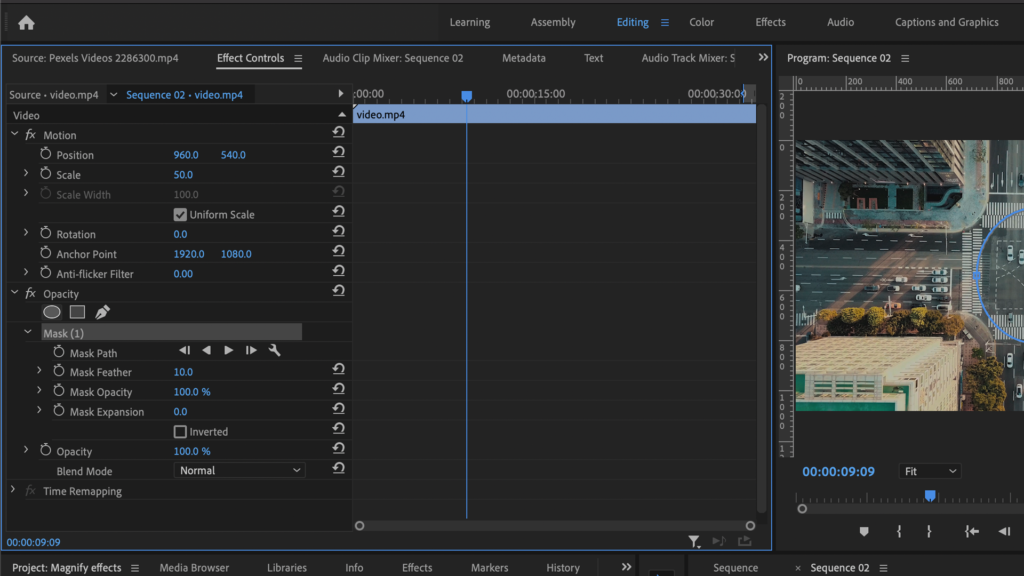
- Go to the Effects Control panel on the top layer and create an Ellipse mask.
- Move it over the point in the frame you want to magnify.
- Increase the Scale of the frame to your liking.
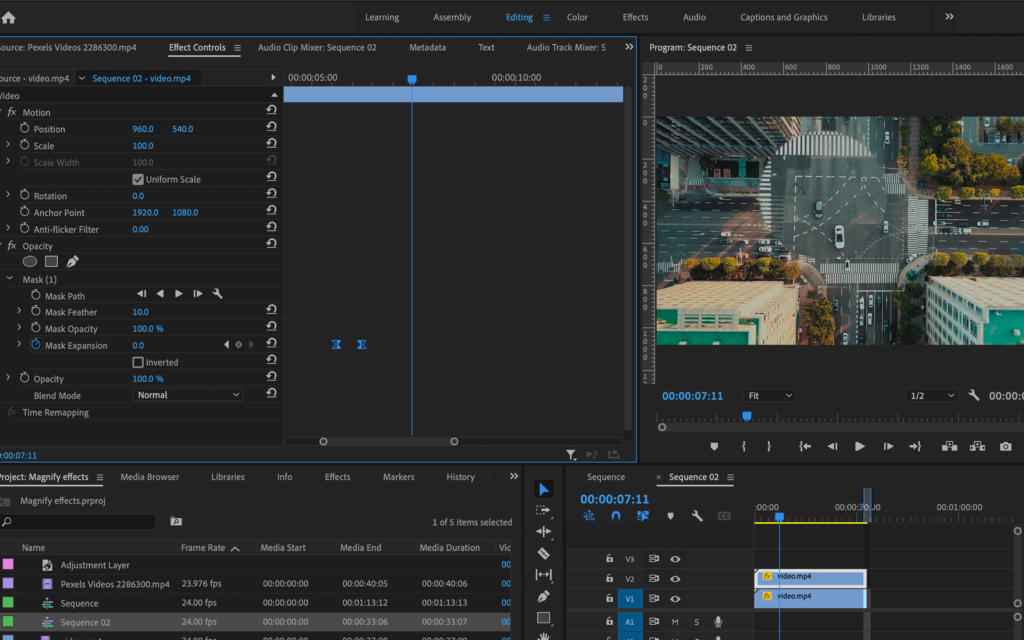
- Add a keyframe in mask expansion, move it backward on the timeline then reduce the mask expansion so the mask disappears.
- Adjust the Position of the keyframes to your liking to refine the exact moment and the speed at which the mask expands.
- Move the playhead later in the clip to the point at which you want to magnification to disappear and create keyframes with the reverse values, setting the timing to your preference.
Part 2: Create a Magnified Glitch Effect in Premiere Pro
Now let’s learn how to use the magnify effect to create an awesome glitch transition.
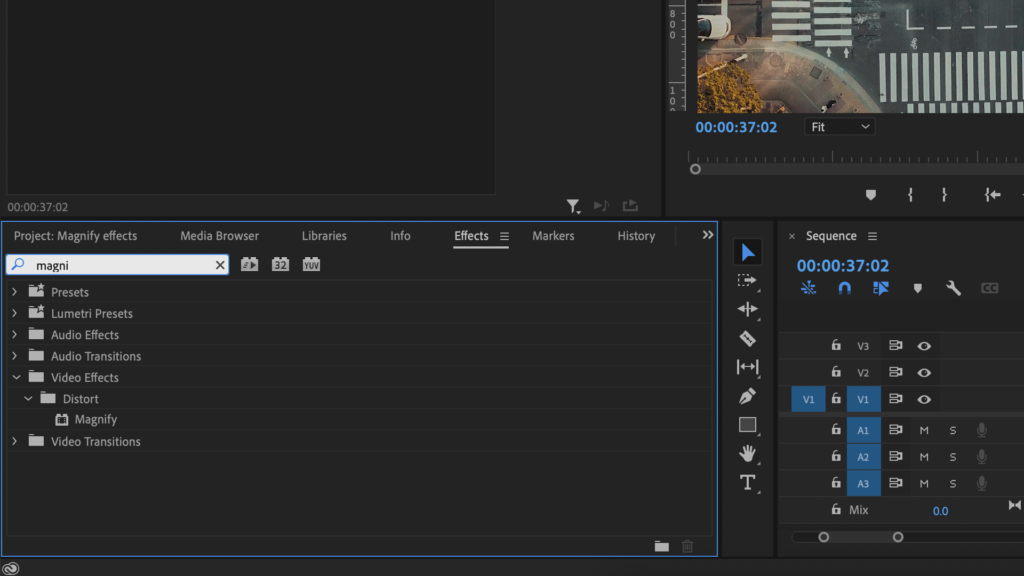
- Create a new adjustment layer.

- Drag it over the join between two clips on the timeline, with 20 frames on each side.
- Go to Video effects > Distort > Magnify and drag it onto your adjustment layer.
- Select Square under the Shape type from the drop-down menu.
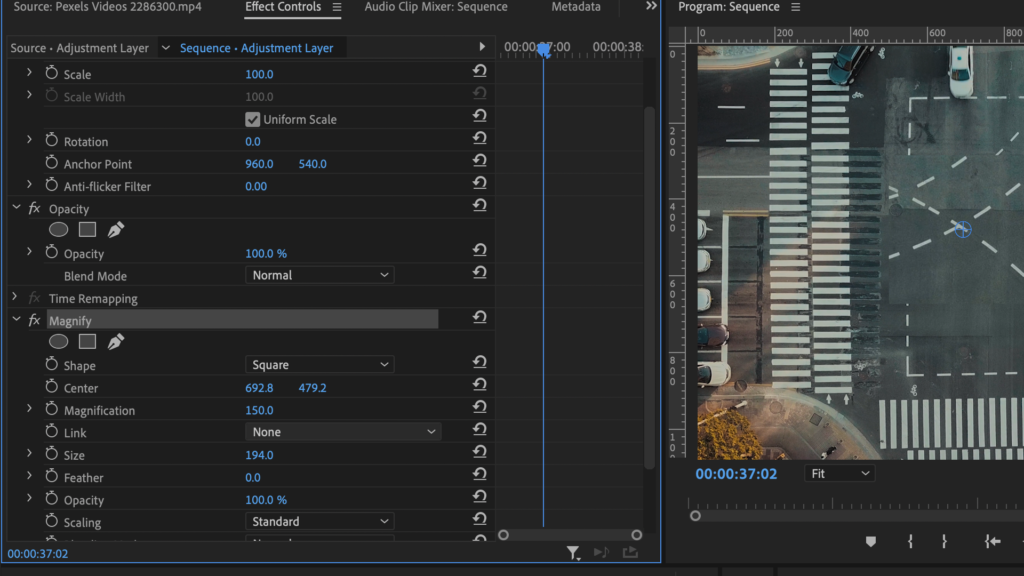
- Move the position of the Magnify effect to the place in the frame you want it by altering the Center and Size values.
- Set the keyframes on the Magnification value, starting with 100 and then moving it up later in the video.
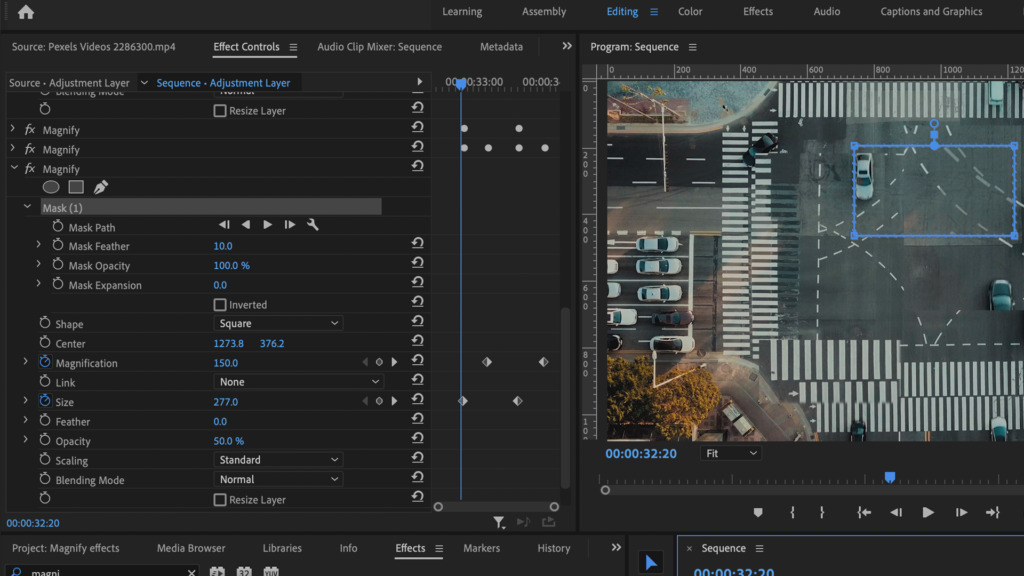
- Select a mask to affect the shape of the magnified area.
- Copy and paste the Magnify effect.
- Remove the mask. Add a keyframe on the Magnification value, right-click on it and select Hold keyframe. Set it to 150.
- Move the playhead later in the clip and set it to 100. This will make the magnification effect pop into the frame and then out again. Adjust the timings to your liking.
- Copy and paste the Magnify effect, delete the keyframes and start from scratch.

- Add as many as you like and play around with the qualities of each. Try some that zoom in, some that zoom out, some that pop, and adjust the Opacity of some.
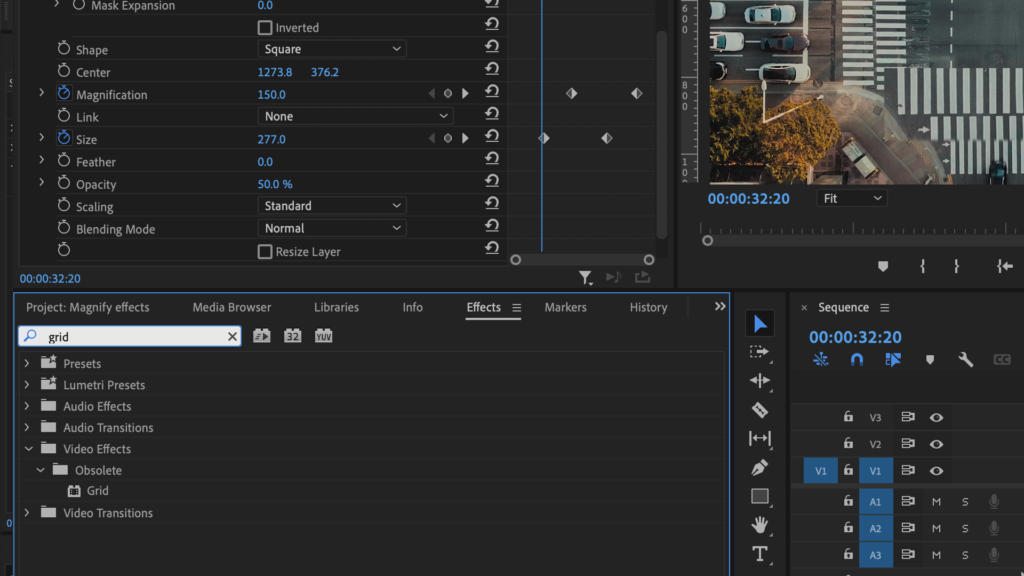
- Go to Video effects > Generate > Grid. Add a mask and adjust the keyframes of the Mask Opacity quality to add cool abstract shapes to the frame.
- Change the Blending mode of the grid to Normal.
- To make the magnification effect on the grid shapes, move the grid layers before the magnify layers.
- To take it to the next level, add the Turbulent Displace effect.
- Change the Displacement type to Vertical or Horizontal displacement.
- Change the Amount to 200, the Size to 20, and the Complexity to 10.
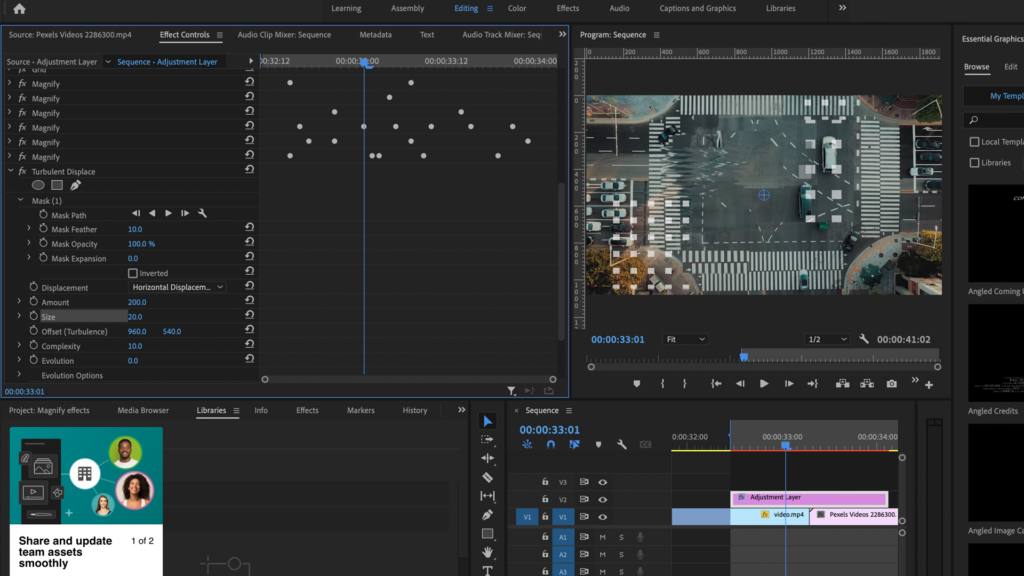
- Add multiple-sized masks and move them around the frame to your liking.
- Adjust the keyframes of the mask Opacity multiple times on the timeline to make it look like they are flickering in and out.
Master the Magnify effect tool in Adobe Premiere Pro to expand your arsenal of cool effects and GFX you can create entirely within your editing timeline. By using a combination of effects and controlling your keyframes carefully you can create some awesome results – all it takes is a little trial and error to get the positioning right, and it will be well worth it.


