If you’re reading this, then it probably means you’ve downloaded our new Grunge Transition Plugins for Premiere Pro, so… thanks! We really hope you like them! And if not, what are you waiting for? They’re free with your Motion Array subscription!
But we wanted to make sure that you have all the best information on how to use these drag and drop native transitions. So if you want to get the most out of them, jump on into Premiere Pro and let’s work through these together!
Summary
How to Use Motion Array’s Grunge Transition Plugins
Using these plugins couldn’t be easier. Follow these steps and you’ll be good to go in no time flat.
Step 1: Finding Your Transitions
1. Navigate to your Effects panel.

2. Drop down the Video Transitions folder, and your Grunge Transitions should be found within their own neatly labeled bin.
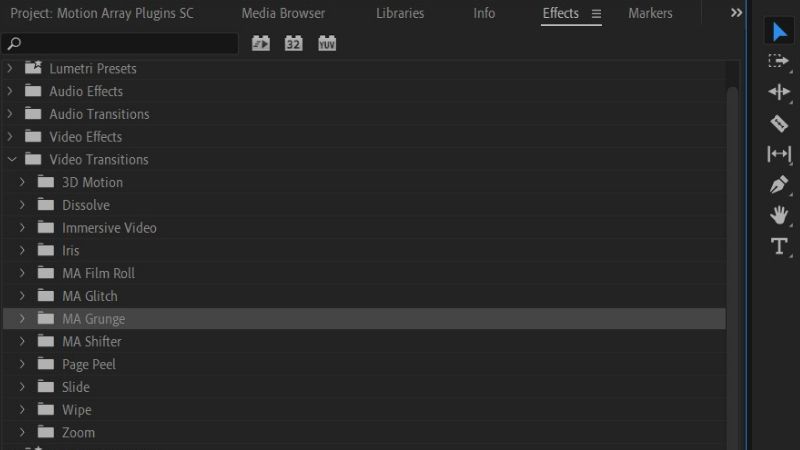
3. Within the bin, you should be able to see the 5 styles you can choose from.

Step 2: Applying Your Transitions
1. Applying each of them is as easy as dragging and dropping them to the cut between any two pieces of video.
2. These will also work to transition a piece of footage in or out on its own if you drag it to the beginning or end respectively.
3. Immediately you should notice that your transitions work and they look AWESOME!

Step 3: Editing Your Transitions
Your transitions already look great, but here’s the thing, you’ve got lots of customization options.
1. To customize your transition, all you have to do is click it to highlight it and then go up to your Effect Controls panel.

2. Here within the Effect Controls panel is also the control center for where your plugins are linked to your Motion Array account. If you notice a watermark overtop of your footage during the transition, it either means that you’re linked to a free account or your account is not linked at all.
3. To link it up, all you have to do is click this little Setup page icon. Click it, and you’ll be prompted to enter in your Motion Array account details.
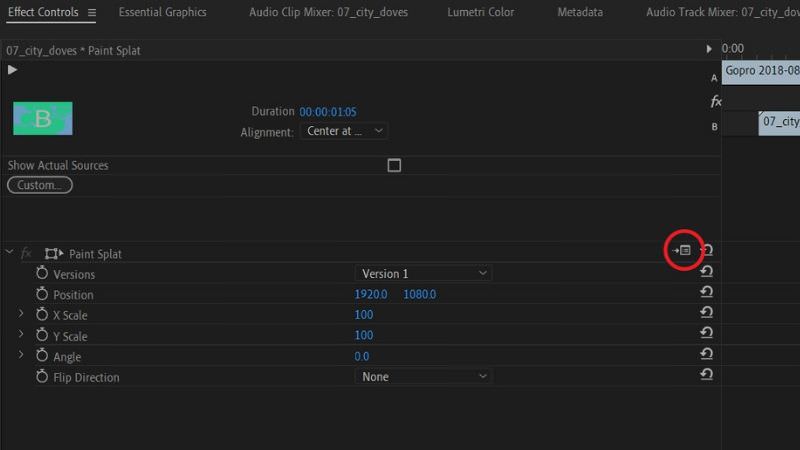
4. Additionally, here from the Effect Controls panel, you should be able to control elements like Position, Scale, Rotation, and Orientation. But potentially the most useful feature is at the top where it says Versions.
5. This section allows you to choose between 5-6 different versions of each transition style, meaning that including all 5 styles in the mix, there’s a total of 26 different variations of these transitions for you to use out of the box!

6. Once you have a style selected, making edits using Position, Scale, Rotation, and Orientation are as easy as any other element you’ve manipulated in Premiere Pro.
Bonus: Get Creative With Color
Want an extra layer of creativity? Try using these transitions on adjustment layers to manipulate properties other than just one video to another. Have you ever thought of using these to transition in elements like color?
Here’s how to get the look:
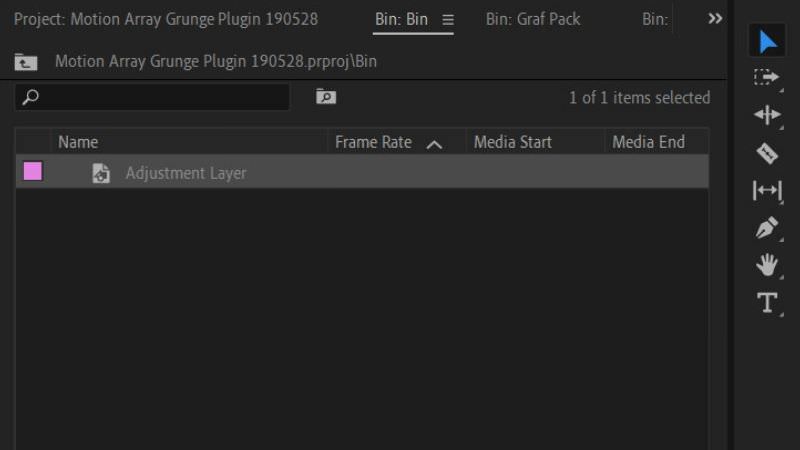
1. Add an Adjustment Layer in your Project panel.
2. Drag that Adjustment Layer overtop of your video clip.
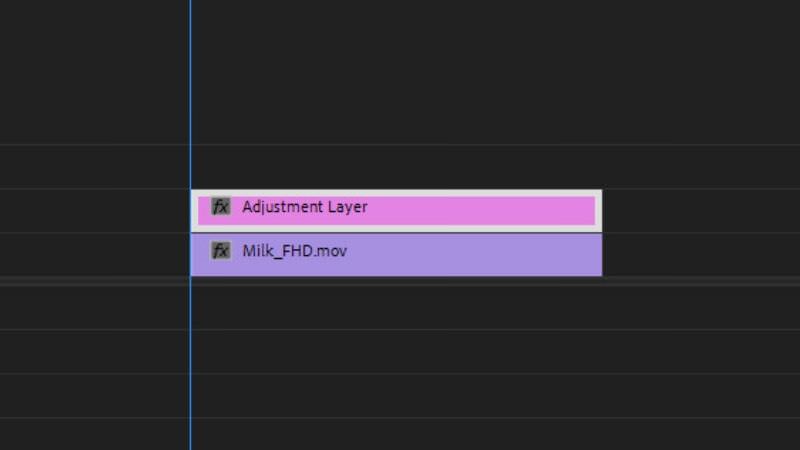
3. Make a cut at the point you would like the transition to happen.
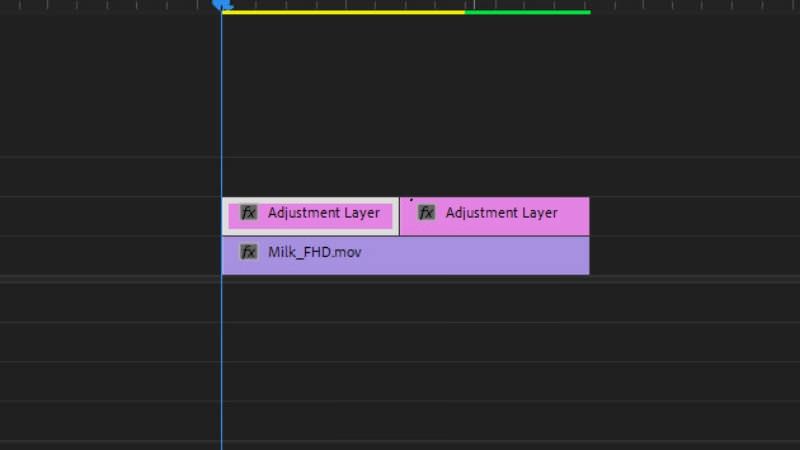
4. Make the portion of the Adjustment layer to the left black and white using the Lumetri Color panel.

5. Drag and drop the Grunge Transition of your choosing!
And it’s as simple as that! Premiere Pro is your playground, and we hope that by using these Grunge Transition Plugins, you’ll have another tool at your disposal to create amazing videos. Happy editing!