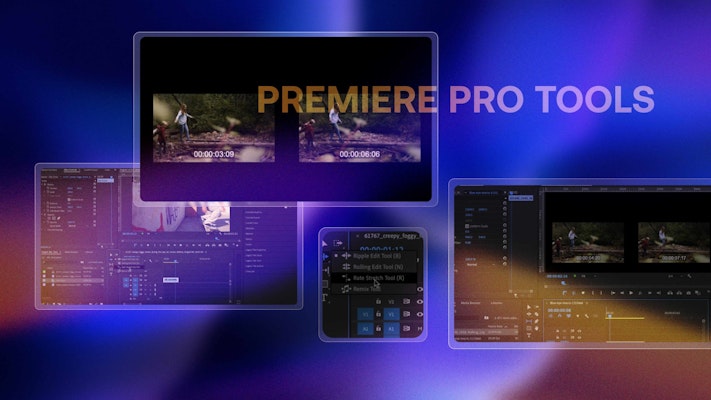
Premiere Pro has a lot of fantastic tools for editors, but there are some that you may never find unless you’re told they are there. Every editor has a different and preferred workflow, but without knowing about all the tools, there is no way to be sure you’re maximizing your productivity. Today, we will show you 4 incredible tools you can use for your work, including Premiere Pro’s excellent Rate Stretch tool.
Summary
How to Use the Rate Stretch Tool
The Rate Stretch tool is an incredible time-saver when you want to speed up or slow down your clips. The tool functions similarly to the Trim tool, only rather than cutting the ends of your clip, it adjusts the speed to your desired durations; super helpful when you don’t want to change the speed by an exact percentage.
The Rate Stretch tool is fantastic for adjusting the speed of your footage, but it is also super handy for quick fixes. For example, if you’re editing footage for music, you might have gaps between your clips where they are not long enough, and the Rate Stretch tool can help you close those gaps.
If you need to slow your footage down a lot, it can look strange, this is because individual frames are being stretched over a longer duration. If your footage is shot at 50fps, you can quickly slow it down to 50% with no reduction in quality. For footage shot in 24fps, you might struggle below 75%.
The Optical Flow settings are fantastic for blending out clips that need to be slower than the frame rate allows. The Optical Flow effect creates new frames to blend the existing ones together.
The Rate Stretch tool is also fantastic for creating time-lapse videos from your video clips. Time-lapse is usually created in the camera by taking stills at regular intervals, but by using the Rate Stretch, you can speed up your nature shots to create stunning compositions.
How to Use the Slip Tool
The Slip tool is a powerful function ideal for the precision editing of individual clips. Let’s say you’ve got a clip in your timeline that fits perfectly between 2 others, but the bit of the clip you’ve used could be better.
Rather than deleting the clip, choosing new In and Out points, and replacing them in the timeline, the Slip tool allows you to change the In and Out points of a clip from its place within the timeline.
The Slip tool is impressive for making fine adjustments to the portion of a clip the viewer sees; it can be super helpful when using transitions between your footage. Occasionally when you try and add a transition, you might be told there is not enough available clip; this is because the transition needs more frames than available.
Using the Slip tool, you can nudge the In and Out points of the clip to allow for the transition to be added without needing to edit the timeline or surrounding clips.
How to Use the Ripple Edit Tool
The Ripple Edit function is a super-handy tool that can save you time and frustration by closing and creating gaps in your timeline. In Premiere, you can trim the ends of your video to shorten them, but it will leave a gap between your clips. Similarly, you can lengthen the clips by dragging out the ends, but it will overwrite the following clip.
The Ripple Edit tool allows you to lengthen or shorten a clip while seamlessly moving the rest of your timeline to accommodate. Shorten a clip, and the rest of your footage will move up the timeline to close the gap. Lengthen one, and the rest of your footage will be pushed down the timeline to give you more space.
How to Use the Slide Tool
The Slide tool is useful when you want to replace or swap clips on your timeline but don’t want to trim or retime all of your footage. The tool allows you to slide clips along the timeline, adjusting the surrounding clips to enable them to fit.
The Slide tool works by looking at 3 clips – the one you want to slide, the one before it, and finally, the one following it. For example, if you wanted to slide a clip further up the timeline, the position of the clip would be adjusted by trimming back on the one before and adding to the one after.
Consider when you have footage spread over 2 tracks; if you move a clip on the top track, it will change what you see of the clips below it. The same is true for the slide tool – only the edit occurs in the same track. The slide tool is excellent for editing B Roll in your timeline, allowing you to adjust the order and position of your clips to accommodate talking-head footage.
Editing is a skill learned over time with practice and experimentation. Premiere offers a range of tools to create your compositions, but how you use them is up to you. Now you know about the Premiere Pro-Rate Stretch tool for changing the duration of your video clips, why not check out this guide for the Audio Remix tool to change the duration of your music tracks.


