
The footage that comes from the camera is never going to be exactly what you need straight off the bat. Editing is all about constructing and using only the very best shots in your video by splitting them into smaller pieces. As well as removing unwanted moments, you can also apply effects, transitions, and change the speed or direction of a clip. It basically makes the footage more manageable so you can shape it into whatever you want.
You can quickly and easily split clips in Premiere Pro and below we will show you the main steps.
Summary
Part 1: How to Split Clips in Adobe Premiere Pro
Let’s start at the top. Whatever footage you’ve recorded, get it onto the computer.
- Import it into Premiere Pro by hitting Cmd+I or Ctrl+I, or going to File > Import.
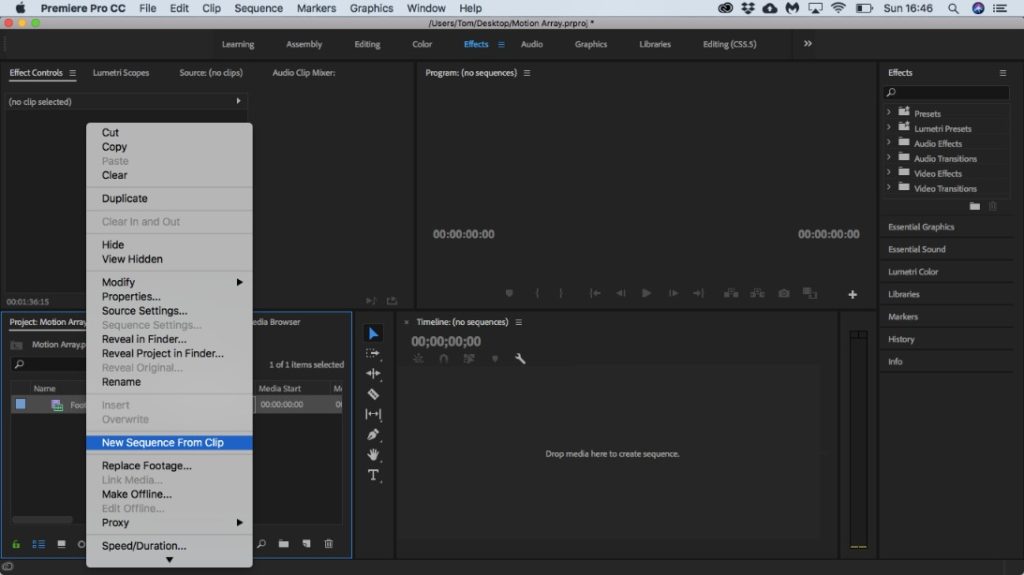
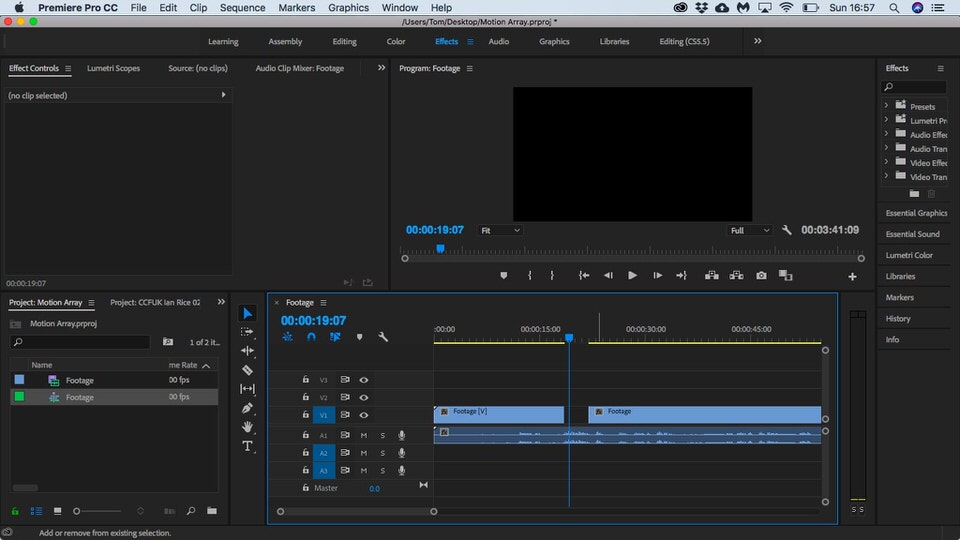
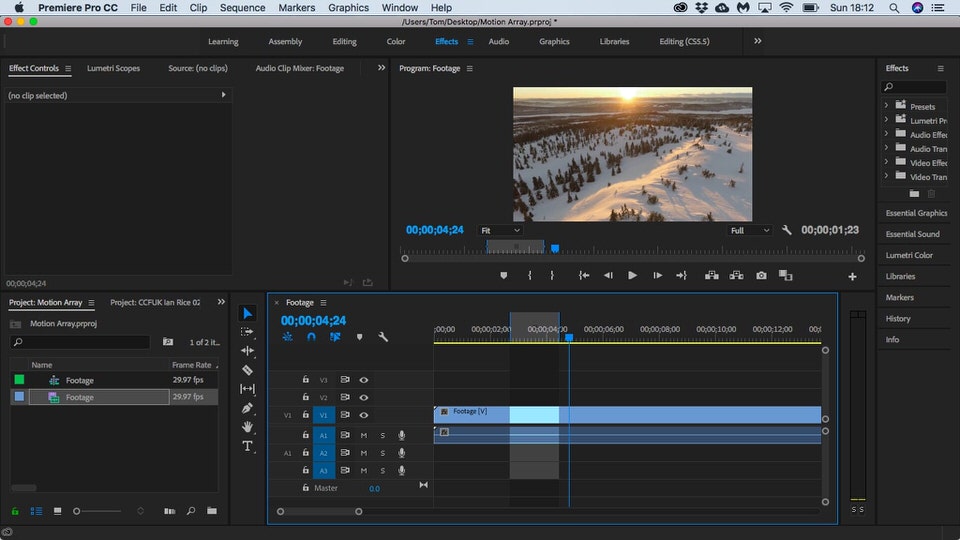
- If you already have an existing sequence, drag the clip onto the timeline. If not, right-click and select New Sequence From Clip. Now you’ll see the footage as one single block.
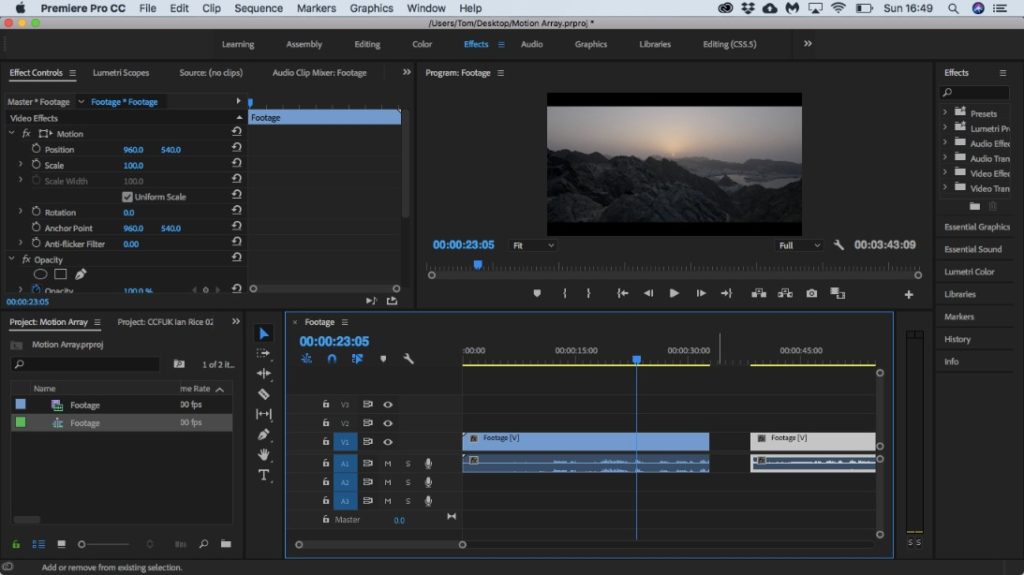
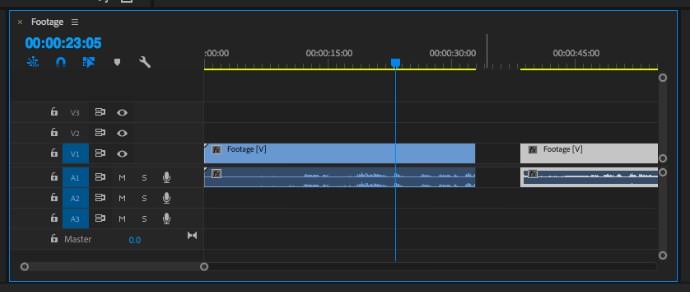
- To split the clip, select the Razor tool from the panel beside the timeline.
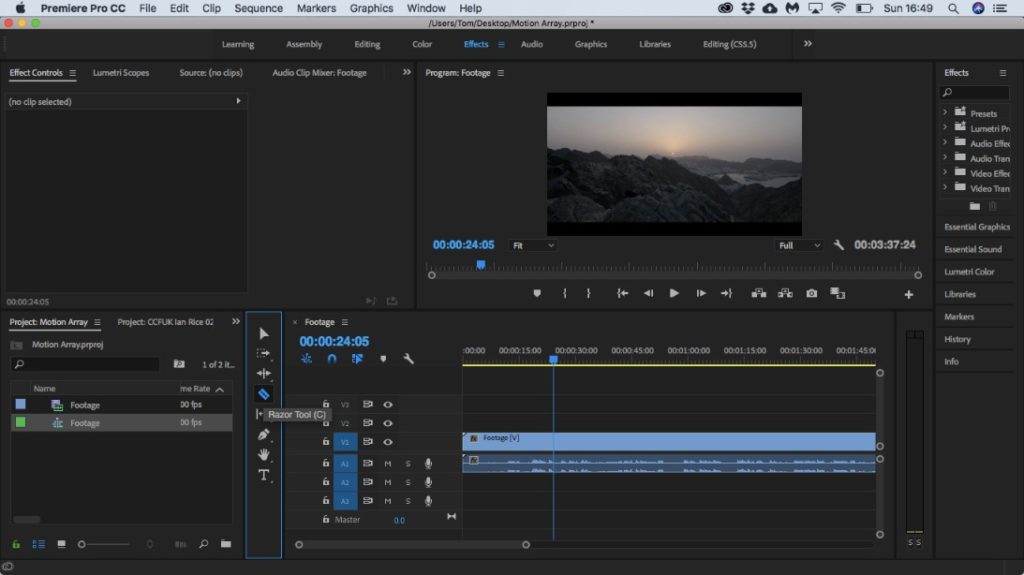
- Click on the part of the clip that you want to split.

- You’ll now have 2 clips from the same video file which can be worked on independently.
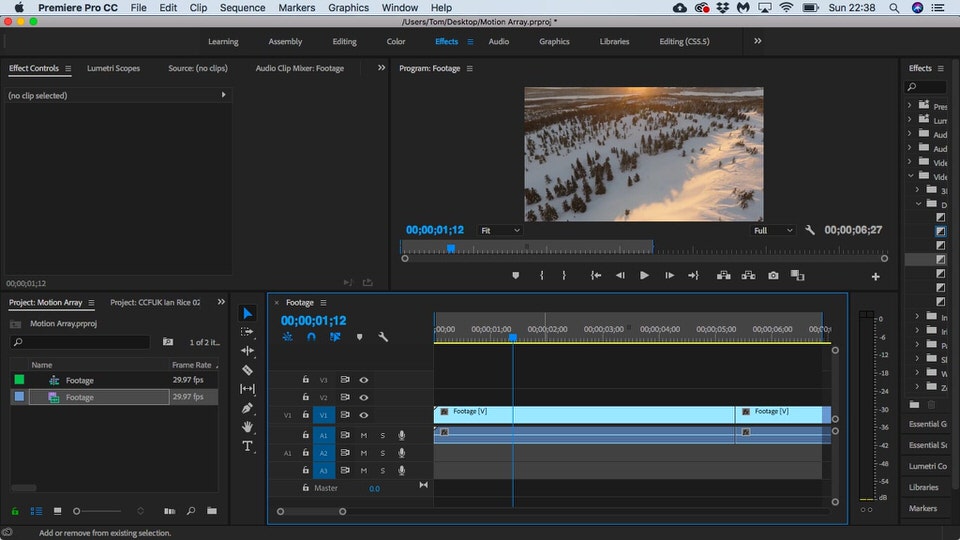
Current-Time Indicator
Alternatively, you could make use of the Current-Time Indicator.
- Move the Current-Time Indicator to the part of the clip you’d like to split.

- Make sure the video layer you’d like to split is highlighted on the left side of the timeline.
- Hit Cmd+K or Ctrl+K on the keyboard to split the clip.
Note: If the audio channel is highlighted too, it will also split that. Otherwise, it will only split the video. Be mindful of this in case the video goes out of sync. Splitting and moving the video but leaving the audio where it is may well be the case.
With the clips split, feel free to work on them however you like:
- Add effects.
- Change the color.
- Change the speed to create speed ramps.
- Simply remove any sections you don’t want.
Exporting
Once you are happy with your video, export it to create one single video file.
- Make sure the In and Out points are lined up on either side of the footage you want to export.
- Head to File > Export > Media.
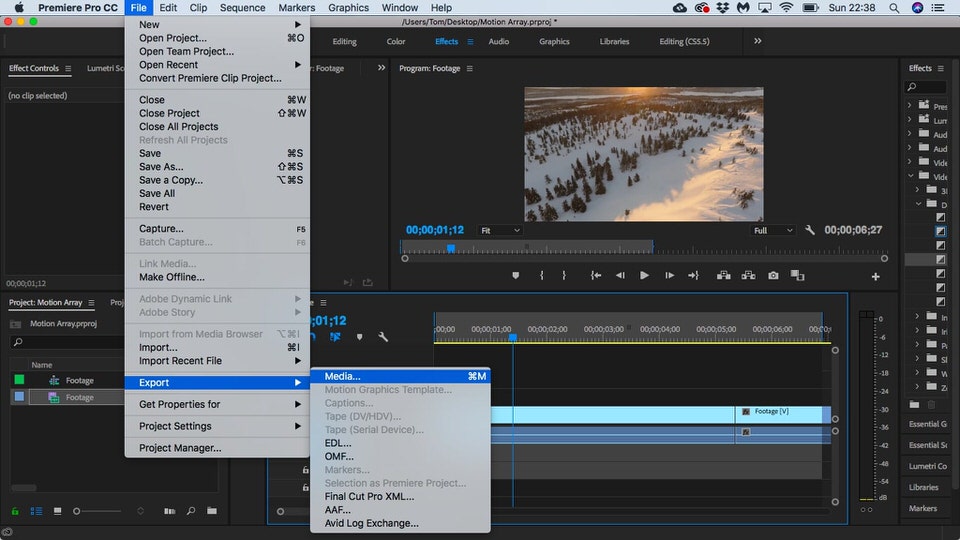
- Choose Source Range > Clip In/Out.
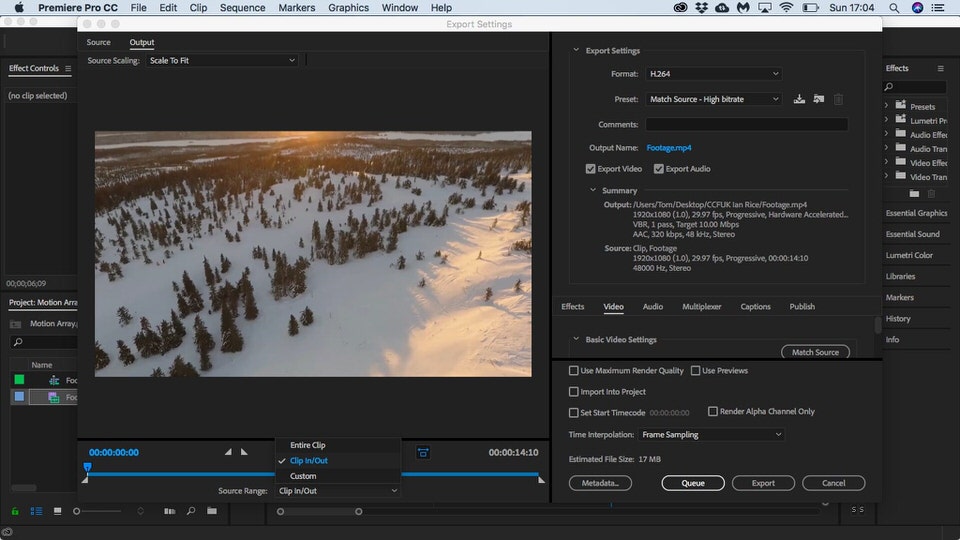
- Choose the settings relevant to your chosen platform – you might want a ProRes master file or simply an H264 file to upload to YouTube.
- Hit Queue to open up Media Encoder. This step will export the file while you still work in Premiere.
- Alternatively, hit Export to encode your assets and create your final video file.

For more information on the best export setting for Adobe Premiere, check out this tutorial.
Part 2: Top 5 Tips & Tricks
1. Remove Bad Footage
One of the biggest reasons for splitting a clip is to remove the bad footage. You can use the In and Out points to cut around footage you don’t want quickly.
- Move the Current Time Indicator to the beginning of the part you want to remove.
- Hit I on your keyboard to mark an in point.
- Move the Current Time Indicator to the end of the part you want to remove.
- Hit O on your keyboard to mark an out point.
- Hit the quotation key ‘ to cut out the highlighted section. The second half of the video will automatically jump back, filling the space.
You can achieve the same result with the Trim Back function.
- Move the Current Time Indicator to the beginning of the part you want to remove.
- Hit Cmd+K or Ctrl+K to split the clip.
- Move the Current Time Indicator to the end of the part you want to remove.
- Hit Q to delete that section. Like with the in and out points, the resulting gap will fill itself by shuffling the second half of the clip over in the timeline.
2. Combine 2 Clips
Let’s say you have 2 separate clips on the timeline. Can you merge them into one single item? Not if they weren’t originally part of the same file.
If you’ve made a mistake, however – and want to rejoin something you accidentally split – then snap them together on the timeline, right-click, and select Join Through Edits. Doing so will re-merge the 2 sections back into a single original clip the way you started off.

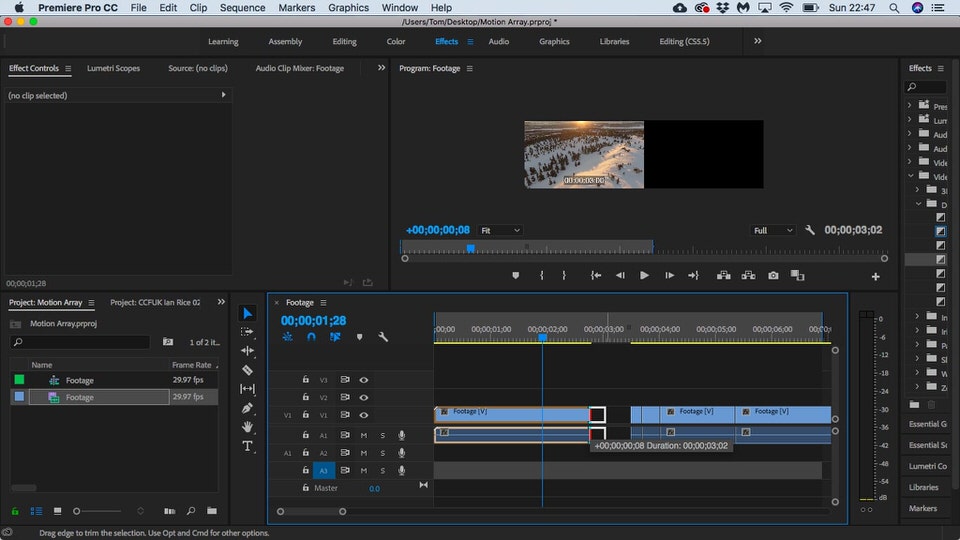
3. Change the Duration of a Clip
If you’ve split the clip a bit too early or late, you can select the end and drag it back or forth to make it as long or short as you want.
Bear in mind that if the other half of that section is still on the timeline, you’ll end up with duplicate footage. No problem if that’s what you want. And if it’s not, simply shorten the other clip until you are happy with your edit.
4. Can’t Split the Clip?
Are you having trouble using Premiere Pro to split the clip? You might find the Cmd+K function isn’t doing anything. Check to see you haven’t accidentally deselected the channels. The relevant channel should be highlighted on the left: V1, V2, V3, etc. for video and A1, A2, A3, etc. for audio.
If that’s still not working then try the Razor tool and creating the edit points manually.
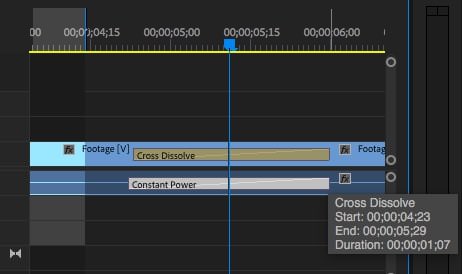
5. Add Transitions
One advantage of breaking footage into bite-size pieces in Premiere Pro is adding transitions between them. The default transition in Premiere Pro is a Cross Dissolve and you can change this in your keyboard shortcuts.
To add a transition between 2 clips, right-click on the join between them and then select Apply Default Transitions.

You can change the duration of the transition by dragging out the markers on either side or by double-clicking and typing in the desired duration.
To use a different transition:
- Head to the Effects panel.
- Either search for the transition or click the drop-down menu beneath Video Transitions.
- Drag the transition onto the join between two clips.
- Double-click to amend the duration.
- Single-click to open the properties of the transition, and tweak it to create something you’re happy with.
Want to dive into the world of transitions? Check out this tutorial on how to make amazing Premiere Pro transitions come to life!
Splitting clips is one of the very first things you should learn when using Adobe Premiere Pro. Like many aspects of video editing, there is no single way of doing it and certainly no correct way of doing it. Explore the different shortcuts and tools available and you’ll soon be chopping out all those bits you aren’t happy with.