In this After Effects tutorial we show you how to quickly and easily change the logo composition size in the Glam Slide After Effects template. Please note that this method does not always work, as all After Effects templates are created differently, but hopefully this method will help you along your way to video superstardom.
Transcription
Hello everyone, Tyler here from motionarrary.com and in this tutorial I want to show you how to change the size of the logo composition.
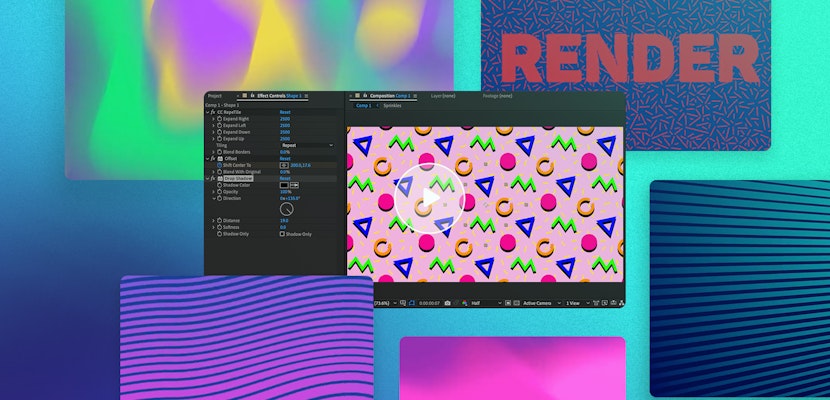
So, lets go ahead and take a look. We are in the Glam Slide After Effects template here, and I am going to come in to the “Edit Comps” and the “Image comps” and I am going to double-click on “Image 01 – LOGO”.
This is great if your logo is a square, but lets say your logo looks more like this and kind of has a horizontal look to it. If we drop it in and it looks like that and we come back out to the final composition, we are going to see that our logo is being cropped off.
So, the first thing I want to do is just come into where we place our logo, and I’m going to come up to composition and then composition settings. Then come to the width and height and just adjust this until you see all of your logo. So that looks pretty good there so I am going to click OK.
Now when we come back to the final composition, we will see that our logo is still being cropped off and that’s because the main logo composition is pre-composed into other compositions. So, I am going to come back to the logo composition where we drop the logo in and I am going to deselect everything and I’m going to tap shift on my keyboard and what that will do is show all of the other compositions that this logo composition is in.
I already know that this is the Logo Comp that I want to click and here is where we can see where it’s cut off. So I’m going to do the same thing. I am going to come up to “Composition” then “Composition Settings” and I’m going to increase the width of this composition until I can see all of my logo. Then I’m going to click OK. Now everything looks good except for this little glossy layer here.
You could either turn it off or what I can do is bring up the scale property then highlight it, press ‘S’ and I’m going to unlink the height and width scale properties and I’m going to stretch it out. So that looks pretty good.
Now, when we come back up to our final composition we will see that we now have a larger, horizontal logo. So, I hope you learned something and if you have any questions just let us know in the comments and thanks for watching!
If you liked this tutorial, we’ve got lots of other tutorials for Premiere Pro, After Effects, and filmmaking in general! If you’ve got any questions or want to see another future article topics, leave us a comment down below.