In this tutorial, we show you how easy it is to use the graph editor to create better looking eases in your After Effects animations. We’re convinced that after watching this tutorial, you’ll never use another default easy ease in your mograph life.
Transcription
Hey guys! Tyler here for MotionArray.com and in this After Effects tutorial I want to show you how to achieve better eases in your After Effects animations. In this example here, you can see that this top box is not using any easing at all and you can see in the center box that it’s animation is using the default ease out and ease in keyframes.
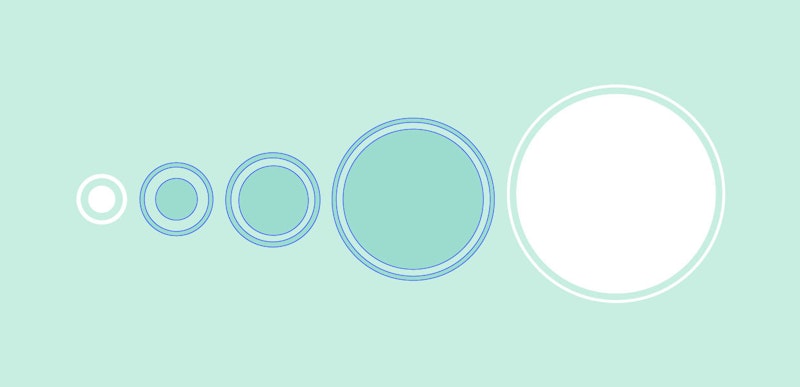
This bottom box here is using the type of easing that I want to show you how to achieve. So here’s another example, as you can see, it’s the same thing. In this first circle’s animation it’s not using any easing, the center one is using the default easing, and this last one is using the type of easing that I want to show you how to do. This isn’t very hard to do but it can definitely add another level of sophistication in your work. Let’s go ahead and take a look on how to do this. Alright, so here I have a square solid with a couple of keyframes moving from left to right.
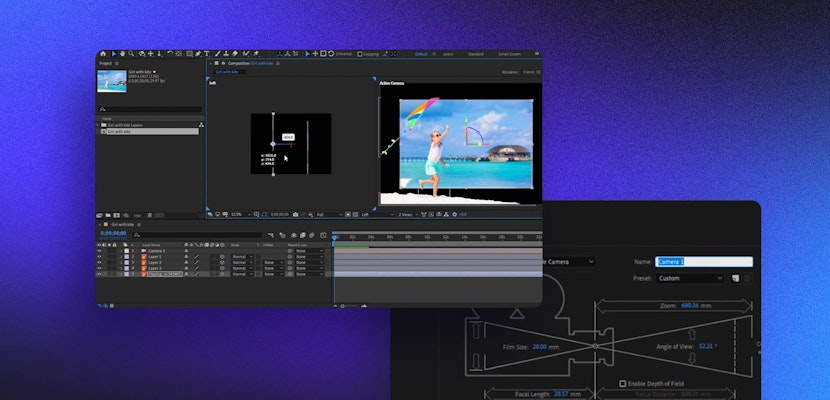
The first thing I want to do is highlight this first key frame and come up to animation, keyframe assistant, and come down to easy ease out. So I want to ease out of the first position and I want to ease in to the second position. So, I’m going to do the same thing, I’m going to highlight this keyframe, come up to animation, keyframe assistant and come to easy ease in. Now here is where the magic happens. I’m just going to highlight my two keyframes here and I’m going to click on the graph editor.
As you can see we have this nice arch where we are easing out and easing in. To achieve the type of easing that I showed you in the example, I just want to highlight the second key frame and grab this handle and just pull it all the way to the left. And now when we do a RAM preview we can see that we have this really nice, really smooth, easing in going on. Alright, so in the second animation here, we have this kind of boring circle animation. I want to apply the easing technique to this animation as well. So, I’m just going to highlight these first keyframes and come up to animation, keyframe assistant, and easy ease out. I’m going to do the same thing here with this second keyframe except it’s going to be easy ease in. Then, I’m going to bring up the graph editor, highlight the second set of keyframes, and just pull these handles over to the left. So now, when we preview this, we have a really silky, smooth kind of circle pop animation. As you can see this is really easy to do and it does add another level of sophistication to your animation.
I hope you liked this tutorial and thanks for watching, bye!
If you liked this tutorial, we’ve got lots of other tutorials for Premiere Pro, After Effects, and filmmaking in general! If you’ve got any questions or want to see another future article topics, leave us a comment down below.