Fire effects are super cool to look at and a lot of fun to create, but you probably think you need an expensive and complicated plugin to make them. Well, we’re here to show you how to do exactly that; creating realistic flame animations from scratch in After Effects. Let’s jump straight in.
Throughout this tutorial, you’ll learn many different techniques and effects that will come in handy in your future projects.
Part 1: Learn How to Create Realistic Fire Effect in After Effects
Your realistic Fire Effect can be used however you like; for a logo indent in a scene, to create excellent titles, there are endless possibilities when you know how to generate Fire from scratch.
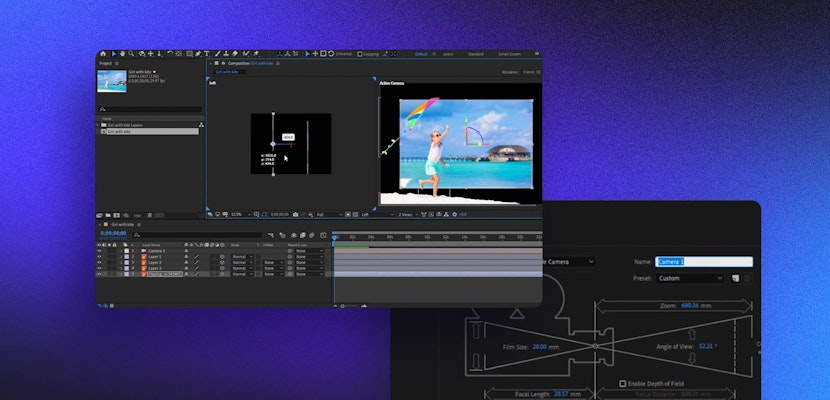
Step 1: Creating your Flame Shape
The Basic Flame shape can be whatever you need for your project, from a single candle flame to a large fire bonfire; once you know the basics of creating this Effect, you’ll be able to customize it to your needs. In our example, we’re going to make a single Candle Flame.
- Start by creating a new Solid Layer and use the Mask tool to draw a circle for your Flame’s bottom.
- Grab the top Handle and drag it upwards to create the basic Flame shape.
- Add a small Feather to the Mask of about 3 or 4 pixels.
Step 2: Add a Blur Map
The Blur Map will give your Flame the Effect of blurring towards the top, as Fire does in real life.
- Create a new Solid Layer and name it Blur Map.
- Using the Mask Tool draw a rectangle over the top half of the screen.
- Increase the Feather effect substantially, so a gradient appears over your entire flame.
- In the Effects Control Panel, search for Solid Composite Effect, and change the color to black.
- Precompose your Blur Map layer, ensuring you Move All Attributes to the new Comp.
- Search for Compound Blur in the Effects Panel, and drag it to your Flame layer.
- Select the Flame layer in the timeline, and in the Effects Control Panel, choose your Blur Map from the Blur Layer setting. Play around with the blur amount until you are happy with the look.
Step 3: Adding Wiggle to the Flame Effect
The next step is to give your Flame realistic and natural-looking movement. Don’t worry; you won’t have to Keyframe the animation.
- Create a new Solid Layer and name it Wiggle Map.
- In the Effects Panel, search for Fractal Noise, and drag it to your Wiggle Map layer.
- Turn the Scale up to about 800 and the Complexity to 2 or 3.
- Hold Alt and click the Stopwatch alongside the Offset Turbulence setting.
- In the Expression Box in the timeline, copy and paste the following code; [0, time*-1500]
- Create another Solid Layer in grey. Using the Rectangle Mask Tool, mask the top half of the screen, add a lot of Feather to cover the whole screen, ensuring your flame base is within the solid grey area.
- Select the Wiggle Map layer and the Grey Solid layer and Precompose them, ensuring you select Move All Attributes to the new Comp.
- Add a New Adjustment Layer to your sequence and position it above the Flame layer in the timeline.
- In the Effect Panel, search for the Displacement Map effect and add it to your New Adjustment Layer.
- In the Effects Control Panel, set the Displacement Map Layer setting to the Wiggle Comp. Adjust the Horizontal and Vertical Displacement settings until you are happy with the look.
Step 4: Creating a Distortion Map
The Flame Effect looks pretty cool and is taking shape, but now we need to add some distortion.
- Create a new Solid Layer and apply the Fractal Noise Effect.
- In the Effects Control Panel, uncheck the Uniform Scaling box and increase the Scale Height to stretch the noise pattern.
- Turn up the Contrast setting, so there is a lot of contrast between your solid white and black areas.
- From the Effect Panel, add a Fast Blur to the Layer, ensuring you select Repeat Edge Pixels in the Effects Control Panel.
- Add a Turbulent Displace effect and turn the Complexity up to create the Flame Flicker’s wavy motions.
- Holding Alt, click the Stopwatch alongside the Offset Turbulence setting, and paste the following code into the Expression box on the Timeline; [0,time*-1500]
- Add a new Solid Layer in grey, and mask out the top half of the screen, increase the Feather amount until you have a nice gradient effect.
- Select the Grey Solid and the Distortion Map layer and Precompose them as before.
- Add a New Adjustment Layer to your Comp and add a Displacement Map Effect; choose your Distortion Map Comp in the Layer Settings. Set the Vertical Settings to 0 and increase the Horizontal until you are happy with the look.
Step 5: Creating a Flame Out
Our Flame is looking super cool, but it doesn’t react naturally toward the top of the Flame, so let’s fix that. It can help to turn off your Blur and Wiggle map layers to see more clearly.
- Create a New Solid Layer in black and mask out the bottom half of the screen, so you can no longer see the top of the Flame. Add a small Feather to your mask.
- From the Effect Panel, add a Turbulent Displace effect to your Solid Layer. Increase the amount and complexity of the effect.
- Hold Alt and click the Stopwatch next to the Turbulence Offset setting. Like the other maps we have created, add the code [0,time*-750] to the expression box.
- Uncheck the Uniform Scale box and increase the Vertical Scale to stretch the Effect.
- Add a Fast Blur effect to the Layer, and increase the Blur amount. Play around with the size settings until you are happy with the look of your flame.
Step 6: Adding Texture
If you are looking for an excellent 2D Flame effect or want to create an Alpha Layer from your flame, you can stop here. Otherwise, it’s time to add some texture.
- Create a new black Solid Layer and call it Texture.
- Add the Fractal Noise effect to your Texture Layer.
- Uncheck Uniform Scale and stretch the Effect Vertically.
- Add a Fast Blur Effect and a Turbulent Displace effect. Play around with your settings until you have the texture you want.
- Hold Alt and click the Stopwatch Icon alongside the Offset settings and add the following code to the box; [0,time*-1500]
- In the Layers Panel, change the Texture Mode to Multiply.
- Create a New Adjustment Layer and add the Solid Composite Effect from the Effects Panel. Change the Solid Composite Color to black.
Step 7: Adding Color
The final step in this Effect is to add some color to your flame. You can choose any color depending on your needs, but for now, let’s look at a realistic yellow/orange tone.
- Select all of your Layers and Precompose them.
- Add a Solid Composite effect to the Comp from the Effects Panel, and set the color to black.
- Add a Curves Effect, and in the Effects Control Panel, go through the Curves Color settings, adding Red and decreasing Blue.
- Add a Glow Effect to your Flame Comp, change the Operation settings to Screen.
- Go through the Glow settings, playing around with the effect until you have the desired look. You can add more Glow Effects to create light levels around your flame, for example, having a bright glow on your shape layer and a softer halo glow around it.
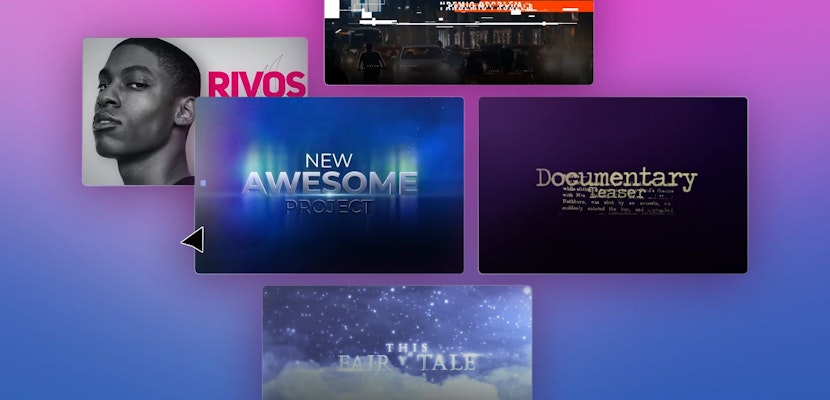
Part 2: 8 Awesome Realistic Looking Fire Effects Templates
1. Fire Walls Pack
The Fire Walls Pack contains 12 stunningly realistic Fire Backgrounds with Alpha Transparency. Great for creating powerful presentations and motion graphics videos, as well as using in title sequences.
2. VFX Action Pack
The VFX Actions pack contains a huge range of fire-based visual effects, including smoke and flame bursts, explosions and gunfire effects. Perfect for Indie filmmakers, this pack will give you plenty of options to get creative.
3. Fire Logo Pack
The Fire Logo Pack contains 3 beautifully designed logo indents with realistic fire effects. Perfect for high-energy companies and content creators that want powerful and energetic opening titles.
4. Dark Fire Cinematic Trailer
Containing 12 media and 12 text placeholders, the Dark Fire Cinematic Trailer template contains a range of exciting fire-based transitions. Perfect for dramatic title sequences or product/event trailers.
Download Dark Fire Cinematic Trailer Now
5. Fire Logo Reveal
The Fire Logo Reveal is an awesome intro for your trailers, commercials, and creative projects. Smart color controls allow you to adjust the color of your background and flames to suit your brand.
6. Flames Freeze Frame
With 9 images and 19 text placeholders, the Flames Freeze Frame project perfectly combines Freeze Frame Cut Out images with Fire Transitional effects. Great for trailers, events promotions, and title sequences.
Download Flames Freeze Frame Now
7. Fire Reveal
If you don’t have time to follow the steps in this tutorial, this template is the one for you. The stunning fire elements are customizable to suit your logo shape and colors and are sure to grab your audience’s attention.
8. Flaming Logo Reveal
Containing one logo and one text placeholder, this hot logo reveal burns your image into the screen with flaming style. The windswept fire animations are short and super realistic, with a huge number of customizable options.
Download Flaming Logo Reveal Now
While creating realistic visual effects like this is a little time-consuming and fiddly, the tools used in the process can be used for a wide variety of products. Now you know how to create a simple Flame Effect, why not try making a whole fire. Whatever you do with your new skills, have fun and use them responsibly.
If you liked this tutorial, we’ve got lots of other tutorials for Premiere Pro, After Effects, and filmmaking in general! If you’ve got any questions or want to see another future article topics, leave us a comment down below.