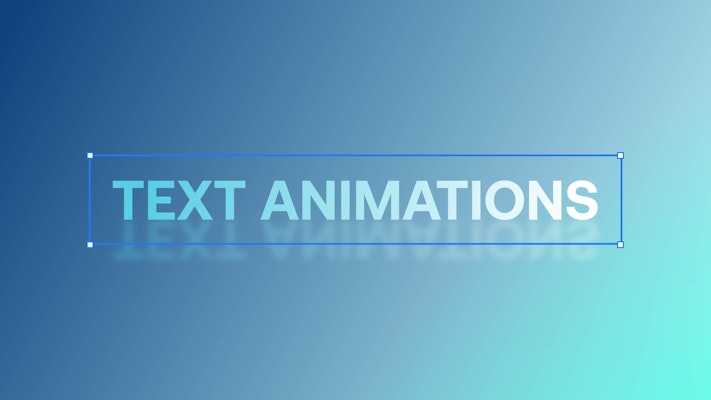
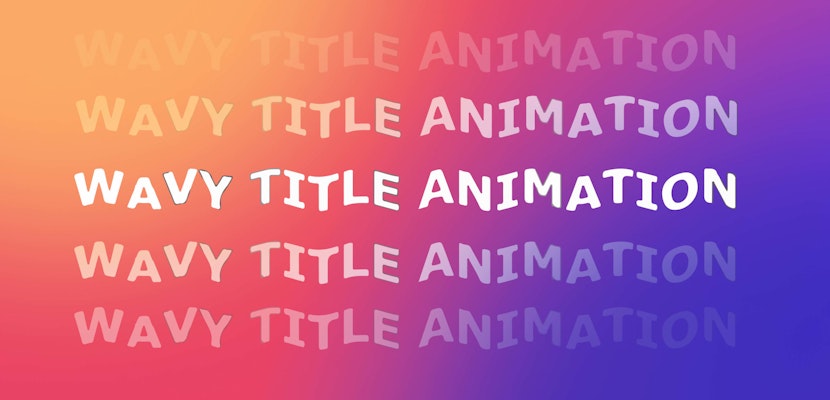
Adding titles to your videos can be fun when you’ve mastered animating text in After Effects. There are hundreds of ways to create text animations in AE, all of which can be mixed and matched to create exciting new looks. In this tutorial, we’ll show you 5 different text animation styles to add a flourish to your compositions.
1. Blurry Fade On
Blurry Fade On is a fantastic text animation, ideal for slow horror and thriller title sequences or subtle business presentation animations. This effect randomly flickers each character to full Opacity with a blurry flourish.
- Create a New Composition named Text Animation 1, make sure it’s 1920 x 1080 and hit OK.
- Go to Edit > New > Solid, adjust the color to your background preference, and hit Ok.
- Grab the Text tool and click into the composition to create a new text layer.
- Type your message using the keyboard and adjust the size, weight and font to your preference.
- In the Layers panel, twirl down the settings using the drop-down arrow.
- Click on the Animate menu and select Opacity.
- Under the Animator settings, change the Opacity to 0%.
- Twirl down the Range Selector, then the Advanced menu.
- Change Shape to Ramp Up.
- Set the Ease High and Ease Low to 50%, and Randomize Order On.
- At frame 0, set a keyframe for the Offset with a value of -100.
- Move the playhead to frame 45 and change the Offset to 100%.
Top Tip: Keep the Randomize Order Off to create a fun Blurry-Fade Type-on style effect.
2. Animare in From Below
The Animate from Below technique pulls each character from your title upwards to sit in line. Not only does this animation style look super cool on plain backgrounds, but you can also incorporate the Position and Mask into a video clip as if your title is appearing from behind a horizon.
- Create a new Comp with a solid background color.
- Using the Text Tool (T), type your message in the viewer.
- Twirl the text layer down, and in the Animate menu, select Position.
- In the new Animator, change the Y position value so that the text is entirely below where it started (and a little more for safety).
- Twirl down the Range Selector and Advanced menus.
- Change the Shape to Ramp Up and Ease Low to 100%.
- At frame 0, set a keyframe for Offset with a value of -100%.
- Then at frame 30, change the Offset value to 100%.
- With the playhead still at frame 30, draw a rectangular mask around the text, ensuring that you don’t leave too much extra room at the bottom.
Top Tip: You can adjust the Position Value so the titles animate from above.
3. Tracking and Opacity
The tracking and opacity animation style is trendy in movie trailers and title sequences. The slow fade with gentle drift can be used to create dramatic titles without distracting from your background footage.
- Create your Comp with background and type your message using the Text Tool (T).
- Twirl the text layer down, and in the Animate menu, select Opacity.
- In the new Animator, use the add button and select Property > Tracking.
- Change the Tracking Amount to 100.
- Under the Animator Settings, change the Opacity to 0%.
- Twirl down the Range Selector and Advanced menus.
- Under Advanced, change ‘Based On’ to Words.
- At frame 0, under Range Selector, set a keyframe for Start with a value of 0%.
- Then at frame 60, change the Start value to 100%.
- Right-click the second keyframe and go to Keyframe Assistant > Easy Ease.
- Right-click on it again and select Keyframe Velocity. In the pop-up window, change the incoming influence to 80% and hit Ok.
Top Tip: When typing your message, ensure you leave enough room on either side so the text doesn’t go off the screen when you add the Tracking Effect.
4. Type On
Type On is a classic title animation used as a fun way to display titles and replicate someone typing on a screen. After Effects does have a Type On preset but learning to do it from scratch will give you much more control over the speed and style.
- In a new Comp, create a background layer and type your text.
- Twirl the text layer down, and in the Animate menu, select Opacity.
- In the new Animator, change the Opacity value to 0%.
- Twirl down the Range Selector and Advanced menus.
- Under Advanced, change Smoothness to 0%.
- At frame 0, under Range Selector, set a keyframe for Start with a value of 0%.
- Then at frame 40, change the Start value to 100%.
Top Tip: Adjust the Smoothness setting to create an Opacity Type On Effect.
5. Animate Along a Path
Animating along a Path is a super helpful technique, as it can be used to create infinite animation styles. Whatsmore, watching titles flow perfectly along or around a shape is sure to impress your audience.
- Create a Comp with a colored background and add your Title Layer.
- Use the Pen tool to draw a path for the text to move along.
- Twirl down the layer, the Text menu, and Path Options.
- Change Path to the Mask you just drew with the Pen Tool.
- At frame 0, set a Keyframe for First Margin; lower the value to whatever looks suitable for your Path.
- At frame 30, change the First Margin value to 0 (this brings the text to the middle of the Path’s length).
- Apply an Easy Ease to this keyframe.
- Move the playhead to frame 45, place another keyframe of the same value and make sure it’s eased as well.
- Move to frame 75 and change the First Margin value to a high number to animate it off the screen.
Top Tip: If you want to keep your text on screen following a Closed Path, such as a circle, you’ll need to change the Mask’s Mode to None (instead of Add).
Try Animation Text in After Effects is a lot of fun, and there are so many different styles you can try that you’ll never get bored. Now that you know how to create 5 unique title effects, try mixing the techniques to create a new look. If you found this tutorial helpful, why not check out our other Premiere Pro tutorials, After Effects tutorials, and filmmaking tutorials!


