


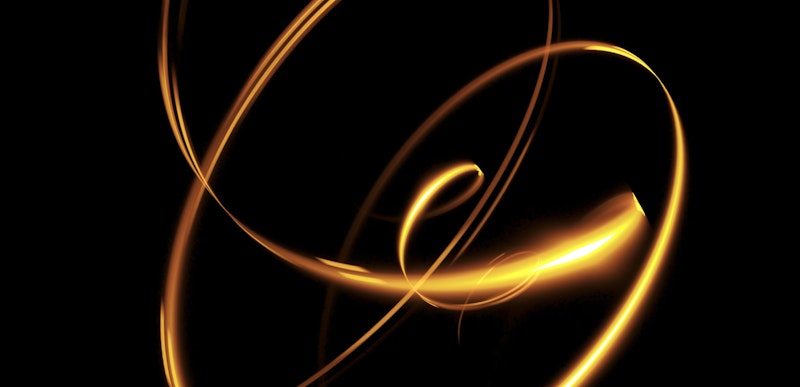
In this tutorial, you’ll learn step-by-step how to make a light streak animation in After Effects CC. Specifically, you’ll create two colorful trails of light that fly around and end up colliding to unveil logo. This is one of our most advanced tutorial with three parts, totaling over an hour long. But it ensures that you build progressively towards your final goal of creating an amazing light animation.
We recommend that you follow along with the video tutorials while working on your own After Effects project. That way, you’ll be able to understand and directly apply both the basic and advanced principles that you’ll be learning.
Please note that this tutorial will use 3rd party plugins. These plugins are:
Are you ready for the challenge? Time to dive into After Effects and learn how to create this stunning effect!
Summary
Part 1: How to Create the Base Motion for the Light Particles
In this first video tutorial, you will learn how to create the basic motion that your two light particles will follow. You’ll learn a variety of techniques, as well. Some of these techniques include how to work in 3D space, how to smooth out your animation keyframes, and how to parent expressions to be manipulated by other layer elements.
Part 2: How to Add and Manipulate Particles from Superluminal Stardust
In this second video, you’ll get to start working with the fun and fancy elements of this effect. You will add the visual particles from Superluminal Stardust and manipulate them to give the look you want.
The video will also highlight the essential technique of duplicating an effect and making minor changes to it as a way to add complexity to your overall animation.
Lastly, it explores how to add polish to your light leaks to make them stand out. You’ll accomplish that last step in this project by adding color and lens flares, and stylizing them specifically to match what is happening in your scene.
Part 3: How to Add a Logo and Animate it to Interact with the Light Streaks
In the third and final video of this series, you will learn how to add a logo asset into the animation. It will also cover how to animate it to look like it’s interacting with your light streak elements. Some key parts of this tutorial are the use of nodes as well as how to create a basic shockwave effect.
Initially, you might have thought this was pretty easy to pull off. Now that you’ve gone through the whole tutorial, you can see there’s a lot involved in making this animation. We hope you agree that it’s well worth the time and effort to create this light streak animation — and accomplish that wow factor for your clients!


