Overview
In this After Effects tutorial, you’ll learn who to customize one of our After Effects logo templates. This tutorial covers everything from importing your logo, to changing the template’s colors, to rendering your final masterpiece.
If you have any additional questions, please ask them in the comments section below.
Transcription
Hey guys. Welcome to this Motion Array After Effects tutorial. In this tutorial, I am going to show you how to customize one of our logo templates. So here we are in After Effects with our template open, and you will notice over here in the Project Panel that we have one main folder and inside of that we have three other subfolders. Now, we’re only concerned with the Edit folder and the Render folder.
So, the first thing I want to do is input the logo that I would like to use into the template and to do that I’m going to come up to File, Import, File. I’m going to select the logo that I want to use and click Open. Now you can see the logo in the Project Panel, and the next step is to insert it into the template. I’m going to open up the Edit Comps folder and the Image folder, and I am going to double click on the Logo composition. This will open the logo composition in our Timeline and I’m going to simply drag the logo from the Project Panel into the Timeline. Now, this looks a little big so I’d like to scale it down. With my logo highlighted I’m going to press S on the keyboard. This brings up the scale property of the logo and it’s here where I can scale it down. That looks pretty good. Next, I’m going to open my Renders folder and double-click on the Final Composition. If I scrub through the Timeline we can now see that the logo is in the template.
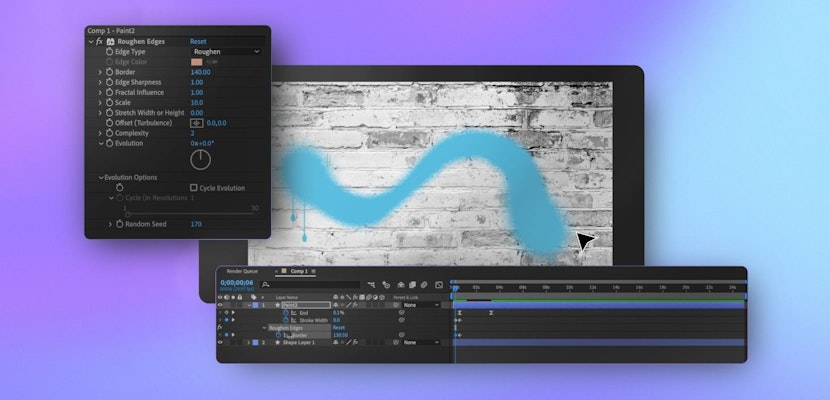
If the template you’re working on has the option to customize the color you will see a Color folder inside of the Edit folder. I want to change the color of this template so I am going to double click on the Color Composition. Once it opens in the Timeline I’m going to highlight the color control layer and press E on the keyboard. That’s E as in an elephant. This will bring up all of the customizable color options. In this case, we have the Particle and Flare Color, the Background Color, and we even have the ability to control the opacity of the lines in the background. I just want to change the flare and particle color so I’m going to roll down the triangle next to the particle color and adjust this orange color to a nice blue. That looks pretty good.
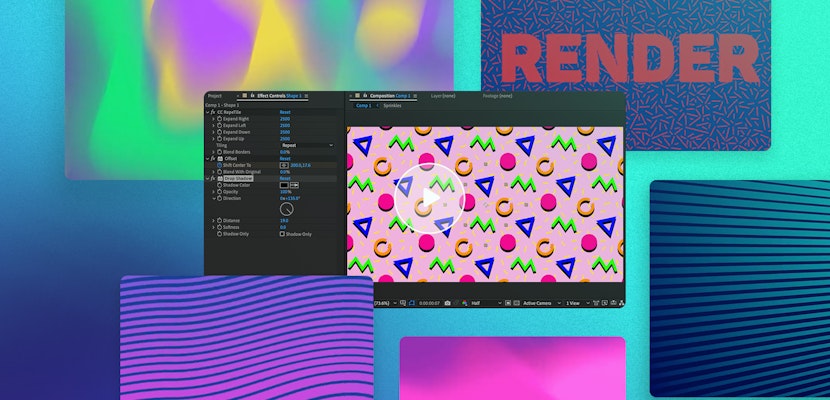
We’re now ready to render this template. To do so I’m going to double click on the Final Composition and once it opens in the Timeline I’m going to come up to Composition, Make Movie. We’ve now added our final composition to the Render Queue, and it’s in the Render Queue where we can adjust all of the video’s compression settings. I’m going to click on the Output Module and change my Format Option to Photo JPEG. Photo JPEG compression will give us a nice high-quality render without the really large file size. Next, I’m going to click on the “Output To” option. This tells After Effects where we want our final video to go. I’ll just choose my Desktop and click Save, and now I’m ready to render.
Well, that’s about it. That’s how you customize one of our logo-based After Effects templates. If you have any questions feel free to contact us. Thanks for watching, and I hope you learned something.