


Plugins are a great way to take your video editing skills further by giving you more control over how it looks and what you can do. In this tutorial, you’ll learn how to install Motion Array’s Premiere Pro plugins. We’re really proud of these hand-crafted transitions and effects plugins, and installing them is easy as pie. So, let’s get started!
Summary
Getting Started with Motion Array Plugins
Step 1: Installing Your Favorite Plugins
Once you download a plugin set, you should be able to find it within the downloads section on your computer in a folder titled Motion Array Plugin Installer.
Within the Motion Array Plugin Installer folder, you will see a Mac or PC folder, choose the correct option and simply double-click on the Installer inside to start the process. Select which version of Premiere Pro you’re on, and then the installation process is as simple as hitting OK. Whether you’re on a Mac or a PC, the process is the same!
Once the download is complete, your materials will be ready to use inside of Premiere Pro. If you had Premiere open during this process, we’d recommend shutting it down and opening it up again.
Note: If you ever want to uninstall Motion Array plugins, there are 2 ways you can go about it.
- Use the original downloaded file with the original installer. For this, you need to right-click and select Uninstall to initiate this process. Follow the instructions to complete the task.
- To find the Uninstaller on PC:
C:\Program Files\Adobe\MAPlugins-Uninstaller-1.8.6
Or under Windows Settings > Apps - To find the Uninstaller on Mac:
macOS/Applications/MAPlugins-1.8.10/uninstall
- To find the Uninstaller on PC:
- The other option is to go to the plugins section and delete them manually
- For PC:
C:\Program Files\Adobe\Common\Plug-Ins\7.0\MediaCore\ - For Mac:
/Library/Application Support/Adobe/Common/Plug-ins/7.0/MediaCore/MAPlugins
- For PC:
Step 2: Finding the Plugins in Premiere Pro
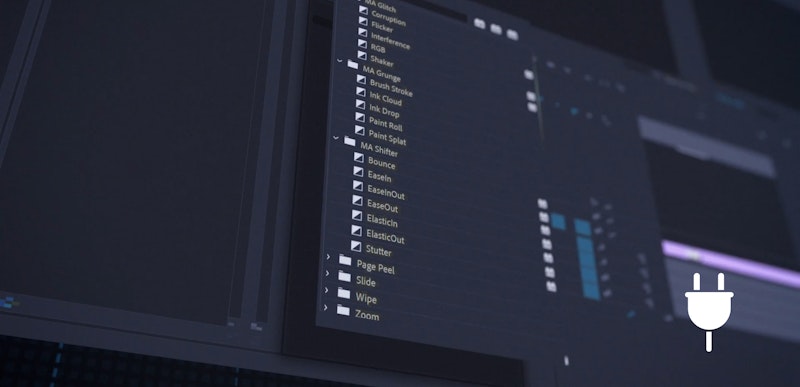
You will find your new plugins located among your other Effects and Transitions. If the plugin you installed was a transition, you’ll see it in the Transitions folder. Likewise, if it was an effect, look for it in under Effects.
The plugins that you just installed will be located within its own Motion Array folder. Select the plugin you want to work with, then simply drag and drop it onto your footage.
Step 3: Log into Your Motion Array Account
Before you start using your new plugins, there’s one small thing you need to do first.
If you dragged a plugin onto your footage, you’ll see that while it works, there will be a red ‘X’ on top of it. This is because Motion Array plugins are linked to your Motion Array paid account (you’re still able to demo the plugins if you have a free membership)!
To activate the plugins, you’ll need to click on the little setup box located that looks like an arrow and a computer screen box beside the new plugin in your panel. Once you do, you’ll be asked to input your email and password for your Motion Array account.
After you hit Enter and you can use these plugins to start making your videos look awesome!
We hope you found this tutorial on how to install Motion Array plugins for Premiere Pro helpful. Plugins can really improve your transition and effects edits and you can get started in just a few clicks. So, what are you waiting for? Download them today, and see where your creativity can take you!


