Video transitions are a powerful tool in video editing. They impact the overall flow of your footage and direct the viewer’s attention to the story. With the rise of TikTok and other video-sharing platforms, we’ve seen loads of trending transitions, like covering the entire frame, jump transitions, and more, which add flair and excitement to videos, keeping viewers hooked.
Recently one transition has been trending on social media, and we were blown away. It just might be the smoothest transition we’ve ever seen. And believe it or not, it involves one humble household item that I’m sure you have on hand.
Enter the humble saltshaker. We created our own version of the transition, and we’ll show you exactly how we did it and some basic principles that you can apply to any transition to get maximum results.
Our version of the transition
Start by grabbing some regular table salt and sprinkle it on a black backdrop. We used a black T-shirt but any dark surface or black fabric will work well.
Pro tip: if you’re using fabric, make sure it’s wrinkle-free so that there are fewer variations in the black.
But before we get into it, a lot of people ask — at what point do you switch from Point A to Point B in a transition? The truth is, you don’t. It’s actually two shots playing at the same time. The best transitions will leave people wondering how and when you did it. Obvious techniques like seems or completely covering the frame are a dead giveaway. Part of the magic of this transition and what makes it so seamless is that Shot A and Shot B are both visible at the same time.
Composting
There are a couple of principles you can follow to make your transitions are smooth as possible. The first is to hide seams in easy places. Meaning placing the seams in areas that will be easy to cover up or hide
The process of doing this is called Composting. For example, if we sprinkled the salt on a patterned background, it would be much harder, almost impossible, to hide the seams. Instead, we made sure that we filmed the salt on a black background and then reduced the exposure si that the black background was pure black.
One problem you might run into is the speed of the motion. How do you perfectly pair the motion between the camera moving across the salt from left to right and this larger scene here when both scenes are going to be seen at the same time?
You have two options:
Option # 1
Try filming the first and second shots in exactly the same motion — pixel-perfect over the course of a 10-second shot.
Option # 2
Lock off both of your shots and edit all of the movement digitally. We think this is a lot easier, and it’s the method we chose. This is where our little trick comes into play. We filmed the salt on a phone with real camera motion, but at this point, we added a freeze frame and moved everything into After Effects.
How to create digital motion
- Go to AfterEffects and create a composition that’s a little bigger than the shot you need.
- Place the salt shaker in the top left corner
- Add the freeze frame where you want the salt to stop falling
- Duplicate the footage to make a starry night collage from the salt
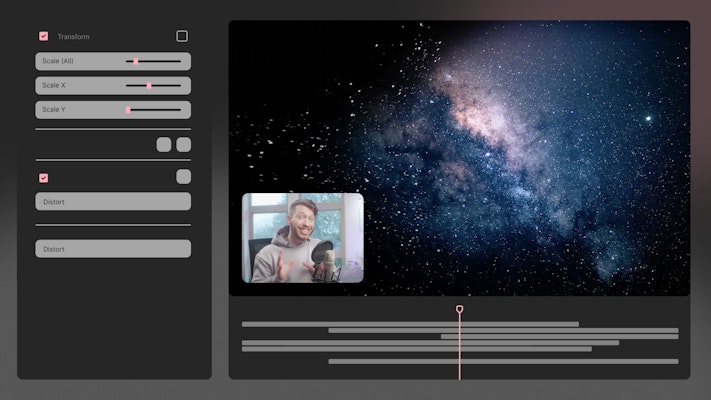
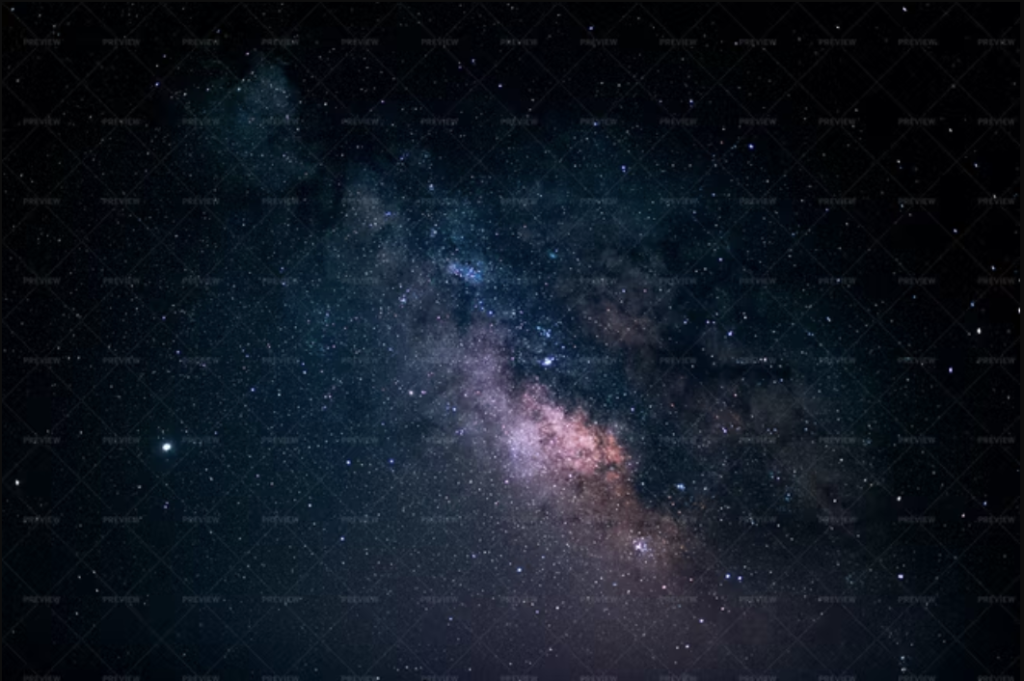
At this point, we thought we could make the sky look a little more interesting. So we headed over to Motion Array and downloaded a picture of the Milky Way, and ta-da! What’s nice about his effect is that it doesn’t have to be perfect — no one can say, this star is out of place, or That star doesn’t work there.
Now, we’ve created the connection point between the two clips, and all that’s left to do is put in shot B. You may need to make a little bit of an adjustment in lumetri color to make the blacks pure black, so they line up with other sky elements.
To blend them together, simply put the star layers on top and make sure they’re set to screen, which makes the black transparent and the white elements visible.
Final touches
Now you have the scene together, highlight everything, rick click, and select pre-compose. Reduce the top layer down to the size that you want, a vertical 9×16 or 1080 by 1920. Then move it all to the top left, and as soon as the freeze frame happens, you’ll want the keyframe motion to go from left to right and then finish with a keyframe.
Now you have a scene that looks almost completely real. Although there will be a little bit of a stutter when you go from the real footage to the freeze-frame version of the larger composition. To make this look more natural, download some camera shake presets from Motion Array and add them on to help blend the first and second scenes together. Download real camera shakes from Motion Array.
You can also watch the full video tutorial from our Motion Array expert Jordan.