As a video editor, it can be a common experience to get bored with certain parts of the job. One of the main ways this shows up is with effects used over and over again. It can be really challenging get excited about a boring effect like the common blur. But in this tutorial we’re going to go over 3 ways that you can breathe new life into this simple effect. So let’s get started!
Summary
3 Creative Ways to use the Blur Effects
1. Motion Blur
In two previous tutorials (making a zoom blur in after effects and 4 hidden tricks inside of Premiere) we’ve shown how you can use the transform effect to get realistic motion blur from your keyframed elements. But you can actually achieve the same effect by keyframing a directional blur.
Drag the directional blur onto your keyframed element and set two keyframes to match your previous motion. Then, increase the amount of blur at the keyframe where your object is traveling at its fastest. Conversely, bring the blur amount down to zero when the object has stopped. Now the last piece is to give the direction you want your element to blur. This is done through degrees so that you can specify exactly the angle you want the motion blur to be experienced from. Leaving it at zero degrees will keep the direction in a horizontal left-right orientation. The more you raise it, the more it will angle towards being vertical until you hit 90 degrees (which will be completely vertical). If you continue on, it will come back to being a horizontal blur once you reach 180 degrees again, and so on.
2. Glow Effect Using Blur
Another interesting effect you can achieve with a simple blur effect is an artificial glow. This is done by duplicating your video layer and stacking it on itself. On the bottom layer, apply a typical gaussian blur and then increase the amount. Finally, use the scale amount on the bottom layer to increase or decrease the radius of the overall blur. It’s a very simple effect that can look very professional if applied correctly. Keep in mind this will only work for elements that do not take up the entire size of the display, like text elements or pictures with an alpha channel for example.
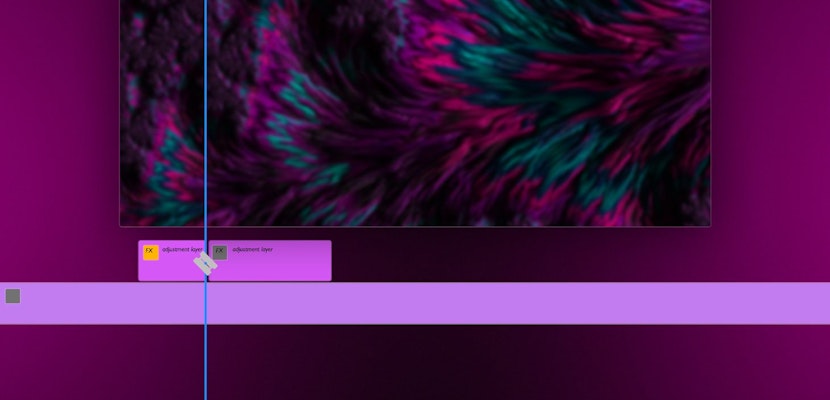
3. Blur As A Design Element
Finally, our last example is potentially the one you can use most frequently. There are times when you want your text color to be something specific, but the video or picture layer it’s shown on top of is too similar in color. This can cause the text to be lost in the midst of the frame instead of being easily visible.
To get around this, one approach you can take is to add a blur to the background clip. The more you increase it’s blurriness, the more that you contrast it from the text. This makes your text elements much more visible therefore readable.
We hoped you enjoyed these 3 tips on how to use a simple blur effect! If you liked this tutorial, we’ve got lots of other tutorials for Premiere Pro, After Effects, and filmmaking in general! If you’ve got any questions or want to see another future article topics, leave us a comment down below.