Motion blur can add such an evocative dimension to your photography, it’s something that you will probably want to go away and try almost as soon as you’ve finished reading this article. The good news is that there are lots of different ways to practice motion blur photography, so that’s entirely possible. Are you ready to have a go?
What is Motion Blur Photography?
Motion blur photography captures a sense of movement in your images by using a slow shutter speed. The intention is to creatively produce effects that the human eye cannot see, which can only be captured by a camera. Unlike camera shake, where your images appear blurred and out-of-focus without a purpose, motion blur is created deliberately. There are several different methods that you can use to capture motion blur in your photography, which include keeping your camera still, moving your camera in tandem with your subject, and zooming out from your subject. The key element is that they all require a long exposure.
Summary
Part 1: Learn 3 Basic Motion Blur Photography Styles
There are 3 main techniques and styles used to capture motion blur in photography – standard long exposure, panning, and zoom bursting. All of these techniques make use of a long exposure time in order to capture a sense of movement in your photos, but how you go about it with each one varies.
1. Standard Long Exposure
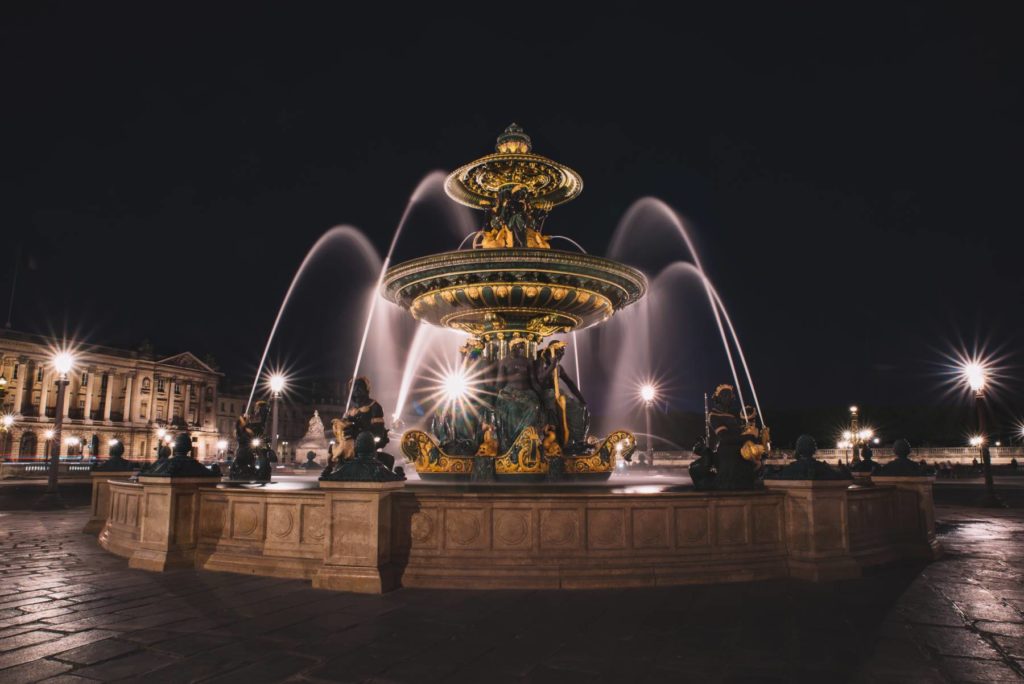
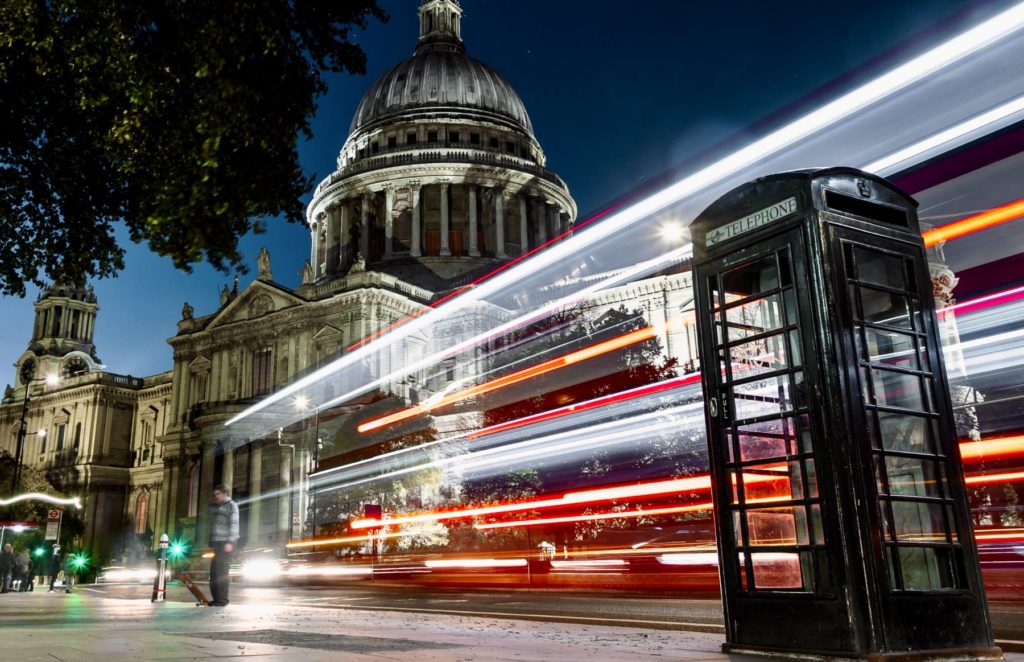
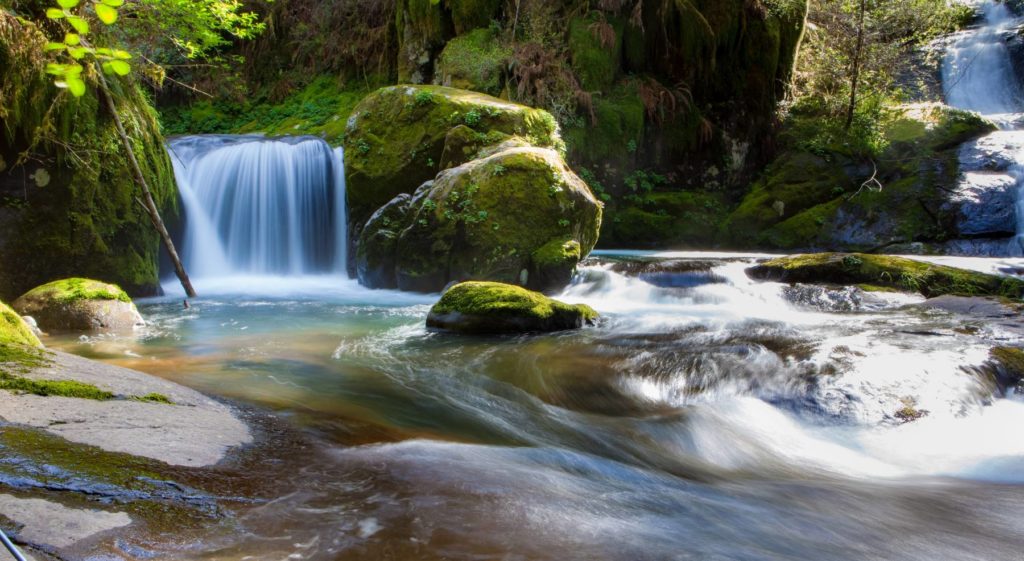
Using a “normal” long exposure technique is good for capturing your background looking static and your subject in motion. When you see photos of milky-looking flowing water or car lights trailing into the distance, these were created using a slow shutter speed.
Your settings for a long exposure will depend on your conditions and your subject. Remember, a slow shutter speed will allow in lots of light, so to avoid over-exposure, you will need to use a small aperture and a low ISO.
You will need to position your camera on a tripod to ensure that your image doesn’t suffer from camera shake from the long exposure and that the motion blur is deliberate. You won’t be able to hold it still for the length of your exposure!
If you’re shooting at night, you will be able to use a longer exposure time than during the day (although a neutral density filter can help in brighter conditions, more on those later). You can also use a slower shutter speed to capture subjects that move more slowly. You will need to experiment because it isn’t an exact science, but here are some suggested starting points:
- To capture flowing water during the day, try ⅕ second, ƒ/16, and ISO 100.
- For car light trails at night, start at 5 seconds, ƒ/11 and the lowest possible ISO. Remember that you will need to under-expose your image according to your camera’s light meter. From here, you can adjust the shutter speed in 5-second increments and aperture to get the light trail length and exposure that you want.
2. Panning
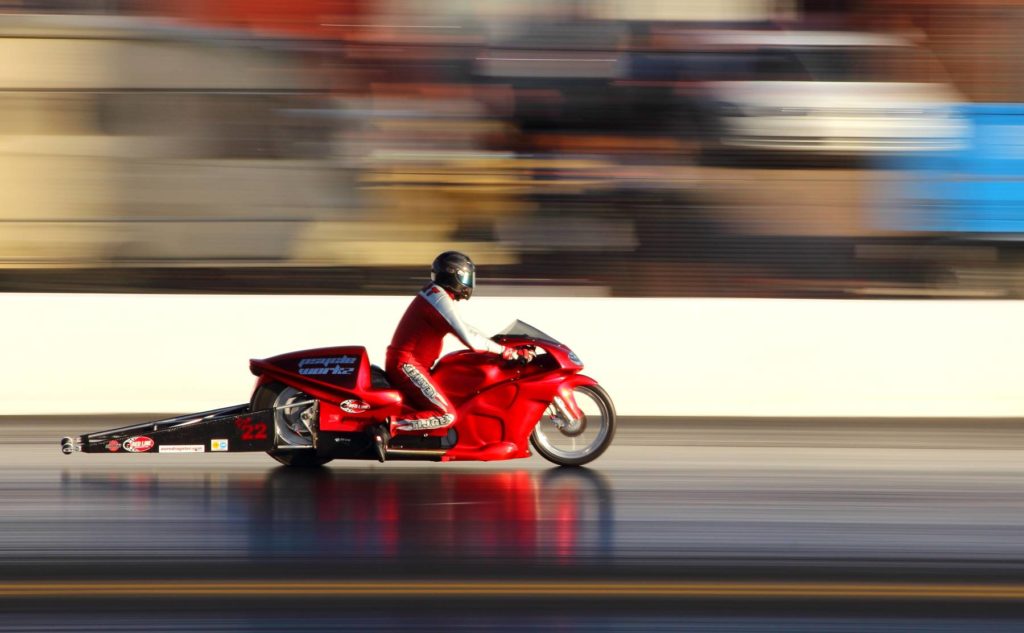
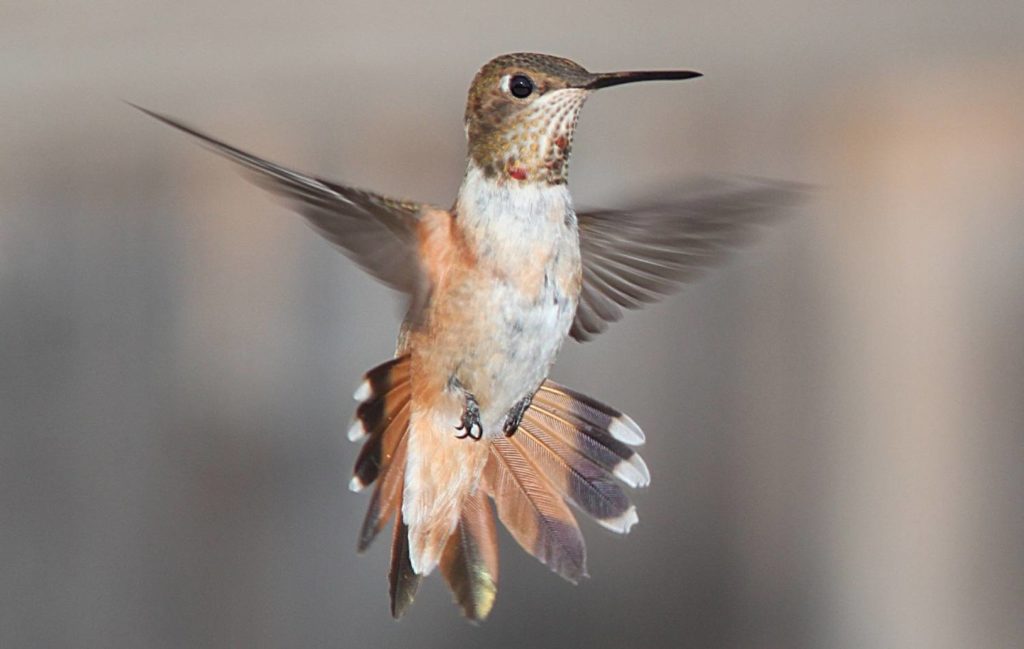
Panning is when you track your subject with your camera as it moves past you. (It has to be coming alongside you, not toward or away from you.) This results in your subject looking sharp in the frame, while the background is blurred.
Try this technique by standing somewhere you can easily follow runners, bicycles, or cars, safely. Set your camera to continuous focus and burst mode and a fairly slow shutter speed. Start with maybe 1/50 second and go slower as you practice more. Plant your feet firmly on the ground and hold your arms tight to your sides. As a subject moves past you, center it in your frame, release the shutter and follow through as it moves. You should have a bunch of photos, some of which should have a sharp subject and a blurred background.
3. Zoom Bursting
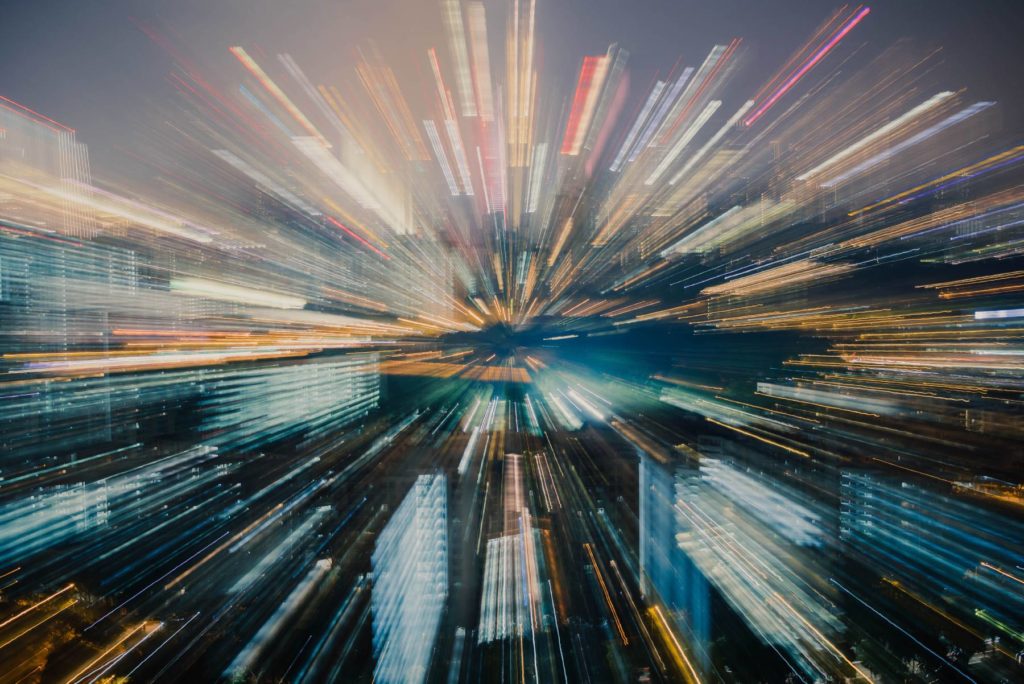
Zoom bursting is when you zoom out from a subject as it moves toward you. It’s especially effective if you want to create a halo of light emanating from a static subject, for example, lights on a Christmas tree.
You’ll need a tripod and a zoom lens for this one. Set your camera on it and focus manually on your subject. Try a shutter speed of around 5 seconds and adjust your aperture and ISO accordingly for a good exposure. Release the shutter and as you do so, steadily zoom out from your subject. With practice, you will have radial blur bursting out from the center of the frame.
Part 2: 10 Important Tips & Techniques to Capture Motion Blur
Now that you know the basic techniques around motion blur photography, let us go over the main methods you need to go out and test as a photographer. Here are the top 10 picks for motion blur photography ideas to get you started.
1. Be Aware of Light
It’s very easy to over-expose a long exposure shot. You will want to deliberately under-expose a night-time long exposure or it will appear far too bright. It’s worth practicing around dawn and dusk for other types so that you can get used to it.
2. Always Stabilize
Whether you’re using the standard long exposure technique, panning, or even zoom bursting, you will need to stabilize your camera. For ordinary long exposures and zoom bursting, use a tripod. If you don’t have a tripod at hand, keep your feet firmly planted and only twist your torso while following your subject in the viewfinder. You might find it easier to stand firm and to hold your arms into your sides for panning.
3. Use Remote Release
To help avoid camera shake when you depress the shutter button, try using a remote shutter release or set a self-timer. Take a succession of shots and best to take about 10 or more shots before you can notice a decent image to arise.
4. Slow Sync Flash
This is when you use a slow shutter speed and your flash, to create a sharp subject with a blurred background. You can easily create motion blur photography by moving the camera when the shutter is open, zooming in or out.
5. Slow & Fast Moving Subjects
You will need to vary your shutter speed depending on the speed at which your subject is moving. Faster moving subjects can usually be captured in motion with faster shutter speeds. A good rule of thumb to remember is – slower shutter speed increases blur, while faster shutter speed reduces blur.
6. Shutter Priority Mode
If controlling all of your settings manually is a little bit too much, use Shutter Priority (S or Tv mode). This will let you set the shutter speed and the camera in the other settings. Remember that you might need to dial in negative exposure compensation to prevent overexposure.
7. Neutral Density (ND) Filters
If your shots keep coming out overexposed and you want to get the exposure dark enough, then you definitely want to get a hold of ND filters. They sit over your lens and block light from reaching the sensor without altering the color of your image. They allow you to shoot slower shutter speeds without over-exposing your photos. It is also important to mention that ND filters come in many strengths, from basic to ultra-powerful 10-stop, so make sure you get the one that you will use regularly.
8. Photoshop’s Motion Blur Filter
You can create motion blur after the event in Photoshop, by selecting the subject or area you want to blur with the Pen tool, using the Motion Blur filter (Filter > Blur > Motion Blur), and choosing how much blur you want to appear in your shot by adjusting the Angle and Distance according to the direction you want it to move in.
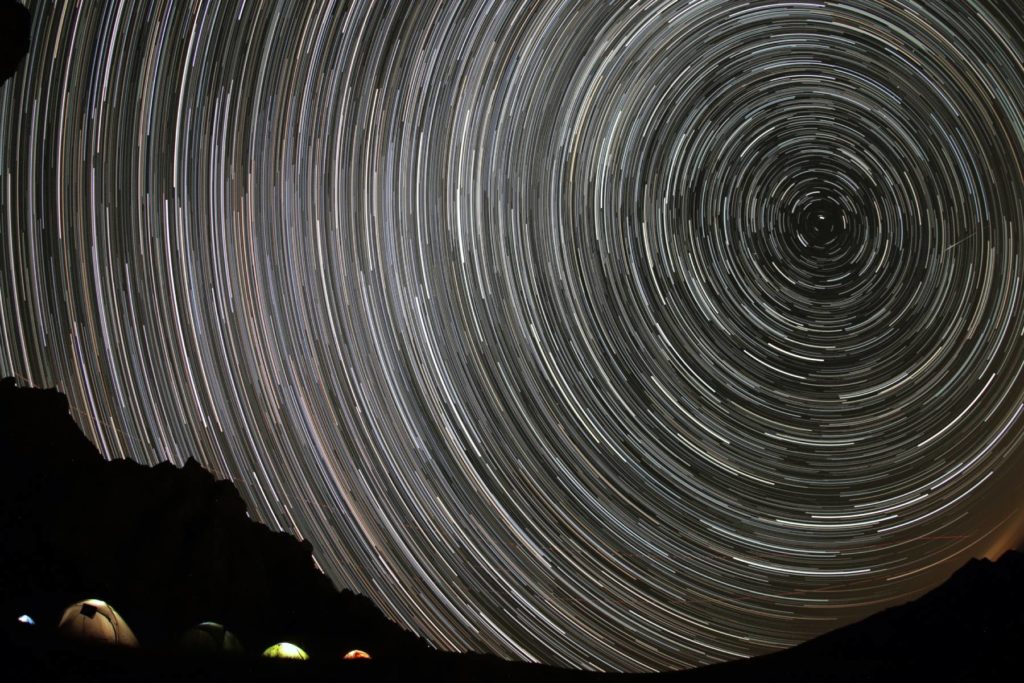
9. Create Star Trails
Point your camera skywards toward Polaris or the Southern Cross, set a long exposure, and capture the motion of the stars as the earth rotates. You might find that using bulb mode and an intervalometer to allow for exposures longer than 30 seconds is best for star trails.
10. Light Painting
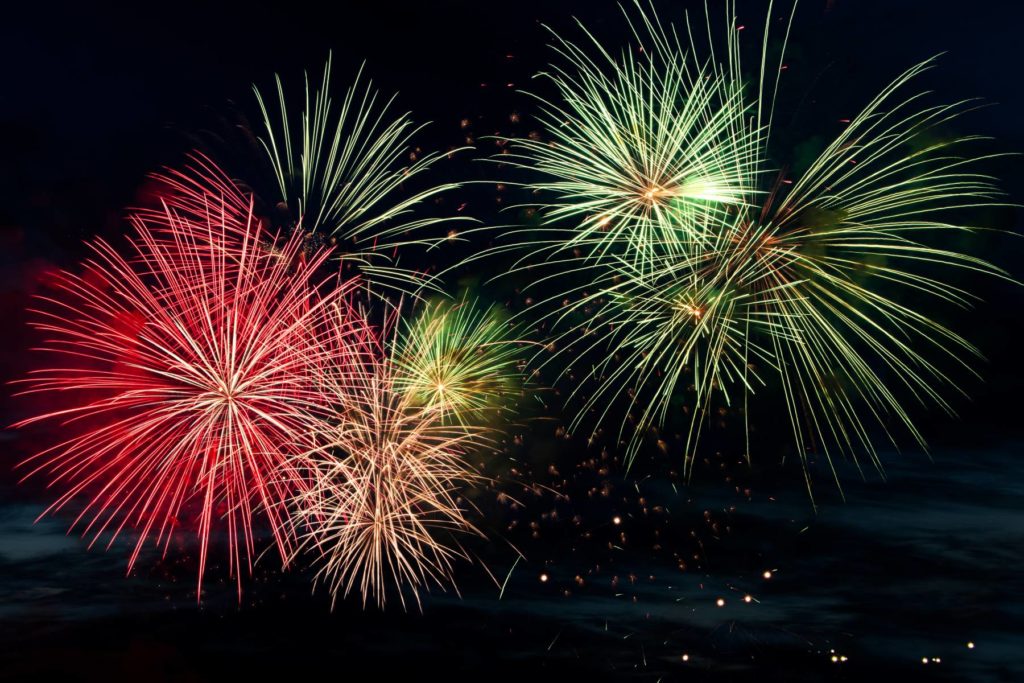
Have someone move around in your scene, waving or carrying a torch or glow sticks to create fun patterns in your images. And actually, sparklers work great for this style, as well as candles. Try to write out words, or just move the light torch in geometric shapes – circles, hearts, triangles, and squares are some of the popular ones.

Bonus: iPhone Motion Blur Tips
If you want to try this with a smartphone, there are long exposure apps that allow you to control your shutter speed – try using apps like Slow Shutter Cam or LongExpo. In general, make sure to choose low light settings in general when using your iPhone and be intentional in keeping it steady or you might get too much blur. You might sometimes need to add some light and for that, keep a headlamp, car headlights, or flashlight handy at all times.
There is a lot of fun to be had experimenting with motion blur photography. The important thing to remember is that you definitely need to use a slow shutter speed, but there’s a lot of trial and error involved in it. Don’t be put off from trying motion blur photography ideas because your first attempts didn’t work out. Once you’ve got a feel for it, you’ll be able to select your settings much more easily and your technique will improve, too. Then you’ll have motion blur photos everywhere!