Adobe has always been at the forefront of creative software developments, and with the focus on AI, they’re not disappointing. Adobe goes through extensive Beta testing before releasing new tools into the suite, but if you’re a Creative Cloud user, you can give these tools a go through the Beta Apps. Today, we will show you how to use the new After Effects Rotobrush tool to remove or separate elements in your shots.
How to download and install Adobe After Effects Beta
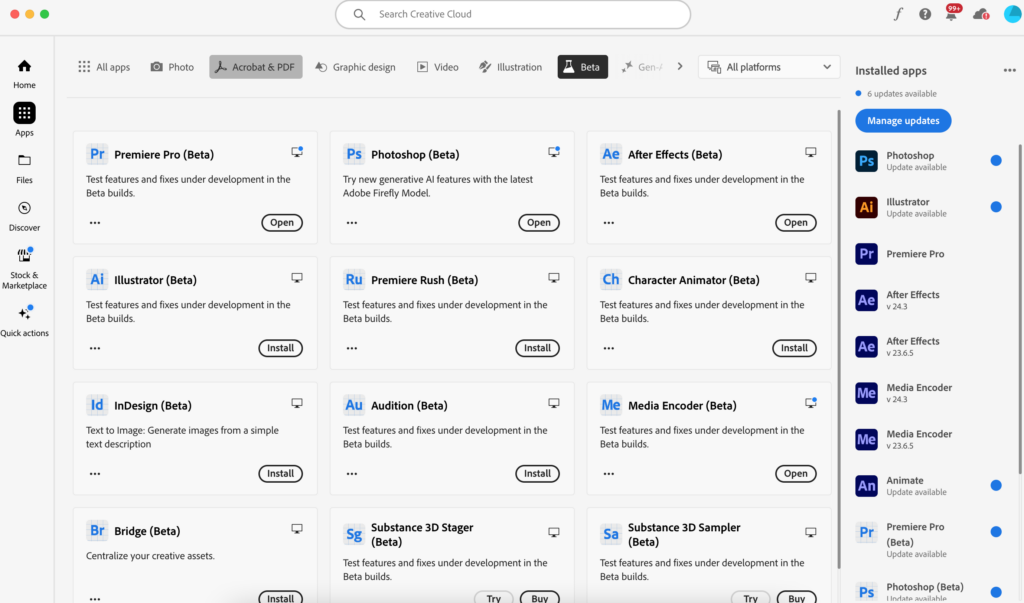
If you subscribe to After Effects, you can access the app’s beta version. The beta version can be occasionally glitchy, as you’d expect from a test version of any software. But don’t worry; the AE Beta won’t overwrite After Effects; it will be added as a separate app, so all your projects will be safe.
- Open the Creative Cloud app.
- On the left side, click the Apps button.
- On the toolbar at the top, find and select Beta.
- Find After Effects Beta in the list and hit Install.
- Once finished, launch the app and agree to any access permissions it requires.
What can the Rotobrush be used for?
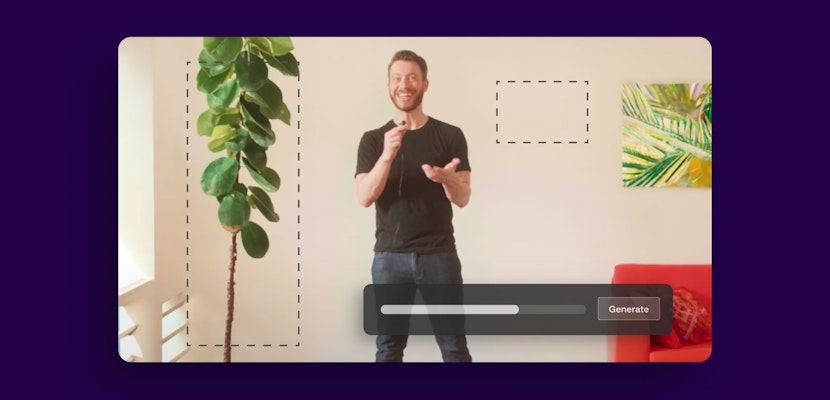
The Rotobrush tool allows you to create masks around objects in your shots so you can remove them or add them to other compositions. You can do an array of fun and creative things with the Rotobrush, but traditionally, it involves drawing around each frame one at a time.
The new Rotobrush 3.0 is a fantastic AI tool that can save you a lot of time once you know how to use it. While the results will depend on the contrast in your shot, the AI is pretty good at picking out the elements you want to mask with only a little instruction from the editor.
How to separate a performer from the background
Learning how to separate a performer from their background without using a green screen is very useful. This style of rotoscoping has been used in many trends, from TikTok content to music videos.
- Place your clip in the Timeline of a New Comp.
- Grab the Rotobrush tool from the top toolbar.
- In the Brush panel, adjust the Diameter of the brush to suit your composition.
- Double-click on the Layer in the Timeline.
- In the Media Viewer, begin drawing inside the element you want to mask. You don’t need to be particularly precise, as the AI adjusts to the nearest edge.
- Keep selecting areas until the whole element is outlined.
- If your outline includes parts of the shot you don’t want to mask, hold option/Alt and click on these areas – the tool will turn red to indicate you’re removing from the mask.
- In the Effects control panel, experiment with the Shift Edge, Feathering, and Contrast until you’re satisfied with your masking.
- Play through the Timeline, and After Effects will track your object, applying the mask to each frame.
- Watch through your clip to make sure you’re happy with the masking. If you want to add or remove anything, double-click the layer, grab the Rotobrush, and repeat the process.
- After Effects will rerender, taking into account the new mask area, meaning you should only need to work on one frame of your video.
- Select your layer and hit Command/Control + D to duplicate it.
- Remove the Rotobrush effect from the bottom of your two layers.
- Finally, create a text layer with your message and position it between the top and bottom footage layers in the Timeline.
How to remove an element from your shot
How often has the perfect shot been ruined by someone unintentionally walking into the frame? Removing an element from your shot is a vital skill for any editor, and the Rotobrush can save both your composition and your time.
- Add your layer to the Timeline and double-click it.
- Grab the Rotobrush and draw in the Media Viewer around the element you want to remove.
- When you’re done, use the Shift Edge, Feathering, and Contrast properties to fine-tune the masking.
- Select the Invert Foreground/Background checkbox in the Effects control panel. Your footage will now appear to have a hole where the element was in the shot.
- Select the layer and hit Command/Control + D to duplicate it.
- Select the bottom layer and delete the Rotobrush effect from the Effects control panel.
- Finally, drag the bottom layer along the TImeline so that the element disappears from the shot.
- Play around with the Rotobrushing and effect properties to refine the results for a perfect finish.
Note: This technique works best when the camera is still and the element is moving.
Even more ideas for the Rotobrush Tool
Gaussian Blur
The Gaussian Blur effect is a fantastic way to add depth to your shots without entirely removing the background elements. Add the effect to your background layer and adjust the blur amount in the Effects control panel.
Cartoon style
Rotoscoping is also regularly used to help turn performers into cartoonish-style versions of themselves. Find the Cartoon effect in the Effects panel and add it to your performer for a unique style.
Scale animation
Once you have separated your subject from the background, you can animate them independently of the rest of your shot. Try adding some Scale Keyframes to your performer to create a unique and fun movement. This technique is popular in music videos to add beat-based movements to the artist.
Position animation
Similarly to Scale animation, you can adjust the Position of your subject and even duplicate them to have multiple versions in the same shot. Remember, the performer will still be in the original background image, and you may need to consider how you layer your assets for the best result.
Rotobrushing used to be a time-consuming and tedious task, but the results made the effort worth it. With new AI technology, Rotoscoping your shots has never been easier, allowing you to experiment with fun new styles and visual effects. To learn more about masking in After Effects, check out our handy guide.