


If you’ve downloaded a generator template for Final Cut Pro, let’s show you how to use it so you can get the most out of it.
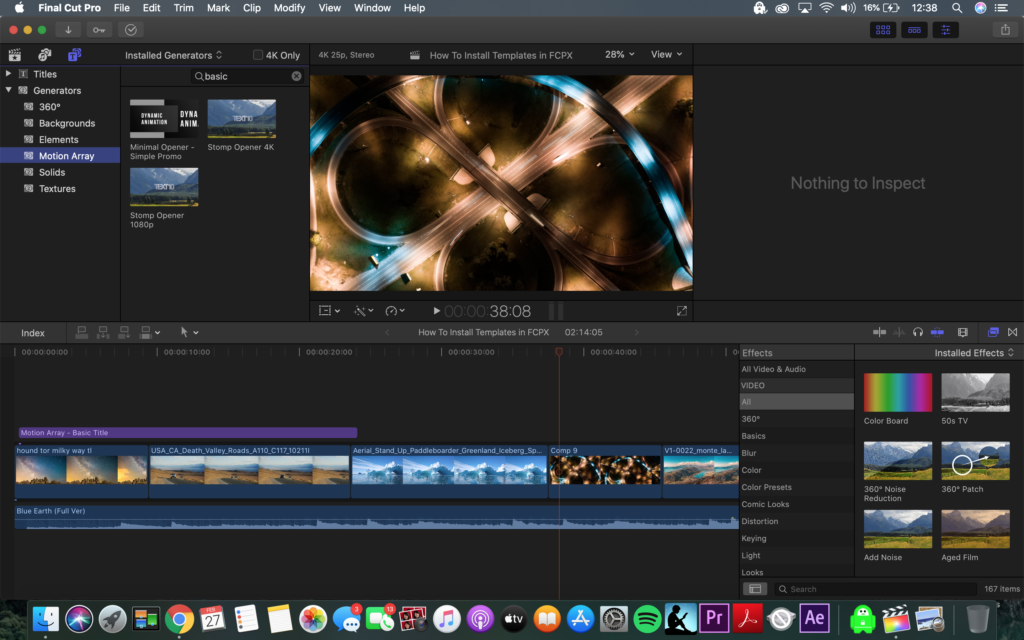
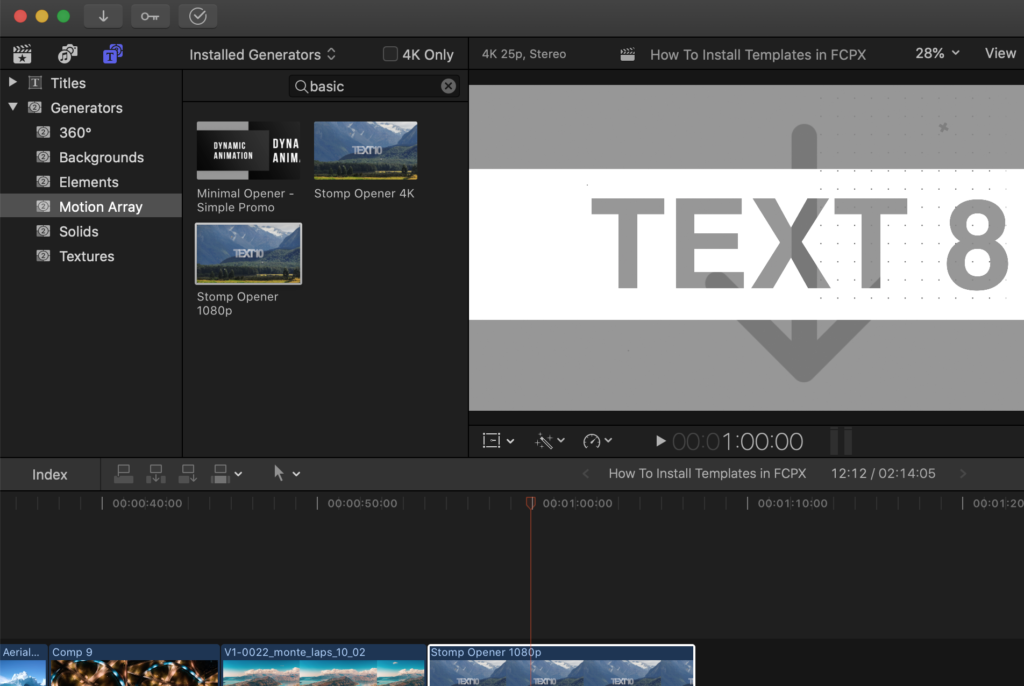
So once you’ve successfully installed a generator template, it should be located in your Generators section. And you can click and drag it onto your timeline to begin using it. But once you do, you’ll notice the edit should be exactly like you expected, but it’s missing any sort of video clips.
The great thing about generators is that it’s incredibly easy to add in your own clips to the Placeholder sections of the template. Click on the template clip in your timeline, and then navigate up at the top to click the Generator Inspector button. Now you should have a variety of parameters that you can control. Yours might look a little different, but at the top of ours we have some binary on/off boxes for things like the dots and shape elements found within our template, as well as some more complex ones that follow, but what we want to focus on is the section where we can drop in our own media to populate the template.
Part 1: How to Populate the Template
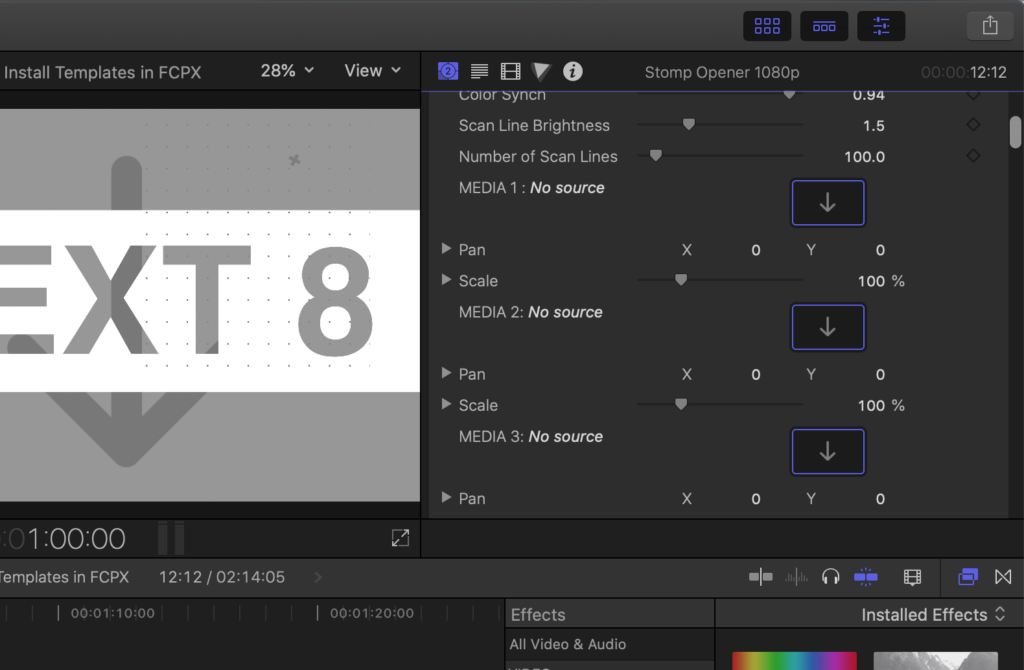
It’s a really simple process. We can see that Media 1 has a slot indicating where we can place in our footage. This slot is known as an Image Well. And every clip is labelled in order from Media 1, Media 2, 3, and so on in the same order will appear in the template. So the very first clip in the template will show up when we place it in the Media 1 Image Well. Simply click the Image Well and you should see the panel now divide. We can simply click on the clip that we want to place in this slot of our template. And when we click on it, we can see it fill in the template on the right hand side. But this is just a preview, and won’t take effect until we actually hit apply. Now that we’ve hit apply, we can see we’ve successfully placed down our clip into our template.
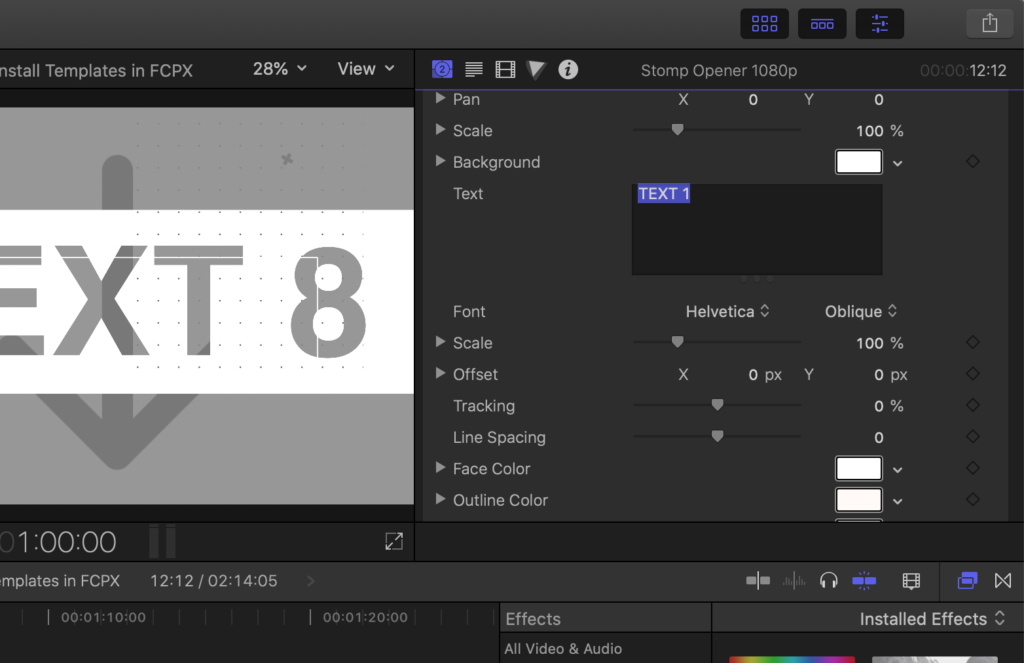
But there’s one small problem, our video clip is zoomed in too much. Thankfully solving this process is simple, just go down to Media 1 where you placed in the clip, and select Scale, and reduce it until it fits properly. And for me that exact amount is 29%. If you find you’re having trouble making fine adjustments, you can also highlight the number and hit either the up or down arrows to increase or decrease these numbers. There’s also the option to change the X and Y positions, but I’m going to leave mine alone.
Now you can go through this process for all your media sections, and you should start to see your template take shape. Great! We’ve already made our edit look really awesome with just a few clicks.
Part 2: How to Edit Text
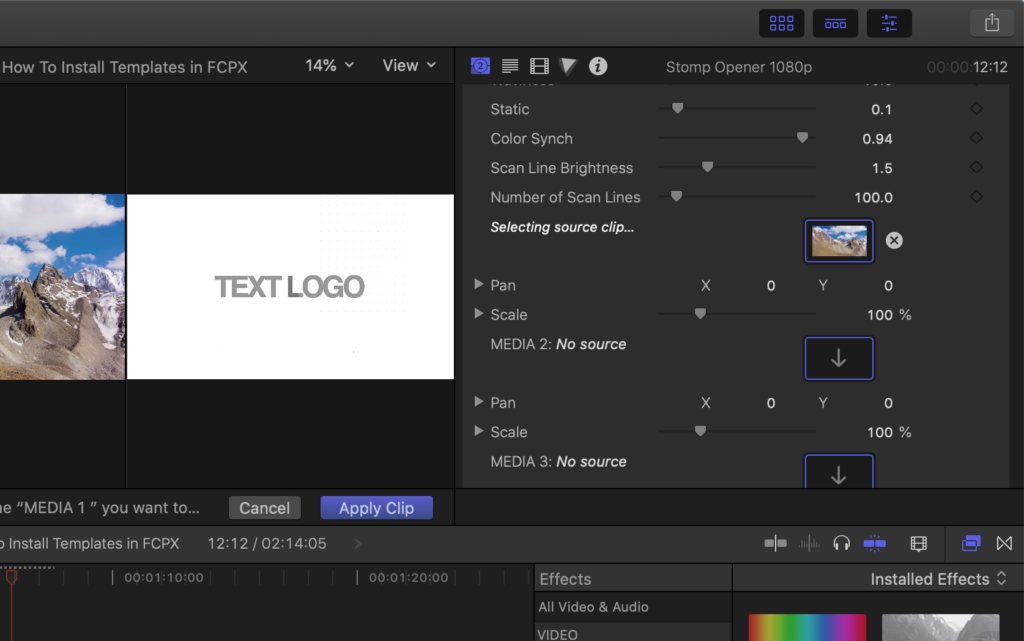
One thing we can see next is that we have pieces of our edit where text just says Text 1, or Text 2, etc. In some of these places I’d like it to say something else and at other times I’d actually like to remove the text entirely. So to do this, let’s scroll down even further to see all the pieces of text that we can adjust.
You should see text boxes, and the text that’s written down will match the order it appears in your template. So Text 1 is in the first box, which appears first in the template. And all we have to do to change it is simply click and edit what this text says, and it shows up immediately in our template. And if I want to remove a piece of text entirely, just delete all of it to leave a blank space. And if you wanted to change the font of that text, simply highlight it, and adjust to your liking. Change the scale and position like we did in our footage, and you’ve got a template that’s customized to your liking.
So by now, you should feel as if you’ve personalized your template to truly make it your own. And you can start to explore all the options of your template that might be entirely unique to it. Like adding a prism effect, changing the brightness, etc.
Part 3: How to Edit Clip Length
But there is one last piece we need to cover. And that’s to do with the length of your clips that you want to place into your template. If you have a template where the length of the intended place it’s supposed to be is actually longer than the clip you’d like to use, then the clip will simply remain as a still frame to compensate for this. In order to get around this, you could do a couple things. You could either duplicate the clip and then if you wanted to avoid a jump cut you could reverse the second clip. And you could also slow it down to gain the desired length of the clip you were hoping for or speed ramp it for stylistic reasons.
In any of these cases, you’re going to want to instead of placing this clip into the template first, place it on the timeline first. Then make your adjustments, like duplicating or adjusting speed, and then highlight it and create a compound clip from it. Name it something that you’d like and place it with the rest of your clips. Now you can delete this compound clip from your timeline, and it’s still in your library. So now let’s go back to the image well and click it, then go to our library and select our new compound clip to place into our template.
Lastly, if you wanted to cut up a generator in order to do something like adding your own media in between, you’ll need to make sure to make this generator a compound clip on its own. If you don’t you’ll end up simply time stretching the generator and making it play at a different speed instead of just cutting at the place you intended. So just highlight your generator, right-click, and create a compound clip from it. Now when you make a cut it will act like a normal piece of footage that you can adjust to your liking.
And that’s just been a brief tutorial showing you how to use our generator templates for Final Cut Pro. We hope you found this tutorial helpful, and we look forward to seeing all the amazing videos you use our templates to create.
If you would like to upgrade your toolkit, make sure to check out Motion Array. Our extensive library of Final Cut Pro add ons, effects, and plugins include everything you need to create top-notch videos.


