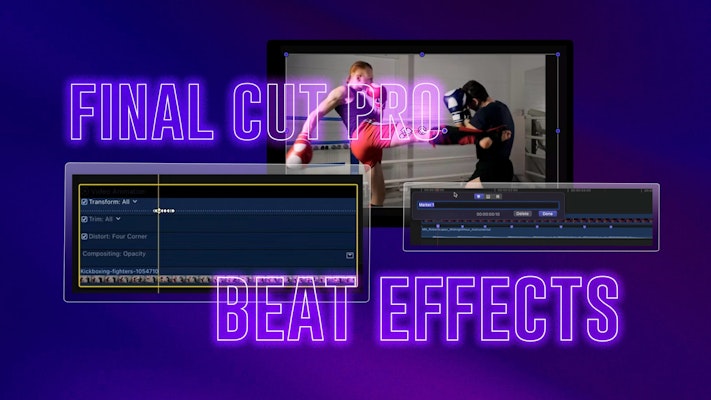
Screen pump and shake effects are stylish flourishes you can quickly add to your videos in the editing process. While each effect is used differently, both can create a unique camera movement to enhance the movement within a scene. Here, we will show you just how easy it is to create beats effects in FCPX, but you can use this technique in any editing software that allows keyframing.
Summary
Part 1: Create Keyframed Beat & Screen Pump Effects in FCPX
The beat and screen pump style effect is a fantastic way to add movement to your shots. Whether you’re creating a music video and events promo, or you want to add some stylish effects to your narrative films, timing your beats to sound effects and music can heighten the impact of your project.
Step 1: Create Markers
If you want to add a couple of screen pumps to specific shots, you can skip this step. However, if you are timing your beats to a music track, it is super helpful to mark up your timeline before you begin adding Keyframes.
- Select your music track in the timeline and press the Spacebar to play.
- Listen carefully to the music, and hit M on your keyboard every time a beat occurs where you want to add a screen pump.
- If you need to remove any markers, right-click on one and choose Cut.
- Do this for the whole track to clearly see where your keyframes should fall.
Step 2: Create First Screen Pump
Adding a single screen pump effect is super easy and only requires 3 keyframes. Of course, it can take considerably longer to complete an entire track, but in step 3, we’ll show you how to copy and paste your keyframe effects.
- If you are keyframing anything in FCPX, it is easier to see what is happening in the Keyframe Editor, then right-click on your clip and choose Show Video Animation.
- Place your playhead over your first marker and add a Scale keyframe – this will be the Beat keyframe.
- Move backward one frame and create a second Scale keyframe.
- Go back to the Beat keyframe and adjust the Scale to 104-106%.
- Move forward one frame and adjust the Scale setting back to 100%.
- Play your effect back. If you want to increase the duration of the effect, drag the keyframes along the timeline, ensuring your Beat keyframe remains in the same place.
Step 3: Copy and Paste Keyframes
Now you’ve got a cool Screen Pump effect; you can quickly copy it across your Timeline.
- Select the first keyframe in your timeline, and while holding Shift, select the last keyframe.
- Hit Alt+Shift+C to copy them.
- Move your playhead to the next beat, and then go back 1 frame. Remember, the keyframes will be pasted from the first keyframe. By moving back a frame, you can align the Beat keyframe accurately.
- Hit Alt+Shift+V on your keyboard to paste the keyframes.
Part 2: Create Impact Shake Effects in FCPX
The shake effect is a fun and exciting effect to use for action and impact shots. The idea of the shake effect is to create a sudden movement in your camera based on movement in your shot. Creating this effect in-camera would be challenging to control, but you can quickly add a shake in post with a few keyframes.
Step 1: Create the Shake
You’ll want to start the effect with the big movement for the most natural-looking camera shakes and decrease them as the shake continues. To get the most out of this effect, try and match the direction of the movement in your shot.
- Find the point where you want the camera shake to occur and place your Playhead at the start.
- In the Transform Inspector, create a keyframe for the Position settings.
- Move the playhead forward 2 frames and adjust the Position settings, so the shot is off-screen slightly to one side. Don’t worry about the black edges.
- It is often easier to use the Free Transform tools, which you can access at the bottom of the media viewer.
- Move forward 2 more frames and move the clip to the opposite side.
- Continue through the section, adding keyframes and adjusting the Position; the movement should get smaller with each keyframe.
- When you are ready for the shake effect to stop, create a final keyframe and set the Position back to 0.
Step 2: Adjust the Scale
The shake should look pretty cool, but you will notice there are black edges around the clip where it falls off-screen during the effect. To solve this issue, you need to adjust the scale.
- Place your playhead over the keyframe with the biggest movement.
- In the Inspector, adjust the scale of the shot, so the black edges are hidden.
- If you want to add movement to your scale, like a slow zoom in, go to the clip’s start and create a Scale keyframe – set the Scale to 0.
- With the Playhead at the end of your Timeline, increase the scale of the clip; double-check your Shake effect to make sure you can’t see the black edges.
Shake and screen pump effects are just a couple of the cool things you can do to enhance your footage in the edit. While the technique is simple and easy to do, creating an engaging composition takes practice and requires balance. Too many shakes and it becomes off-putting; too few, and it looks like a mistake. Final Cut Pro beat effects also work fantastically with other editing techniques, such as this incredible double exposure effect.


